Roblox is still one of the most popular video games of 2020 . It is a mix between sandbox and MMO, extremely interesting and very funny.
Its multiple functions and accessibility have made it one of the favorite platforms of the youngest players , especially because it encourages creativity and imagination through the construction of virtual worlds.
Just as you read! Thanks to Roblox Studio , you can design your own universes and get free Robux to buy skin, accessories, objects and much more.
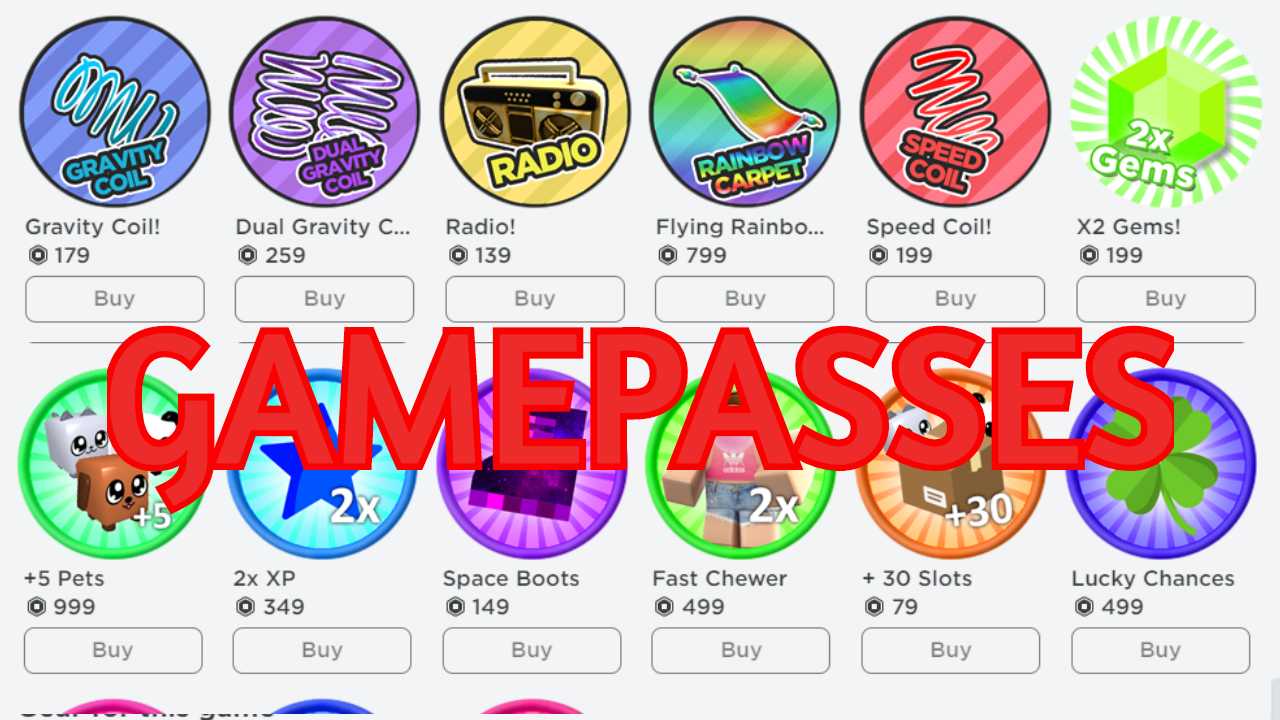
We know that getting the currency in the game is not easy at all, but if you are a developer and have a map in the system, it is possible to have an extra income with the famous Game Passes or Game Passes . Therefore, in this article we will show you how to make money with Game Passes , how to create them and put them on sale.
How to create Game Passes to sell on Roblox
The Game Passes are a kind of virtual tickets that give the player abilities , skills and special benefits within a server. If you are a developer and want to create your own Game Passes , follow these steps that you will see below:
Enter Roblox
Before starting it is necessary to enter and log in to your Roblox account . If you have not yet created an account, we tell you that it is completely free , both on PC, mobile and Xbox One consoles .
Build a game
In order to have access to the creation of Game Passes in Roblox you must have created at least one game within the system. For that you will need the construction tool: Roblox Studio .
If you feel lost, the platform has several tutorials to start building from scratch , and even shows you how to make them public and private so as not to die trying.
My creations
If you already have an active Roblox account and have been a developer for a while, then follow these steps:
- Sign in to Roblox .
- Go to the top bar of the main screen and click on «Create» .
- Then you will see a menu on the left side, click on «Game» .
- Find the map, select it and on the right side of the game click on the gear icon.
- It will display several options, click on «Create Game Pass» .
Representative icon
Upload the image
- From "My creations> Game Passes".
- Locate the button «Select file» and click on it. It will take you to the images that you have saved on your computer.
- Select the image or circular icon of your choice and wait for it to load.
- Now you must fill in the rest of the information fields. Enter "Name of the Game Pass" and a short description, that is, define in a few words what the pass is about.
- At the end you can preview the changes and if you agree, click on "Verify the load" and that's it.
Settings and configurations
- Click on the gear icon . You can place it next to each Game Pass created.
- Among the options, look for the one that says "Configure . "
- It will show you an image of the current appearance of your Game Pass . In turn, on the left side you will see two options: «General» and «Sales» , click on «Sales» .
- To set a price you must activate the switch to the right, which you can see at the top.
- Now put a price between 50-200 Robux . Of what you sell you will receive only 70% , the rest belongs to the system.
- To finish, click on «Save» .

Comments
Post a Comment