Complete Elden Ring Walkthrough: How to Defeat All Bosses, Find All Gold Seeds, Tears Drops, Best Weapons and Ashes of War

Elden Ring is the long-awaited souls-like open-world game from FromSoftware. This time, users will have to plunge into a completely new world with a rich history. Players will have to face many dangerous opponents and find the wreckage of the ring. In this guide, we will not only describe the walkthrough of the game but also indicate how to defeat bosses and find rare items.
Tips for the game. Character Creation and Territory Inspection
Please note that in our walkthrough, some items are highlighted in a special color:
- Yellow - golden seeds, drops of tears, xiphoid keys, and talismans.
- Blue - Ashes of war, dust for summoning assistants and spells.
- Red - weapons, armor, and ammunition.
- Green - places of grace.
After watching the introductory video, select the character class and customize its appearance. Please note that further gameplay will depend on the selected class. We opted for the samurai.
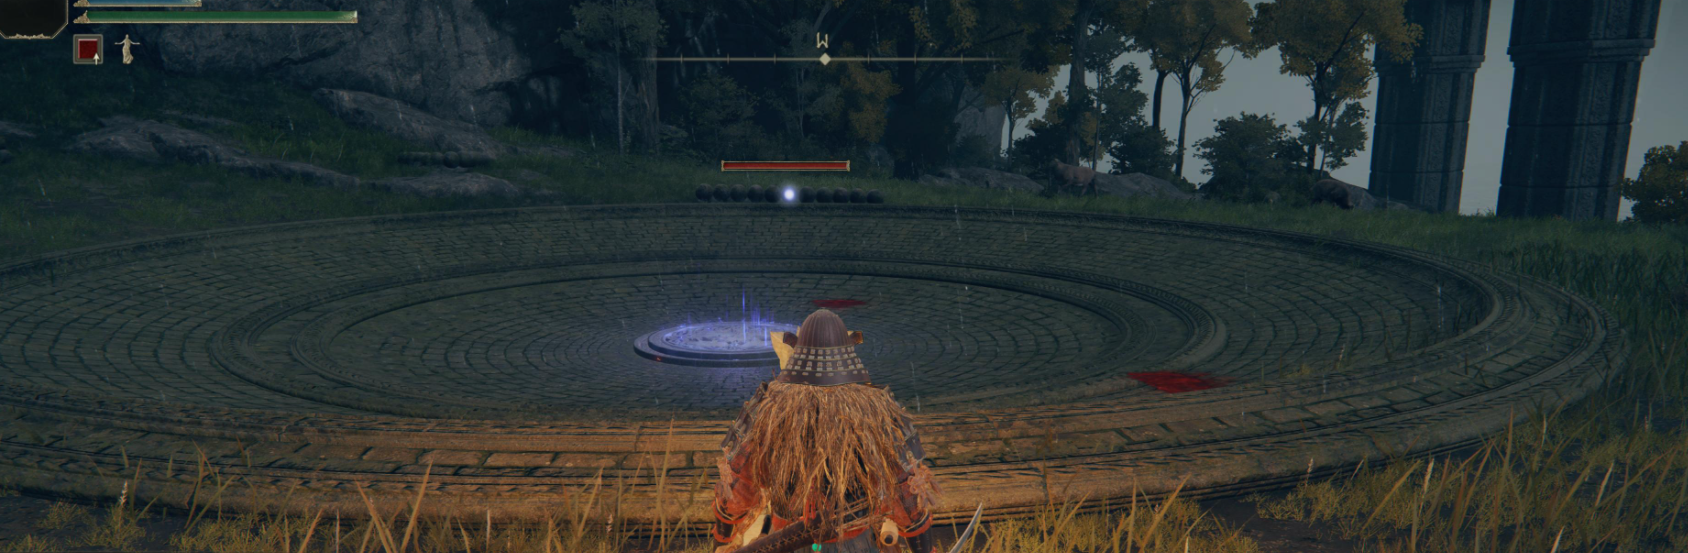
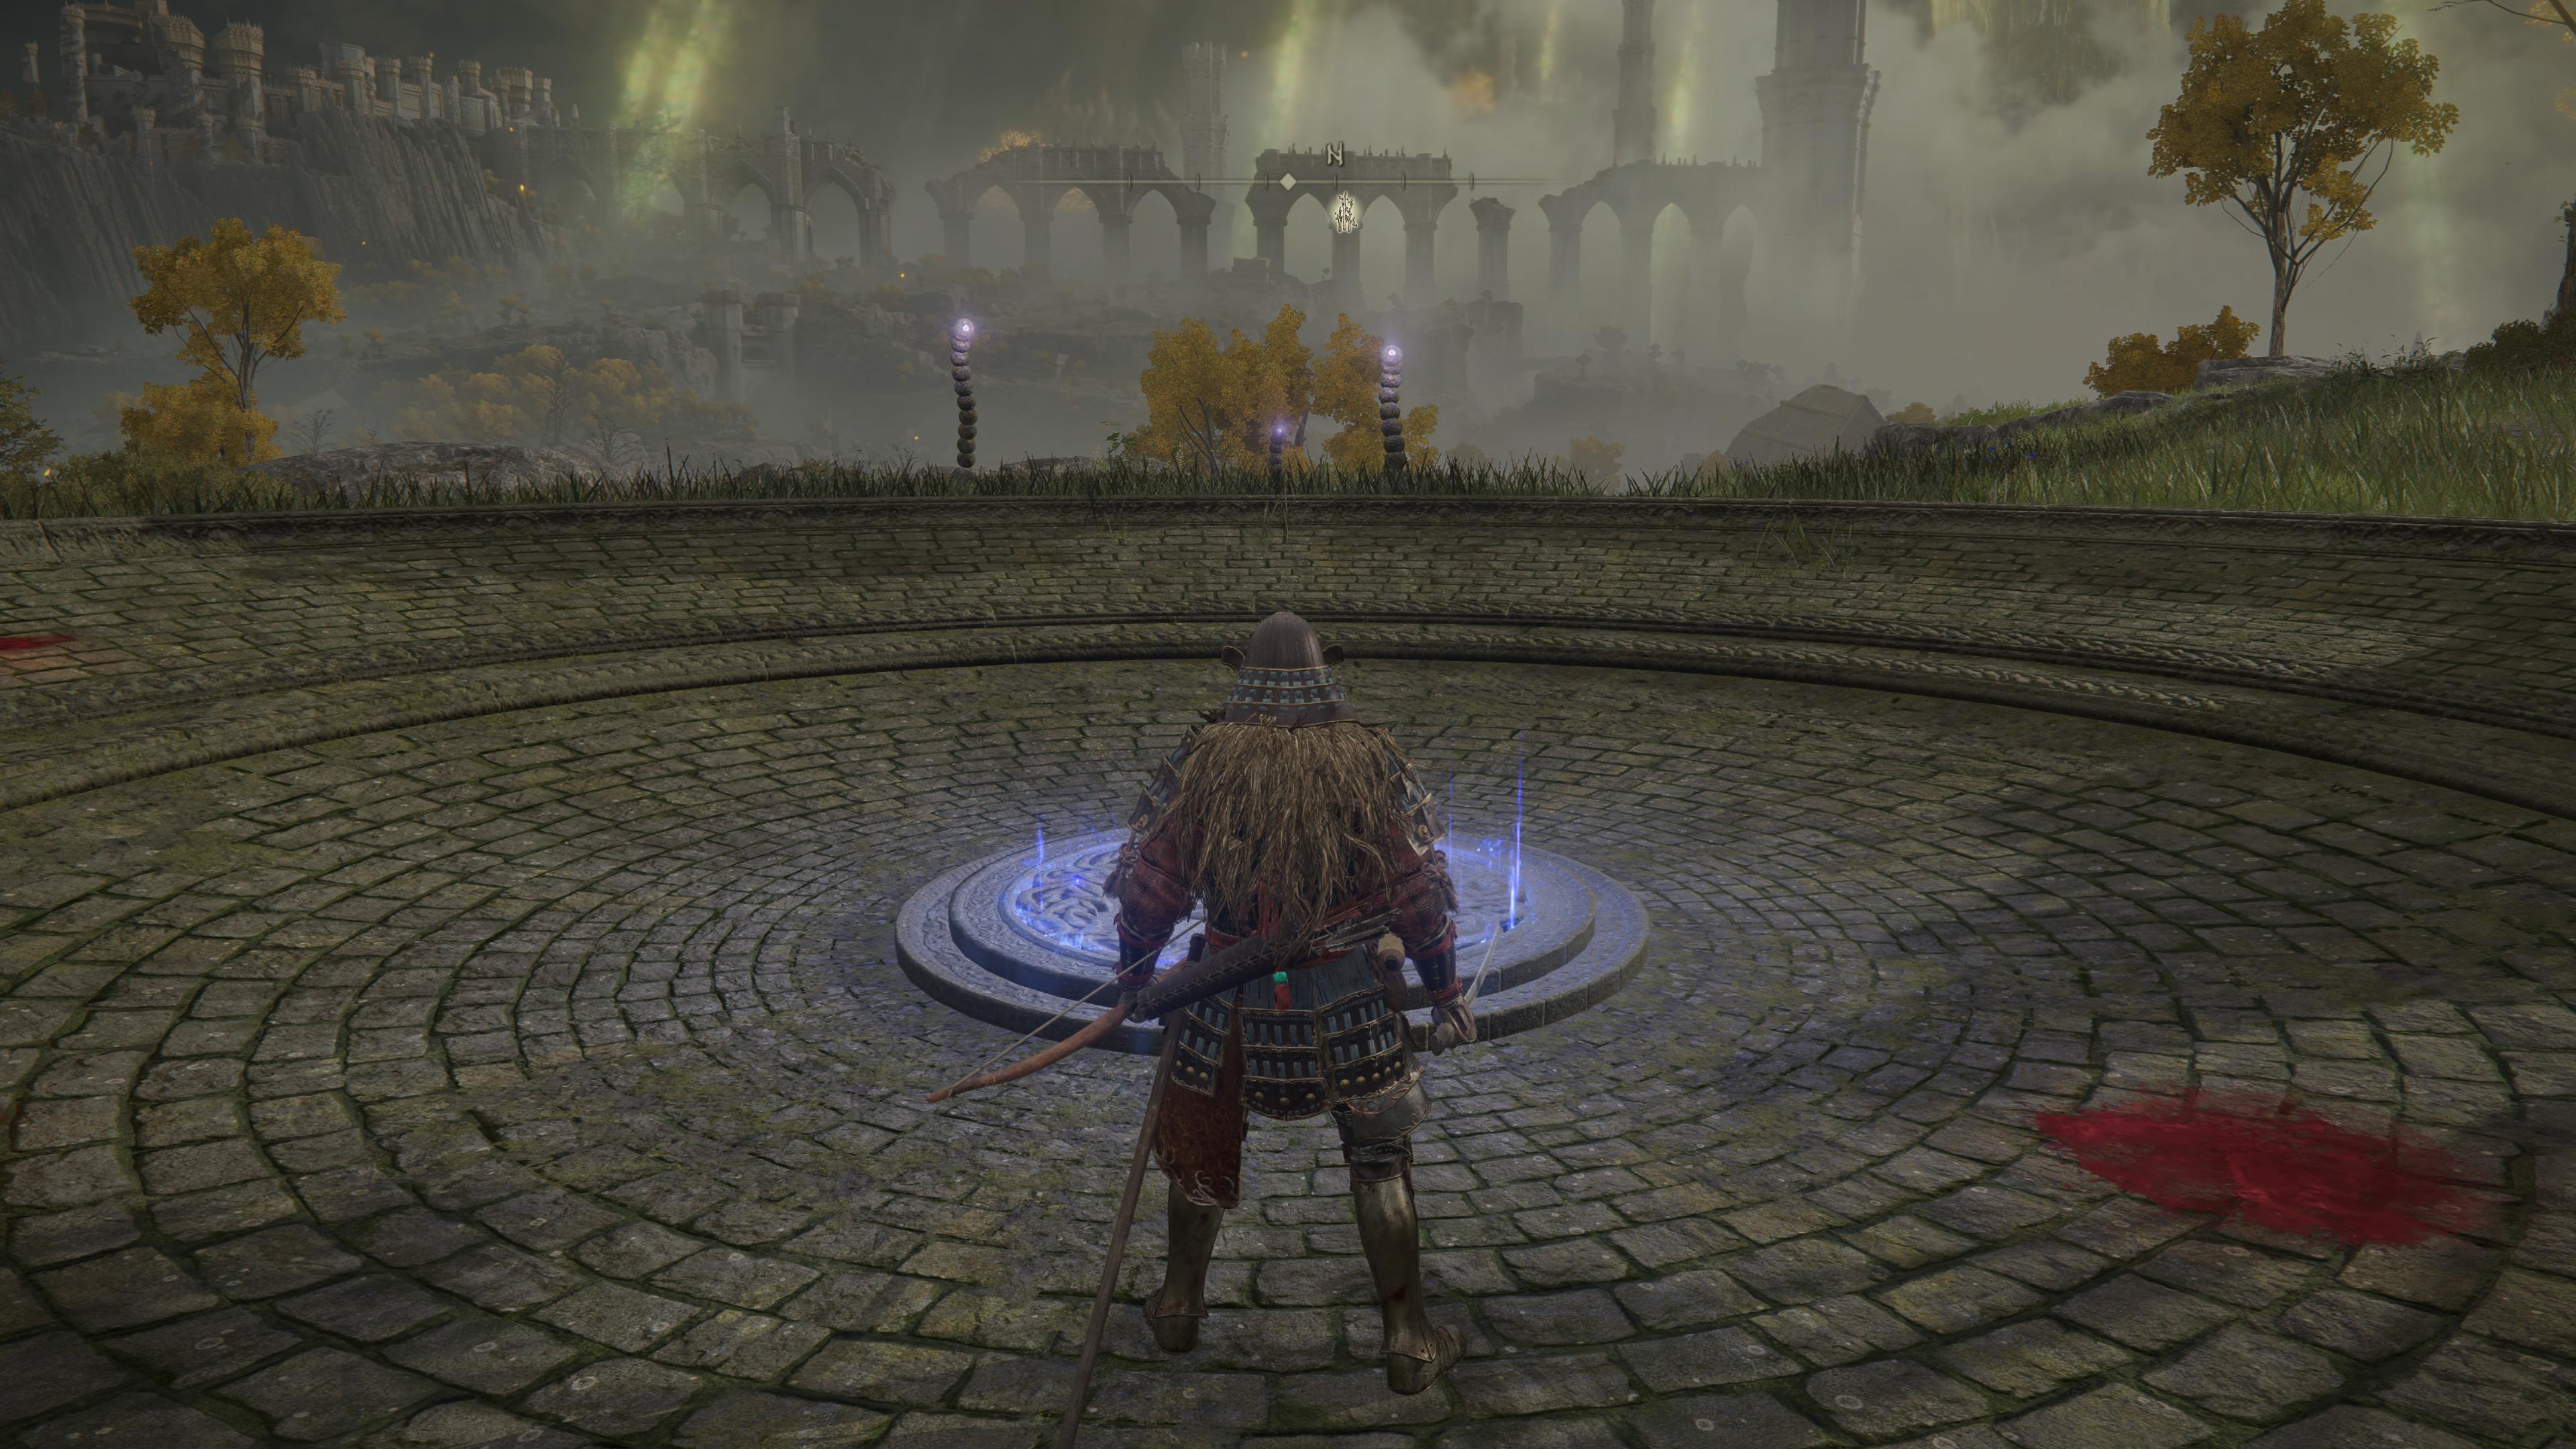
We appear in a closed room. We open the door and go outside. At the edge of the abyss, we go down the stairs, get to the round arena and meet the first boss. It is not necessary to kill him, so after death, the hero will wake up in another place.
We go outside and find ourselves in an open world. We go in a straight line to the man and activate the first place of grace (analogous to the fire from Dark Souls). We communicate with him and get items to move to other worlds as an assistant:
- Gnarled finger of the Extinct for joining someone else's game.
- Finger cutter to return to your world.
- Withered Finger of the Extinguished for crafting clues on the ground.
In Elden Ring, the player has complete freedom of action, so each player is able to independently explore the surroundings in search of adventure. In our guide, we follow a sequential path, in which each battle with the enemy and exploration of nearby territories will lead to character leveling and story progression.
We do not recommend immediately going down to the left to the giant or to the right to the knight on horseback - it will be very difficult to defeat them now. On your way, it is desirable to constantly kill harmless animals (boars, squirrels, birds, and other creatures) in order to accumulate some experience points and get useful items for crafting. It's best to do this all the time. In addition, it will not be difficult.

We go around the huge monster on the right side and go towards the ruined temple. Activate the place of grace. Here the player will be able to chat with the merchant. Without runes (analogous to souls from Dark Souls), we won’t be able to buy something right away. We move along the path towards the knights with torches. To the right of the path behind the stones, we will find three flying monsters. They are good for evasion training.
Please note that Elden Ring has a "stealth" feature, with which the player can silently approach the enemy and deliver an accurate backstab. First, you need to sit down by pressing the key "L3" (left stick). Use the "R3" (right stick) button to focus targets. Most of the time we will use backstab.


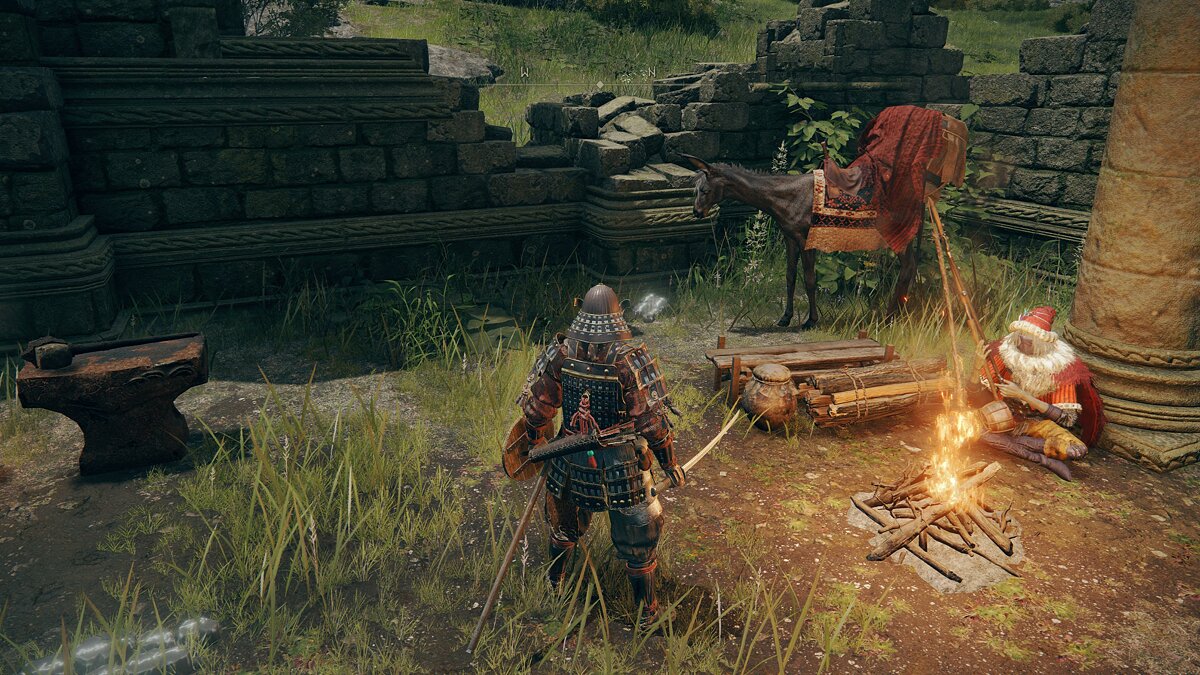
We train stealth on knights with torches. Here we examine the remains in the bushes. To the left of the path, we find the enemy sitting by the fire.
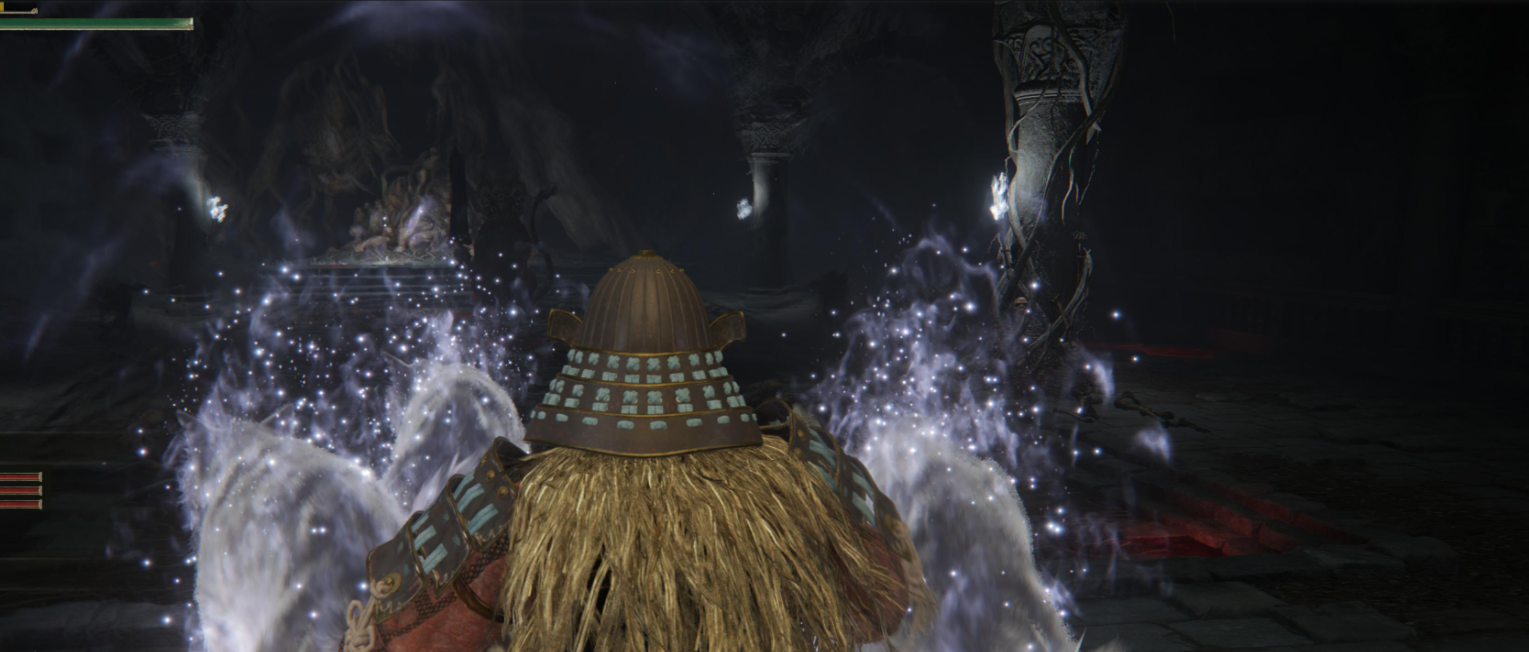
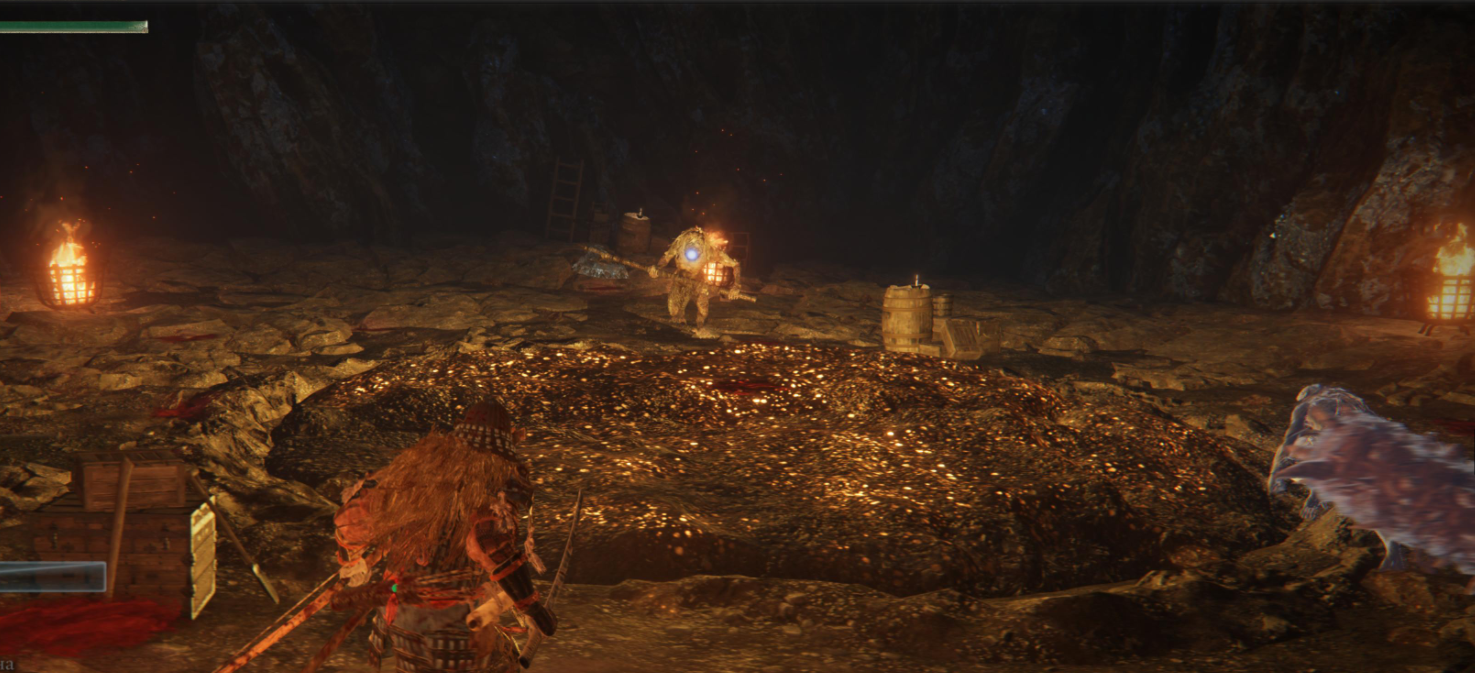
Behind him in the mountain is a descent into the cave. We go inside and activate the place of grace. We take the item "Small Golden Figurine" to join someone else's game and help other players with bosses. Further progress will require a torch, however, we were able to clear the dungeon without it. In this case, visibility will be minimal.
In the cave, we will face the wolves - a large group at the fire, two near the fireflies near the wall and one at the passage on the right. We teleport to the merchant, buy a torch and go back. If we move on the right side of the cave, then we will immediately go out to the last wolf and the passage to the boss. We move forward and make our way through the fog.
How to defeat the Farum-Azula Beastman boss and get the armor piece
This boss is one of the weakest in the game. The enemy consistently uses combinations of sweeping blows, trying to jump to the hero and inflict damage on him. He also often prepares for a strong attack, which is easy to dodge to the side. In the intervals between combinations of blows, we carry out several accurate attacks and continue to dodge. After five or six approaches, the enemy will die. We return through the teleport to the entrance to the cave.
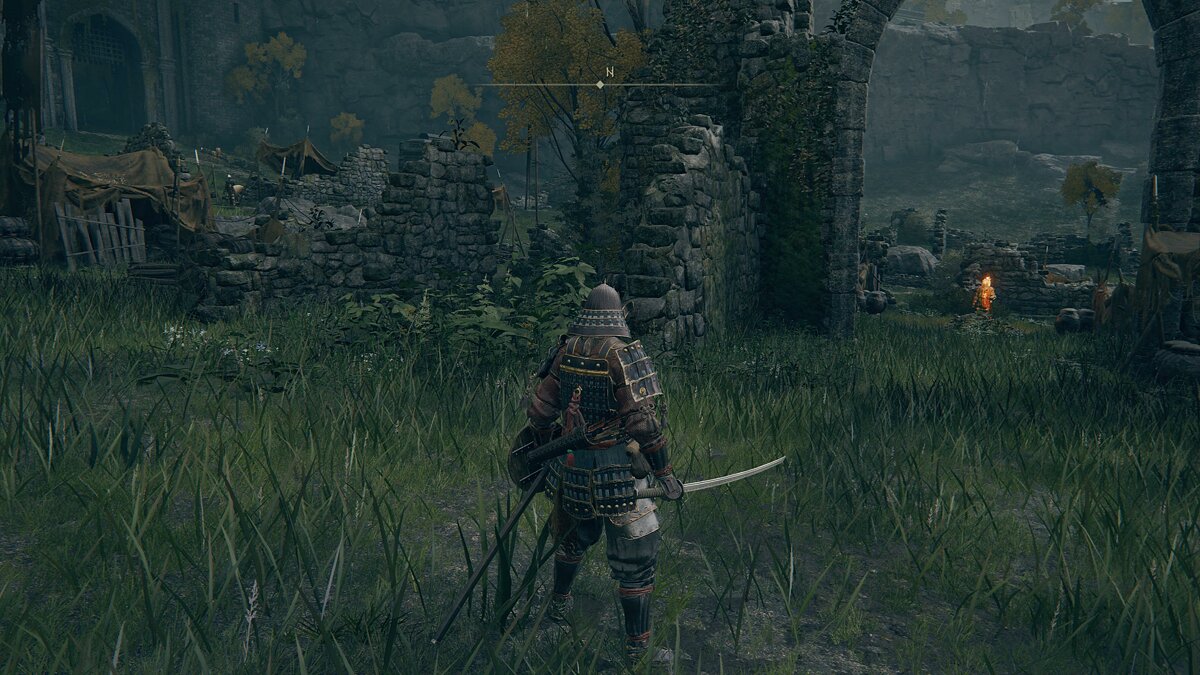
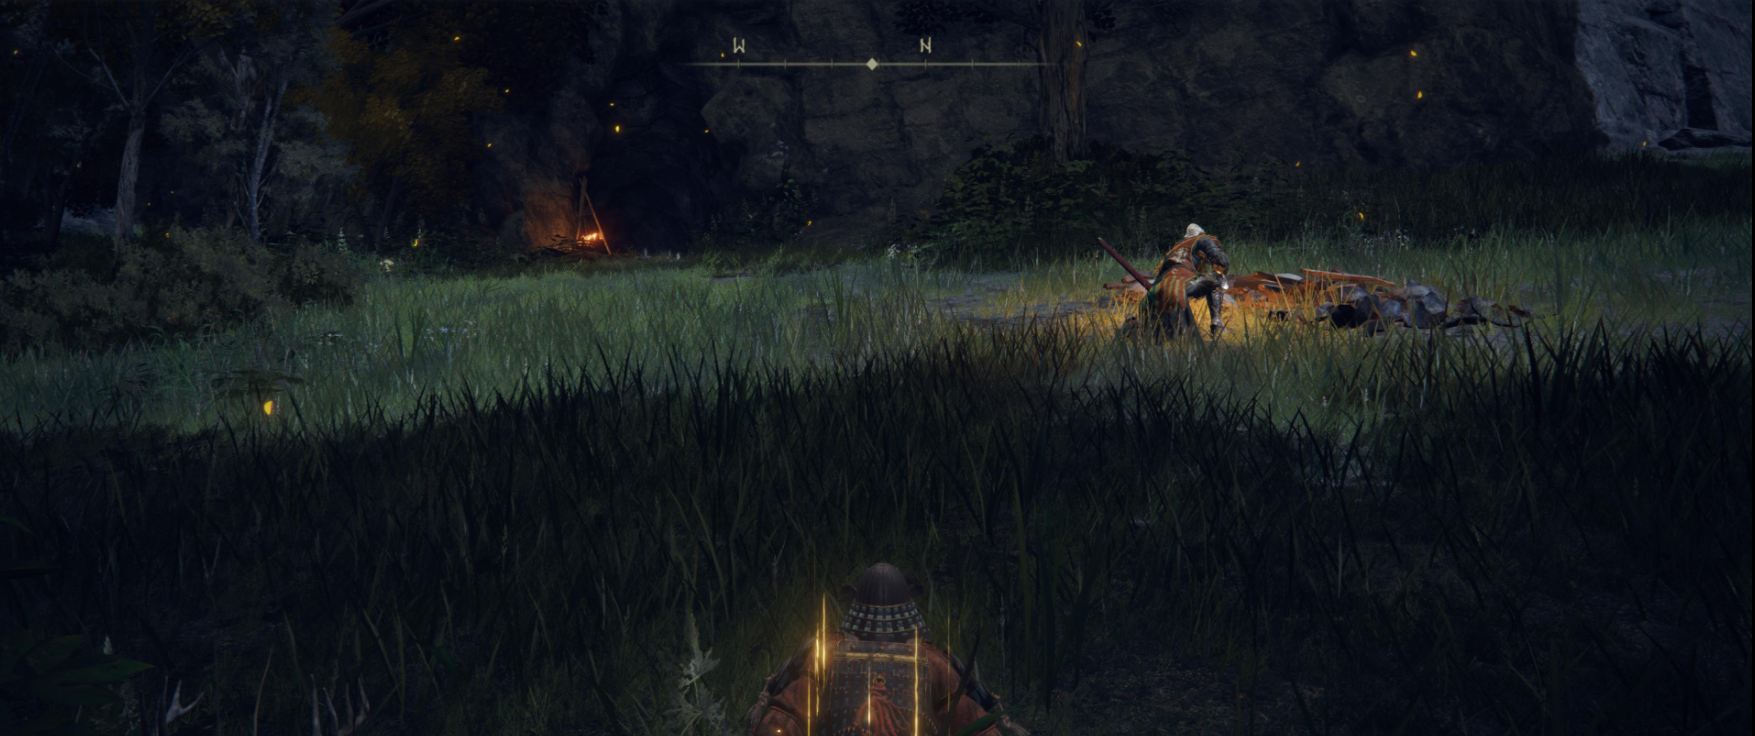
We follow the path to the ruined outpost. There are a lot of guards in it, it will not work to attack them all at once. Try to approach each opponent from behind, use a backstab and finish with quick attacks if necessary. On the central road, there is an enemy with a horn and a warrior with a long spear and a large shield. If the first one blows the instrument and raises the alarm, then the entire outpost will begin to hunt the hero.

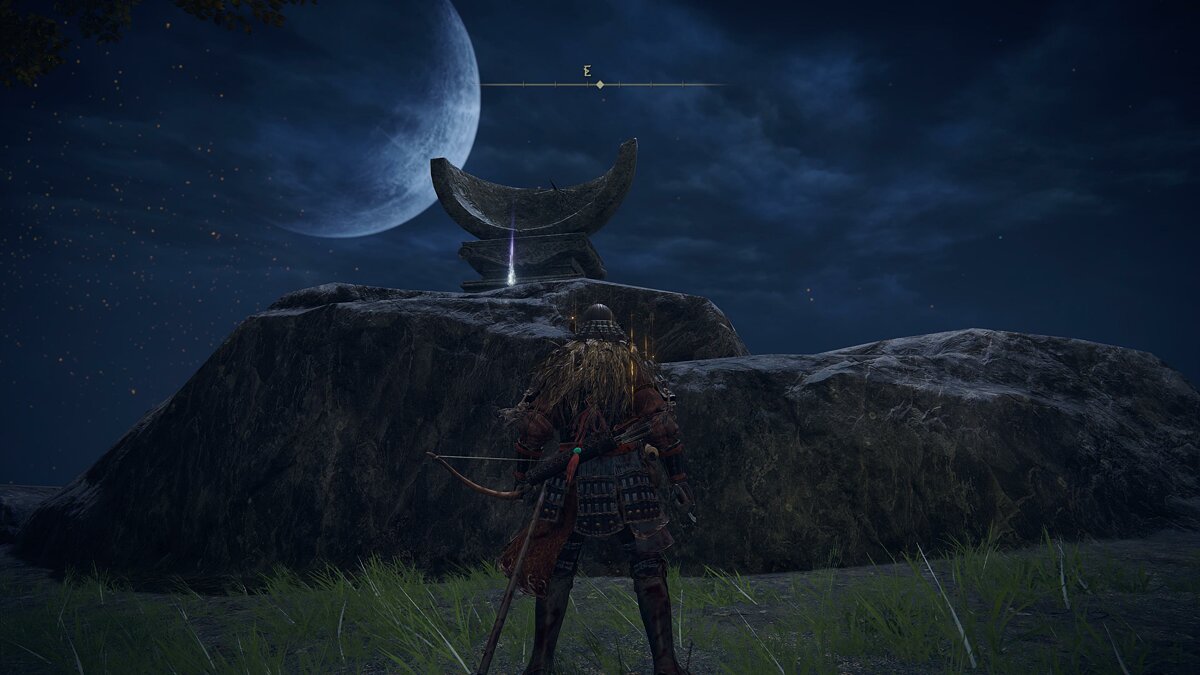
We carefully eliminate the guards on the left side and examine the large monument - the player will receive a map of the area "Graveyard, West". It is recommended to hit a strong enemy only from the back. We carefully take him to the wall and run around it until the enemy loses sight of the hero. After several successful attempts, the knight will fall. We get an element of armor from it.
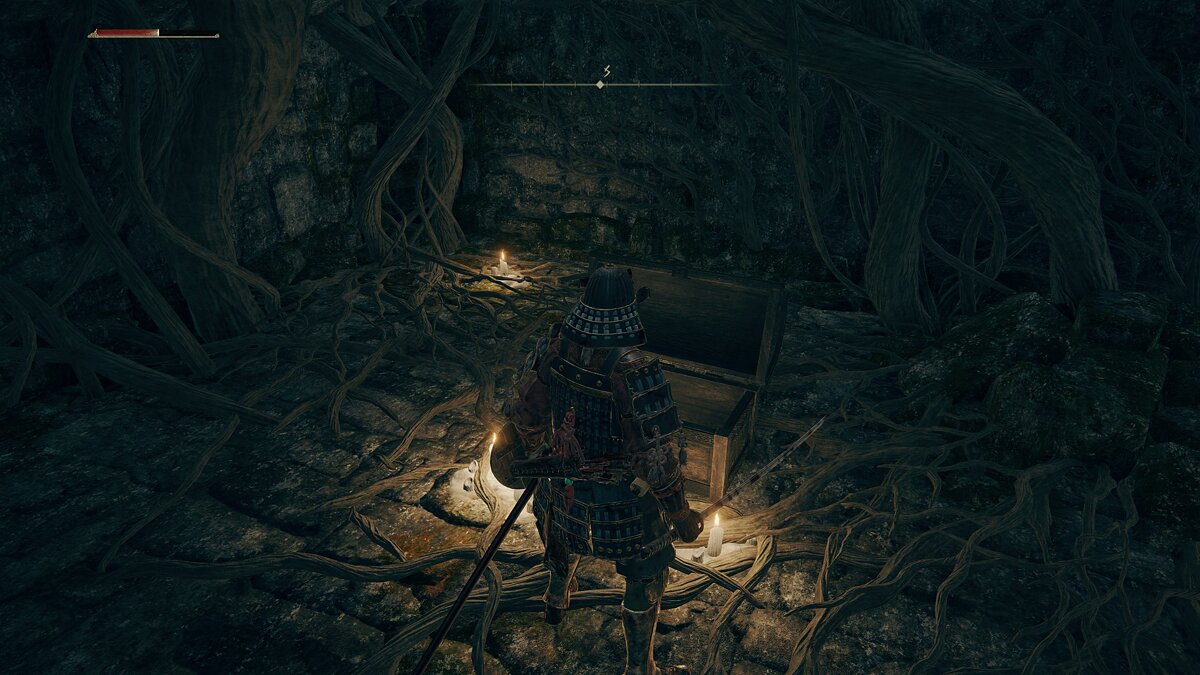
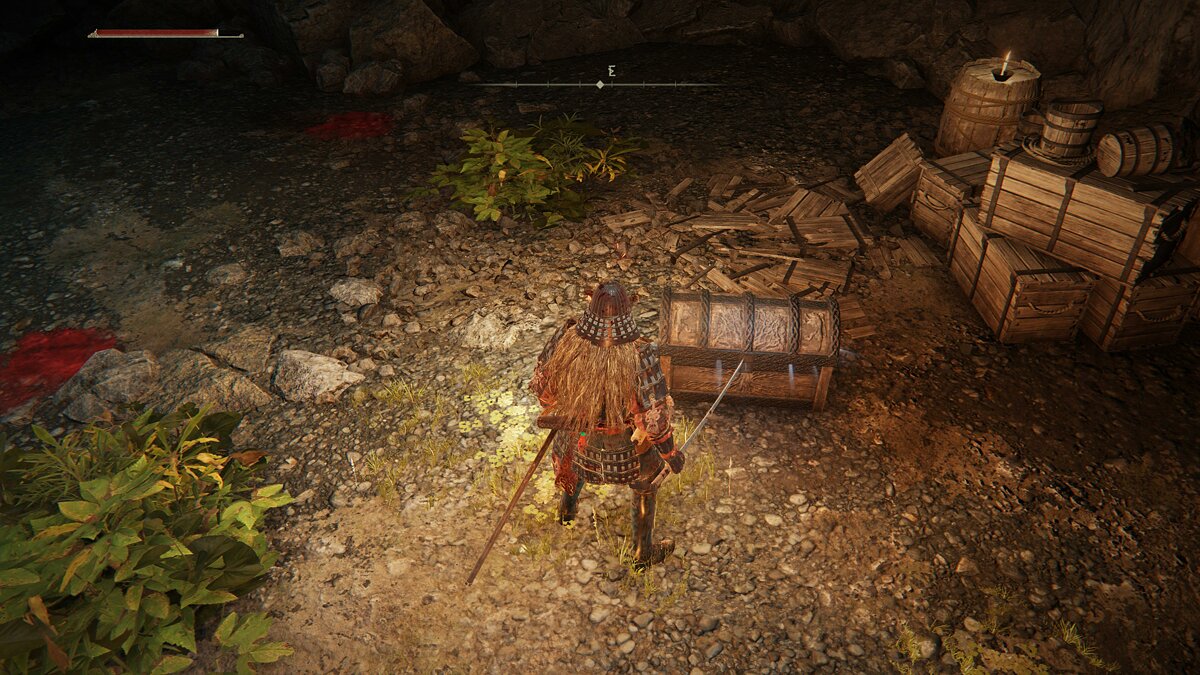
After clearing the outpost, we descend into the dungeon. The stairs to it are on the side of the road. We examine the chest and get the first improvement for the weapon "Ashes of War: Lightning Strike". You can install an improvement only in a place of grace. Please note that to use these techniques, you must remove the weapon from the second hand.
How to create and improve items. What are runes for?

After accumulating a certain number of runes, you need to return to the merchant and purchase the "Master's Set" (300 runes). Now the player will be able to create items on their own. It is also recommended to buy three reference books to learn new crafting recipes:
- Nomad Warrior's Handbook [1] - 500 runes.
- Nomad Warrior's Handbook [2] - 500 runes.
- Preacher's Handbook - 1000 runes.
We can buy a telescope for 500 to look at objects in the distance, a set of armor, a letter from a nomad, and a note. To the right of the outpost of the knights, we activate the place of grace and get a horse.
After opening the horse and returning to the Elle temple, we talk with the witch. The girl will provide the hero with "Bell to summon spirits" and "Ashes of lone wolves". From this moment on, the hero can call on helpers to fight opponents.
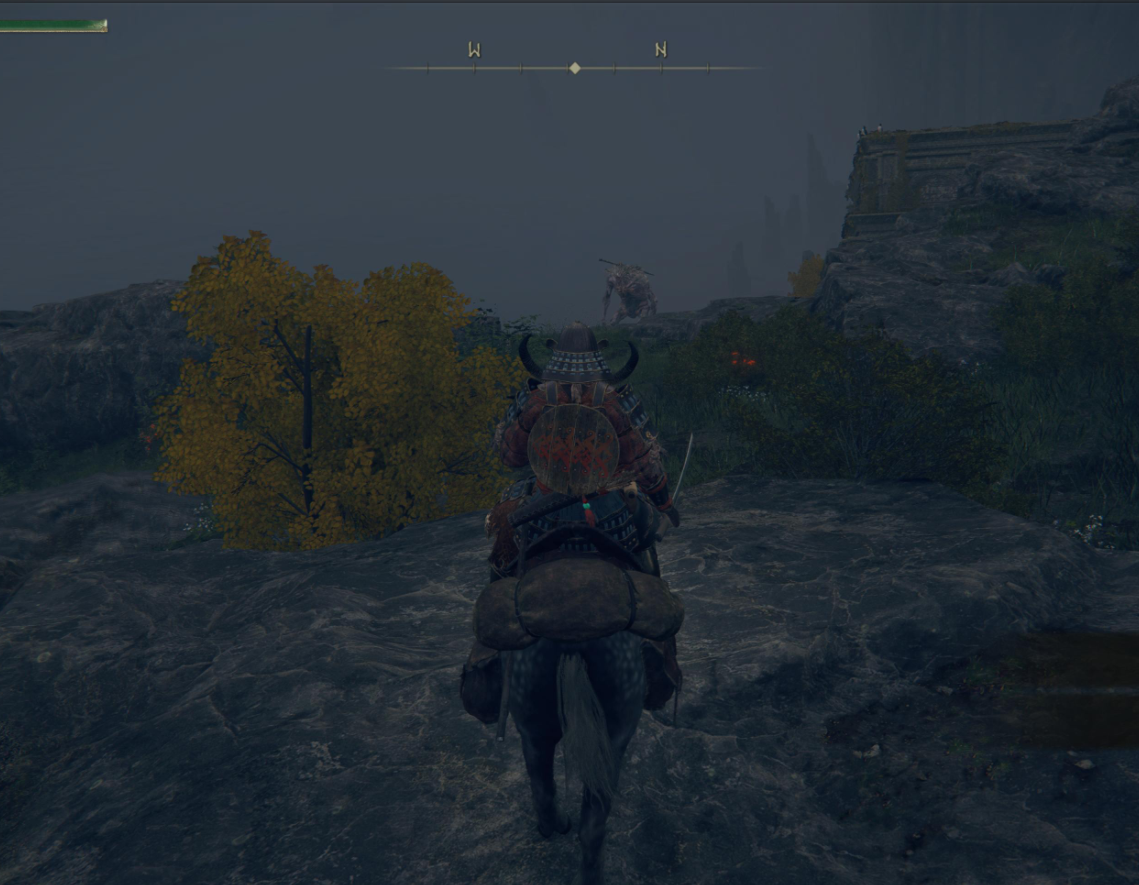

We return to the first place of grace in the open world and leave to explore the coast. Wherever possible, it is recommended to use a horse in battles. First, carefully go down the left side and kill the giant. To do this, we dodge his kicks and inflict as much damage as possible at a time. The enemy will fall very quickly.


We go down to the very bottom to the extreme part of the coast. Near the columns, we notice moving white footprints in the sand. We predict the further path of an invisible creature and use the attack. We select "Ashes of War: Stomp (swipe)" to improve weapons.

At the fire on the right from the back, we attack the enemy and quickly finish him off, and then pick up the item.
Along the coast, we destroy all opponents and near the fire, we will find one more merchant. We buy from him "Handbook of the gunsmith [2] for 600 runes At the end of the coast, we will meet skeletons. After they fall to the ground, one more blow must be delivered for final death. We pick up the item "Gilded bird's foot".
It is possible to get upwind here, but it is not required to do this now. We return back, we pass by the merchant and turn into the dungeon. You must first take a torch with you. We defeat a small detachment of opponents and get to the room with two bosses.
How to defeat the boss Demihuman Leader

Two serious enemies and several minions, whom the player met at the entrance to the dungeon, are immediately waiting in the cave. We immediately call on the wolves and carefully call the first boss. The second powerful enemy is very far away, so it may not react to the player's movements.
Boss attacks are reminiscent of the actions of the Beastman - sweeping attacks with attacks on the hero. We dodge the first moves and hit the enemy from behind. It is also recommended to get rid of all small opponents, otherwise, the battle may turn out to be fatal for the player.
After defeating the enemy, we are in no hurry to go back. We move deep into the cave, simultaneously getting rid of all opponents, and get out on a small island. There will be no opponents here, so we collect all kinds of supplies and activate the place of grace.

Powerful abilities can be unlocked inside the temple, however, to obtain them, you will need to kill the dragon and take at least one heart. In the south of the island, we will find blacksmithing stone of darkness. Again we return to the first place of grace, activate it, and prepare for a fight with the rider.
How to defeat the Tree Guardian boss and get the Golden Halberd weapon
This enemy should not be attacked without a horse. At the initial stage, such a fight will be deadly. We call on the wolves and try to circle around the opponent as often as possible. He prepares an attack, so it's best to activate the acceleration, run away, and then approach the boss again and deliver a couple of accurate blows.
Most likely, towards the end of the battle, the assistants will already be dead, so we try not to take risks, keep our distance, and beat the Tree Guardian after successfully dodging his attacks. As a reward, we will receive the Golden Halberd weapon.
We go down to the swamp and go to explore the southern side of the location. In a straight line, we will reach the ruined outpost with many skeletons. Cleaning up the location. It is not necessary to go down to the dungeon, because after killing all the rats and opening the chest, the hero will be transported to another place with strong opponents. In this case, you have to get to the nearest place of grace in order to return back. For pumping, we kill various monsters and move south. We will examine the northern and eastern parts of the swamp later.

Not far from the southernmost point of the swamp we find a place of grace. From here we go north along the road, destroying all enemies along the way. Also, on the other side of the road from a safe point, you can climb a hill and clear out a small fortress of guards.

Here it is advisable to quickly run to the magicians on horseback or kill them with aimed shots from a bow or crossbow. At the outpost in the chest, we will find the weapon "Big Sword".
Behind the fortress, we find a semicircular monument, on which we pick up Starlight Shards.

On the way to the north, we will find ruins with poisonous flowers. They need to be attacked by swoops - we run up, inflict a few blows and run away until the poisoning strip is restored. Here we go down into the dungeon and meet a powerful enemy.
How to defeat the Pumpkinhead Madness boss and learn the first spells

At this stage, it will be easy to kill the enemy. In addition, the player can summon wolves and mount a horse. After entering the cave, we immediately call assistants and dodge the boss's attack. We sit on horseback, move away and restore health if necessary. We circle around the boss and finish him off with a few simple attacks.
After the victory, we open the door and get acquainted with the sorceress Sellena. The girl will help you learn a few spells, but you won't be able to use them without a staff. We go outside and go further north. Next to the ruined building, near a large pillar, we find a gilded bird's foot.
On the way, we will notice two giants who are pulling a large cart. With the help of a horse, we kill small enemies, then we fight with the giants. To do this, it is enough to circle around the legs and prevent them from stepping on the hero. In the north, we notice a black knight and prepare for another fight. At this point, it is desirable not to lose a single health recovery potion.
How to defeat the Nightriders boss and find the "Sword Key"

The opponent often uses long-range lunges with several quick attacks. As in the battle with the Guardian of the Tree, it is advisable to speed up on a horse and dodge enemy attacks. We also use helpers.
We run-up to the boss, deal a few blows, spin around the rider, attack, and run away. We remember his attacks and move away from the boss at the right moment.
After the victory, we get "Ashes of War: Multiple Attack".


After the fight, we clean the nearest territory and find a telescope nearby. In the neighboring bushes, the hero will hear a voice. Attack a small tree and a rat-like man will appear. We get mushrooms as a reward and ask him for a favor.

We return to the south and along the road, we reach a small bridge. As soon as the hero approaches the guards, he will be attacked by a ballista. We run after her and calmly defeat all enemies on horseback.

We find the sword-shaped key. We pass through the bridge and get acquainted with the girl. She will ask you to deliver the letter to your father in the fortress. We are not going to complete this task now, because the hero will not have enough strength to clear the fortress.
How to complete the task of the blind girl Irina. Where to look for Morn

After meeting Irina, we run from the bridge right along the road. We destroy a huge giant with a bow and go inside the castle. To do this, we circle near his feet and do not allow the enemy to hit the hero with a crossbow. It will be impossible to use a horse inside the castle. We rise along the bridge to the second floor.
We clean the yard and from the pumpkin head, we go to the right. We go up the stairs, kill four opponents on the long bridge and follow to the left. We pass by the fighting guards with monsters and climb the tower. Meet the commander of Morne Castle. The man will refuse to leave the fortress unprotected.
We rid the castle of monsters and defeat the boss. We return to Irina, but we will find only her corpse. We go to her father - now the man is ready to go to his daughter. We follow the girl's body. The commander of the castle will find the dead Irina and promise to avenge her death.
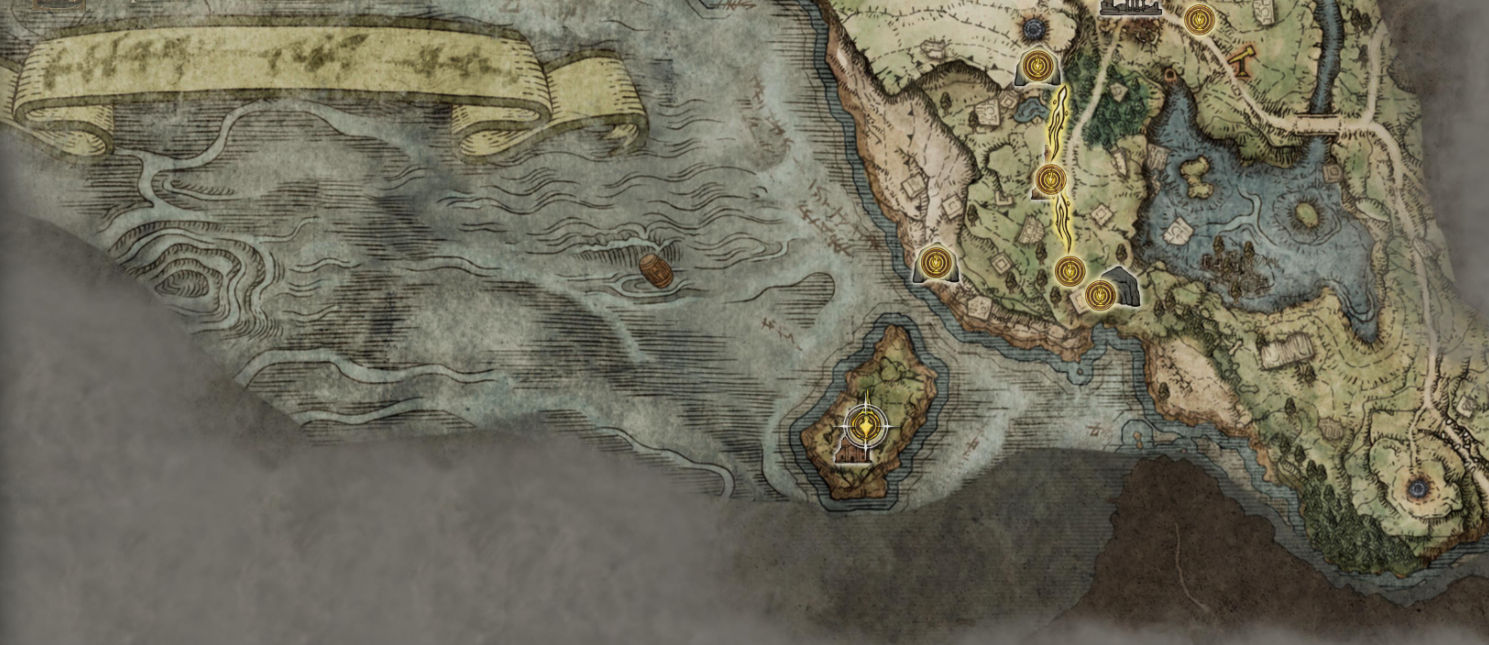
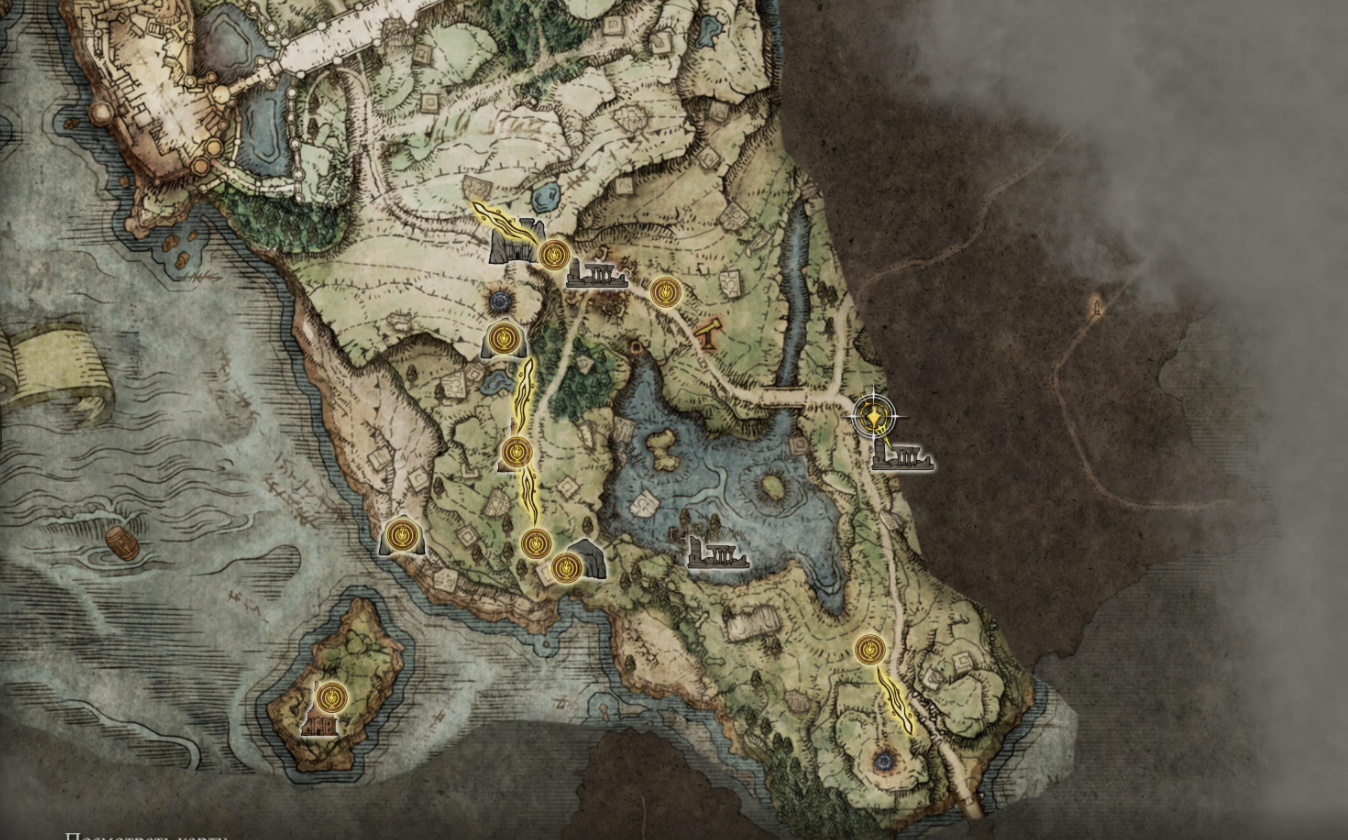
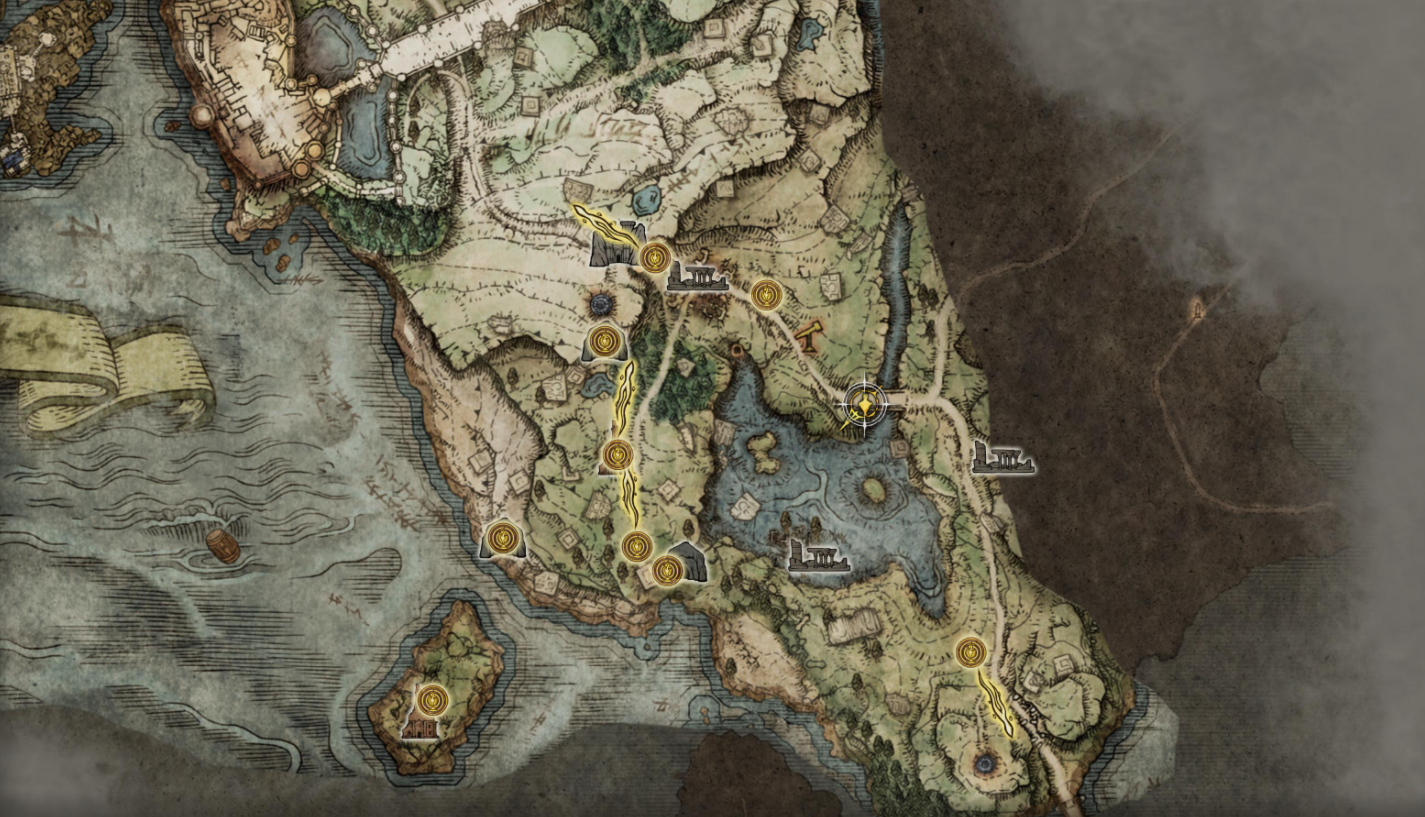
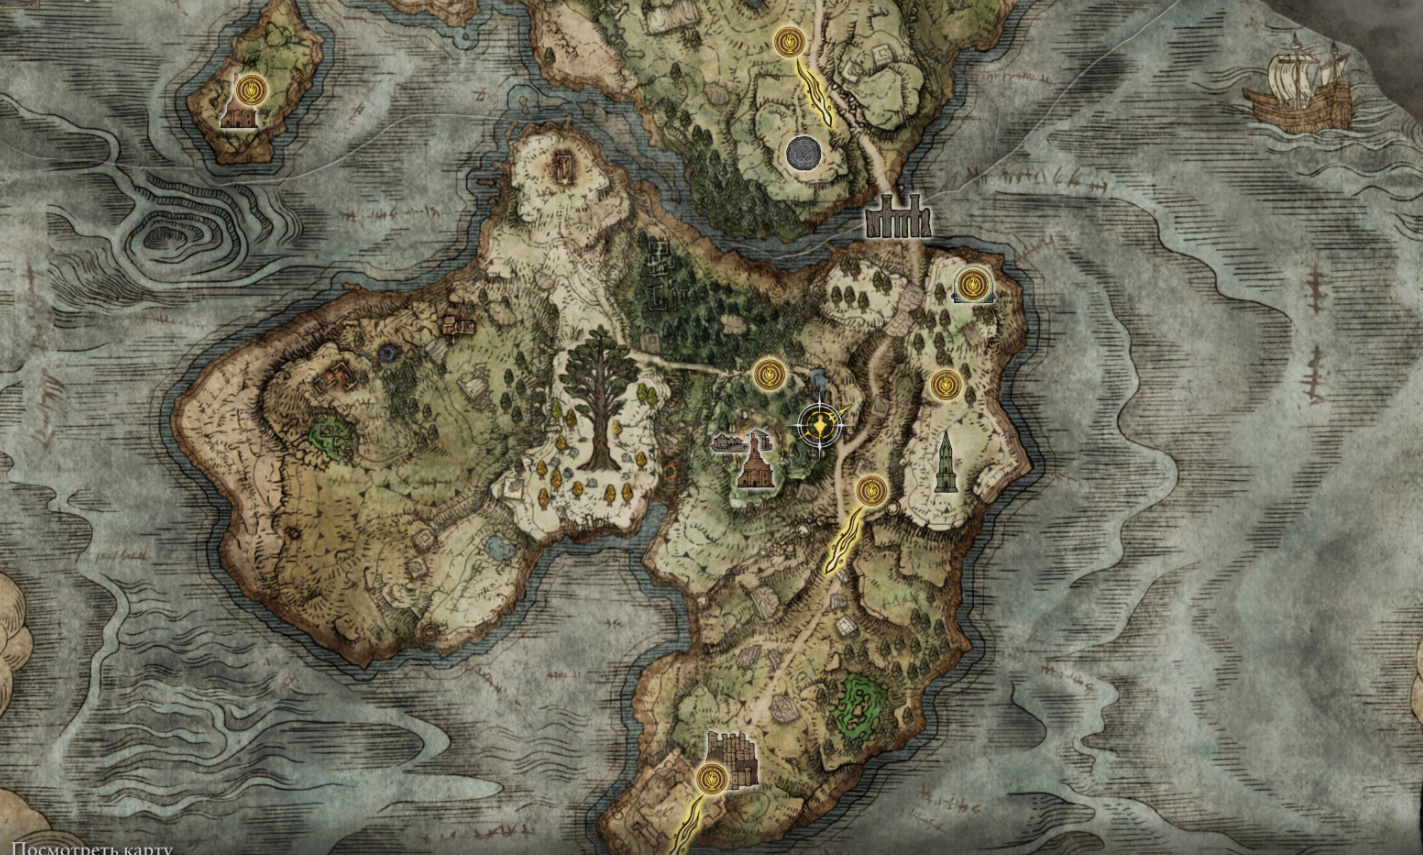
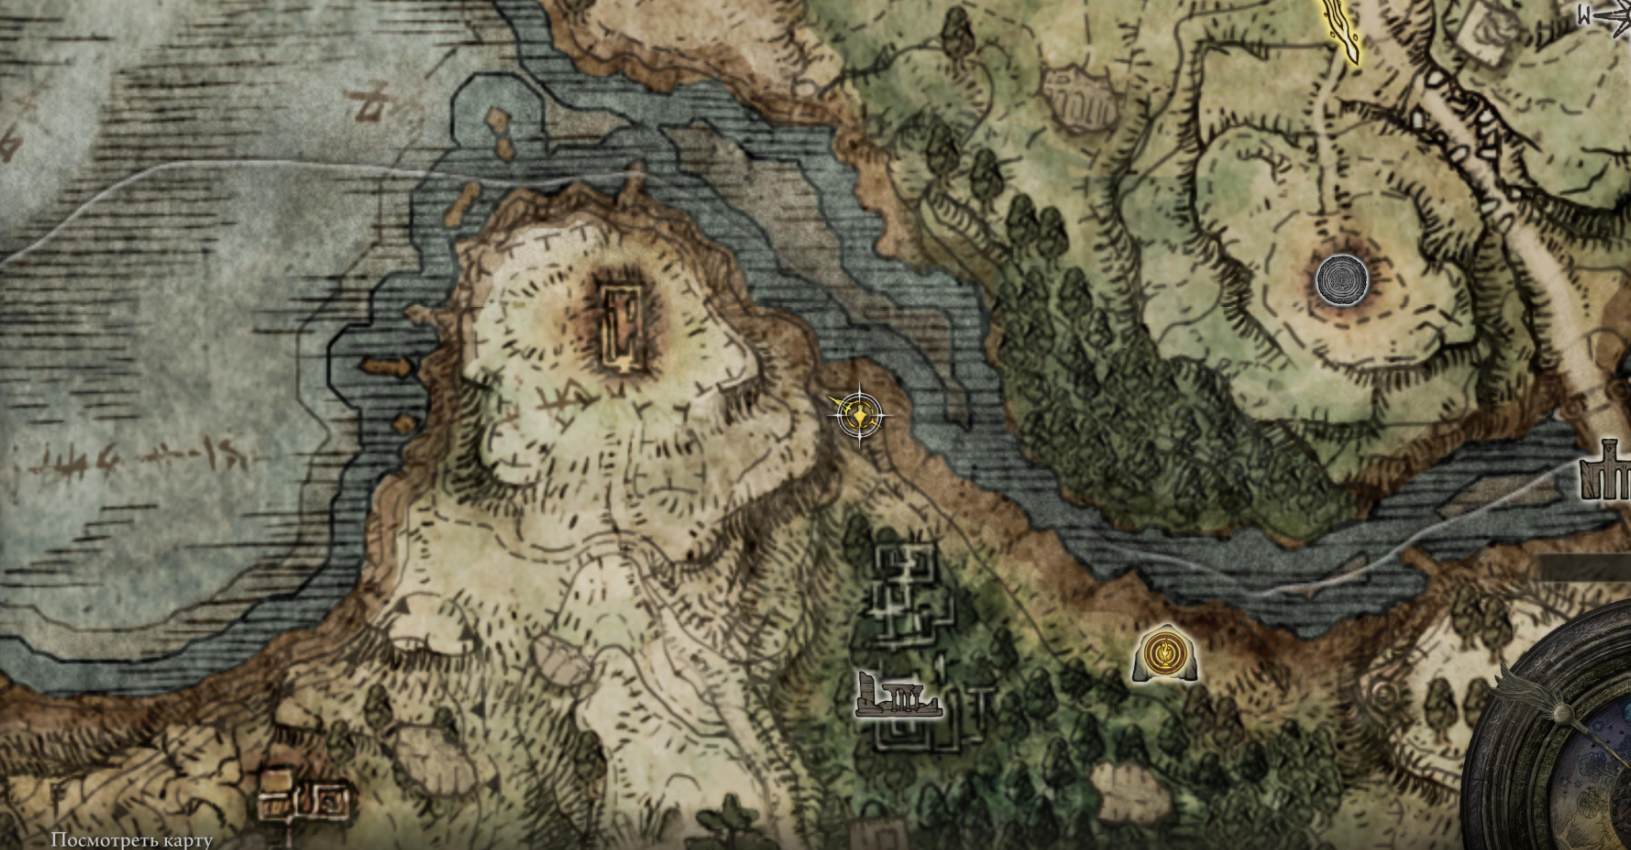
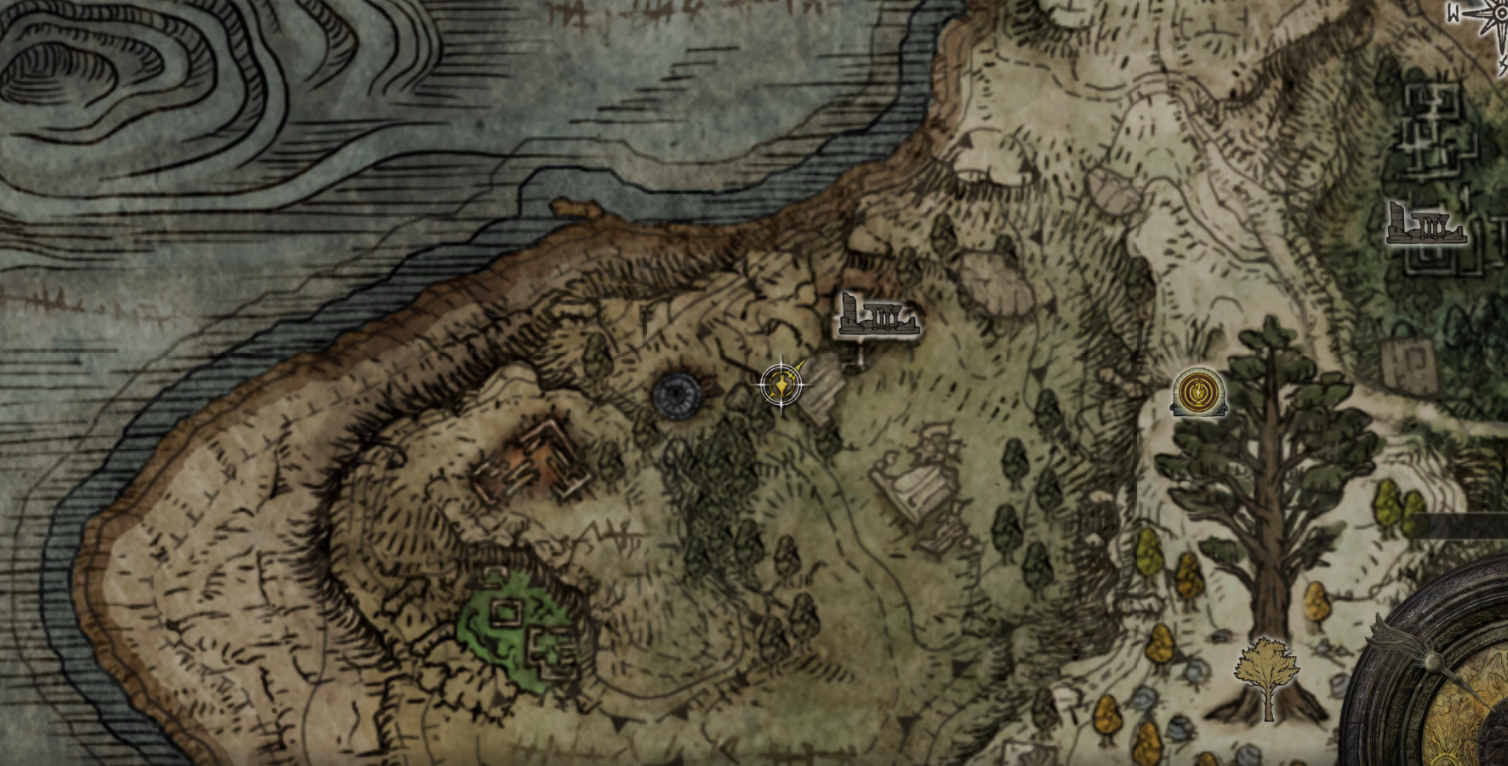
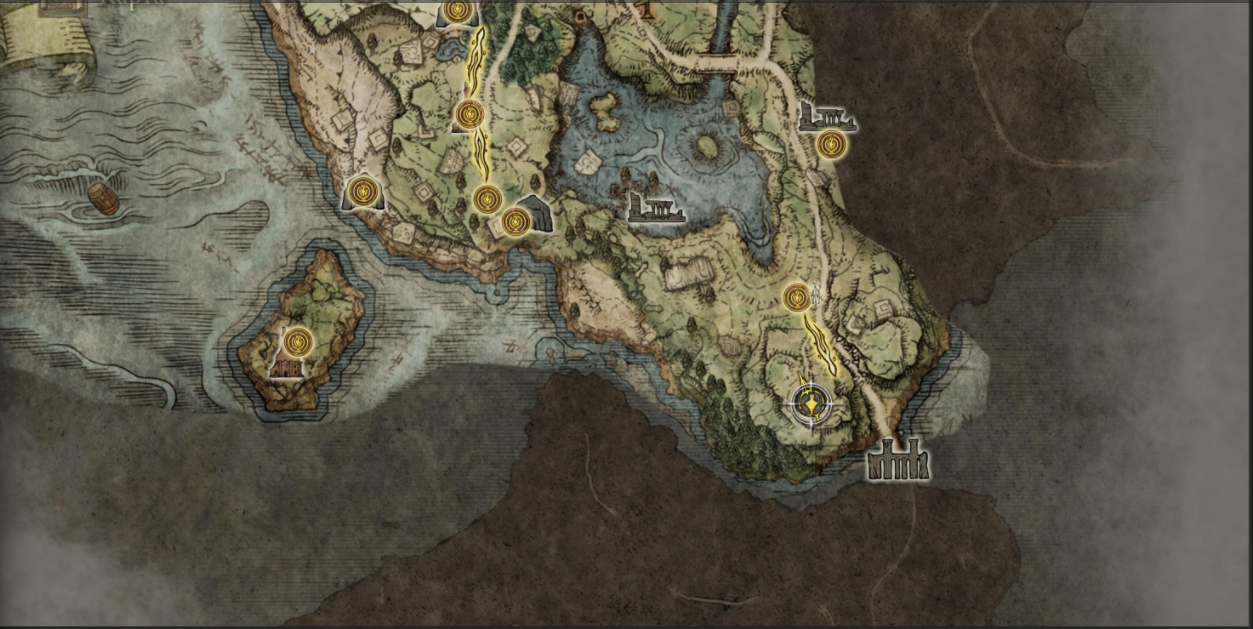
How to find the Golden Seed, Poison Mist, and War Ashes in the Weeping Peninsula
After meeting with the girl, we move straight along the road. In a bunch of monsters, we will find a blacksmith's stone by the cart and a rune of a dweller of the outskirts. Further along the road, we destroy the ball and find "Ashes of War: Mighty Volley". We go forward and behind the destroyed building we will find a merchant and a place of grace.
Most useful items:
- Sword Key - 2000 runes.
- Crimson Amber Medallion (an amulet to increase the hero's health) - 1500 runes.
- A note about demihumans - 500 runes.

We follow forward to the monument with the map. The hero is attacked by a giant archer. We defeat the enemy and activate the place of grace in the fortress. We'll come back to clean it up later.

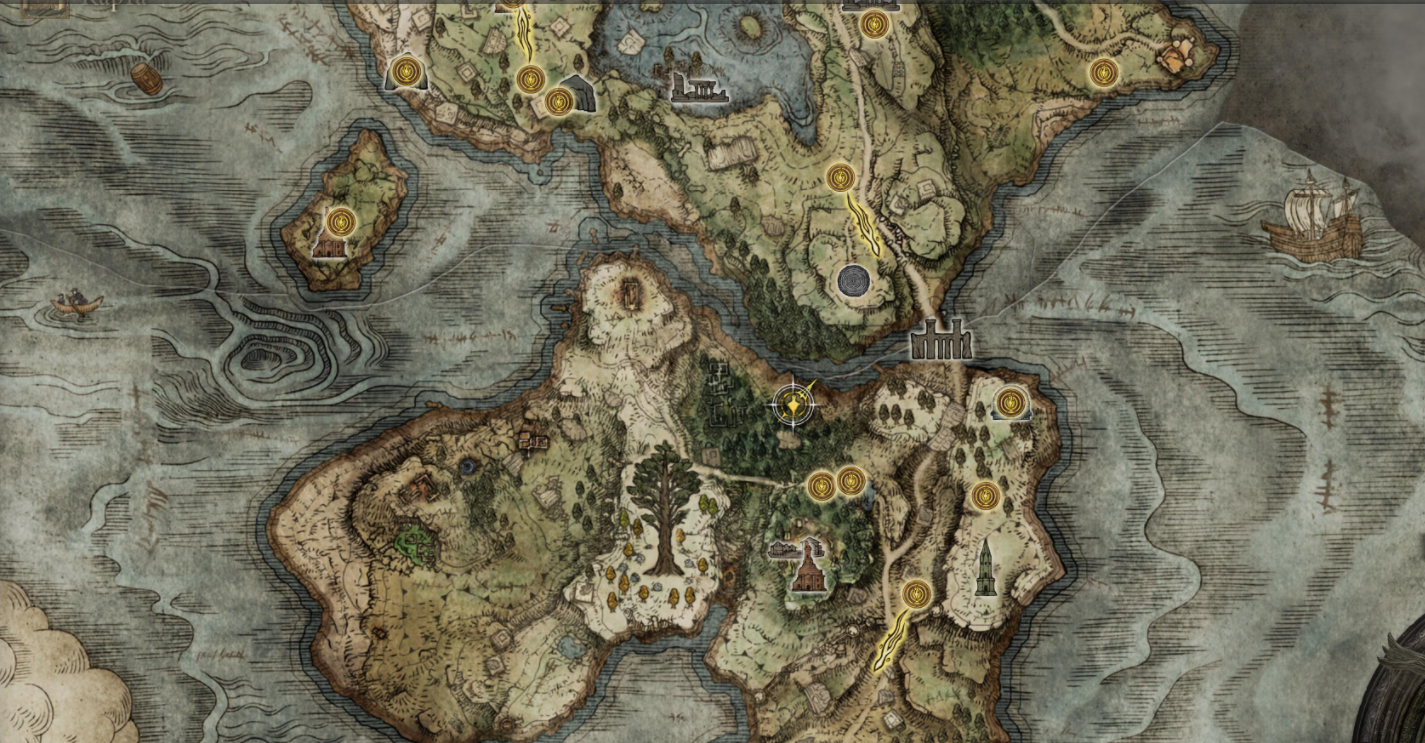
We move back to the monument and open the map of the Weeping Peninsula zone.


We turn to face the castle and move diagonally to the right to the tree glowing on the hill. We pick up the "Golden Seed". We go to the northwest of the fortress towards the poisoned swamp. On the central stones at the very top, we will find the rune of the inhabitant of the outskirts. We follow to the north and in the forest, we will find a luminous ball. He can teleport. We destroy it and get the spell "Poison Mist".
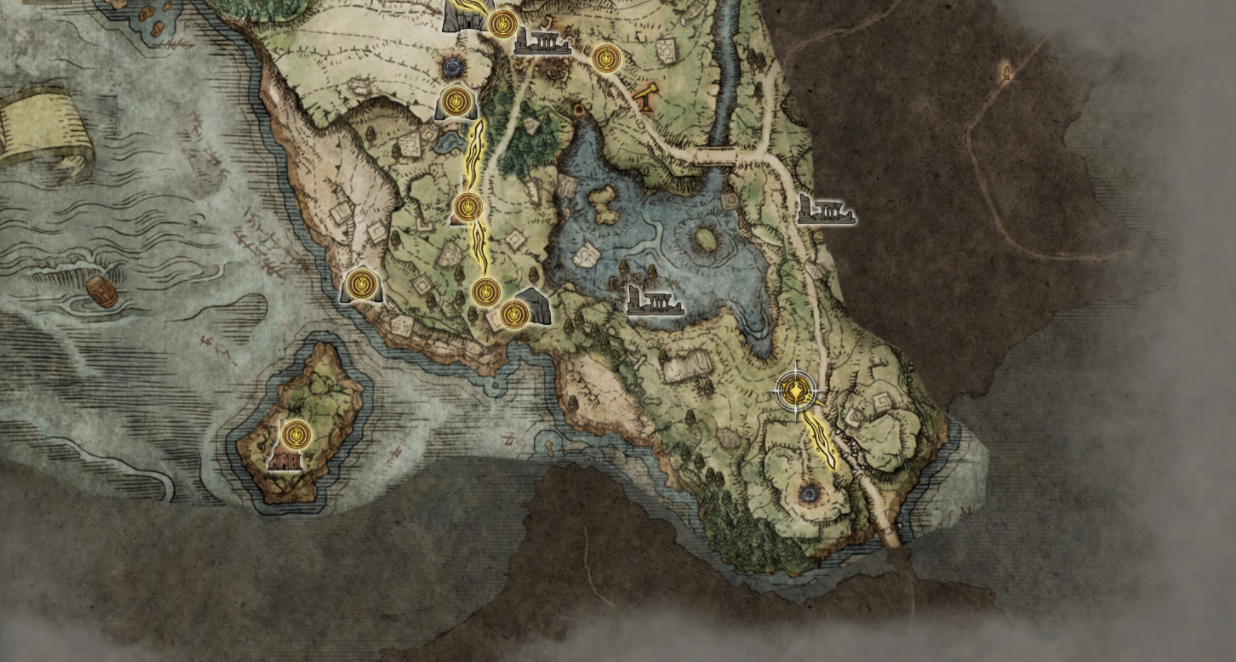
Where to find the three wise beasts. How to get into the tower
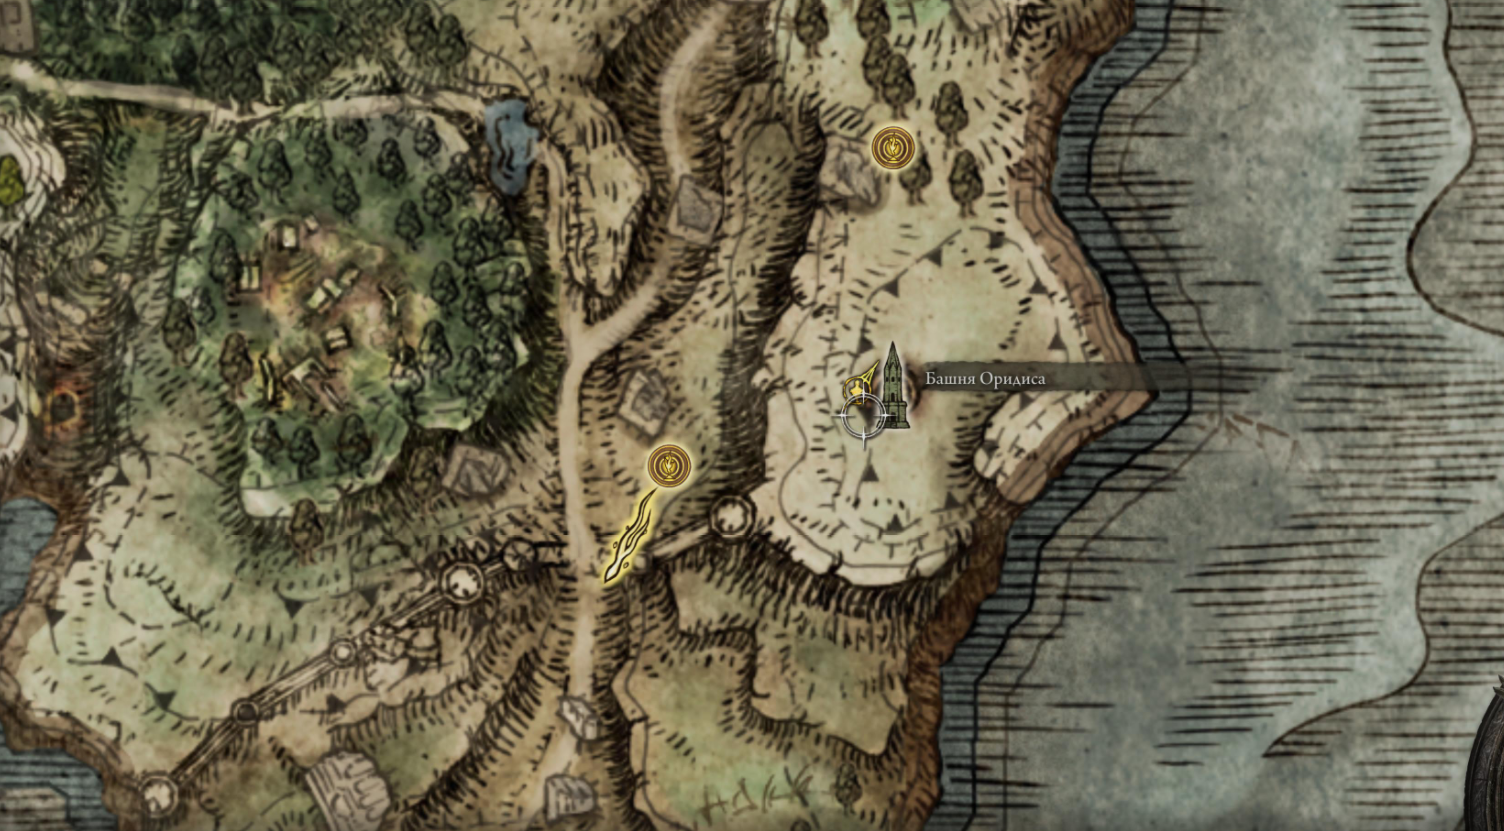
We return to the place of grace "The Bastion of Morne Castle". Use the airflow and jump onto the rock. We follow the tower. The passage to it will be closed. We examine the statue next to the book.
The player needs to find three white turtles:
- To the left of the stairs to the tower.
- Opposite the stairs.
- In the center of the lake behind the tower. This animal is invisible, so you need to get into the water and wave the blade in different directions.
We open the door and climb to the top floor of the tower. In the chest, we find a stone of memory.
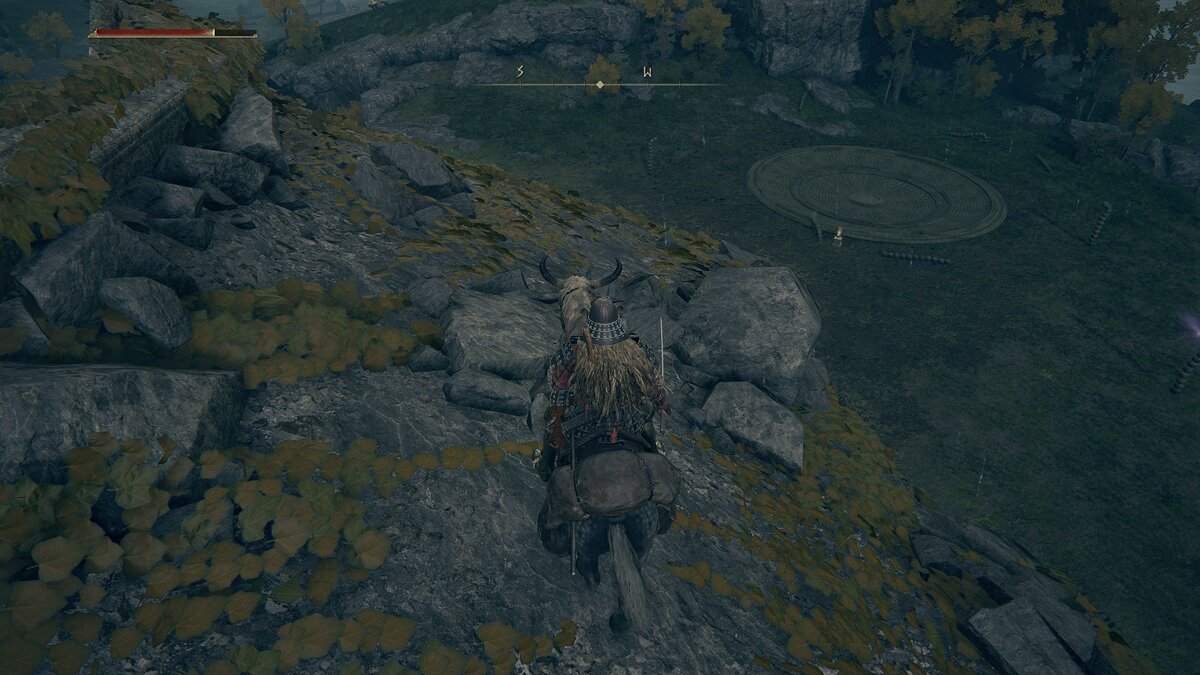
After studying the tower, we go to the cliff in the east and pick up starlight fragments from the semicircular monument. We move along the edge to the north, we go down to the catacombs of the Impaler and activate the place of grace. We will return here later.


If you continue along the upper part of the island, you can find the xiphoid key on the chair of the dead man. Between the catacombs and the tower, we will find purple craters with a detachment of skeletons. Here you can collect a fan-shaped gravity stone and a piece of gravity stone from opponents. After defeating the enemies, the purple glow will go out. At the nearest wreckage, we activate the place of grace.
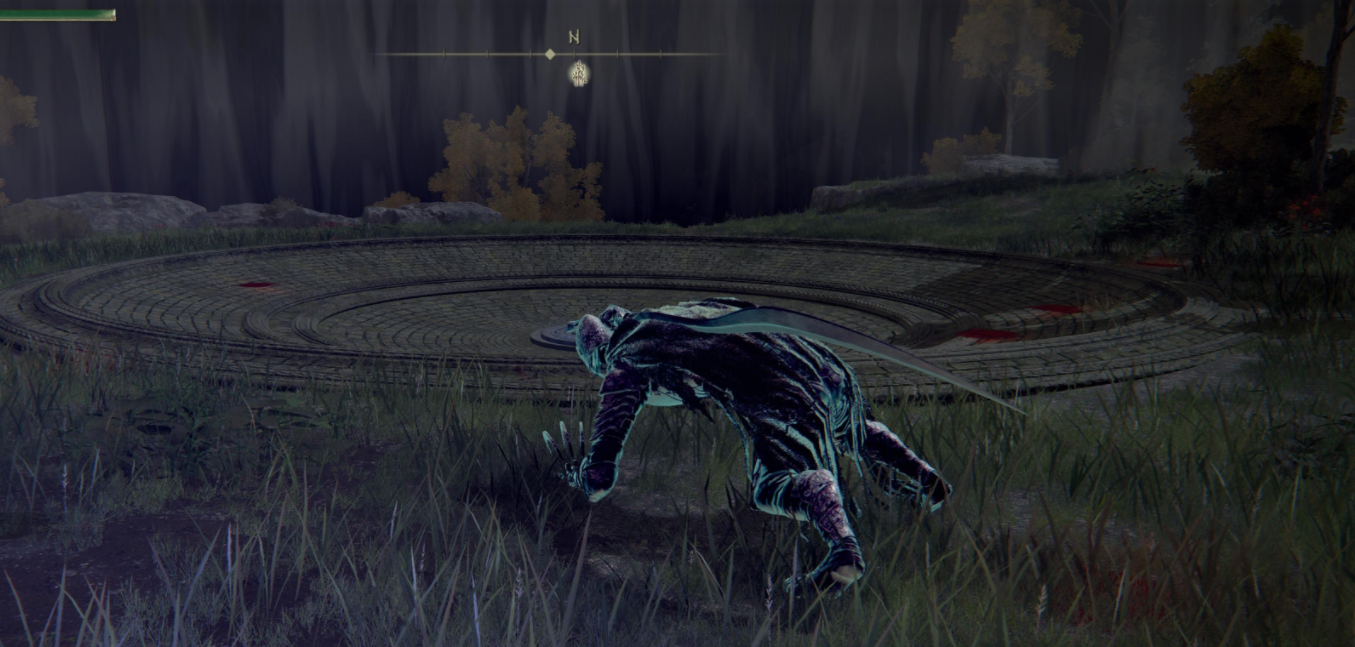
How to defeat the boss Nerijus, the Bloody Finger
From that moment on, we decided to level up a bit and returned to the swamp to a nearby location to explore the long stream. In this place, we will meet again with skeletons. We get to the fire and the cave. The player's ghost will attack the hero - Nerijus, the Bloody Finger.
The opponent is very fast. Against him, you can not use the call of ghosts and a horse. We dodge enemy attacks more often, drink a healing potion in time, and attack. After a while, a friendly character will join the battle and help deal with the enemy. For the victory, we will receive a potion of the Calling Finger and the sword Reduvius.
We pass into the Dirty Cave. Inside we activate the place of grace. In the next room, we carefully go around two traps and defeat the enemies. In the left passage, we find a chest with mushrooms. We leave along the right path and get into a small cave. Open the chest and get Woven Robe and Woven Pants. After that, you will have to fight the boss.
How to defeat Patchwork. Spare the enemy or kill
This enemy actively uses a shield for protection, performs a small combo with a spear, and pours fire on the nearest territory. We charge a strong attack and break through the enemy. We inflict several accurate blows and dodge enemy attacks.
At the end of the battle, we can spare the warrior and kill him. We chose the first option and Patchwork remained in the cave. As a reward, we will receive the "poor man's rune" and the "Pray for mercy" emote. We move to any other point and return to the cave.
From now on, some useful items can be purchased from Patchwork:
- Rotten bloodied finger for invading the worlds of other players - 1000 runes for 1 pc.
- Sword Key - 500 runes.
- Preacher's Handbook [2] - 800 runes.
If you open the chest in the cave again, the player will be transported to the eastern part of the location. Immediately we will find the item “Handbook of the nomad warrior [4]” near the body.

It is not necessary to fight a huge bear, so we run to the new monument for the map "Graveyard, East".

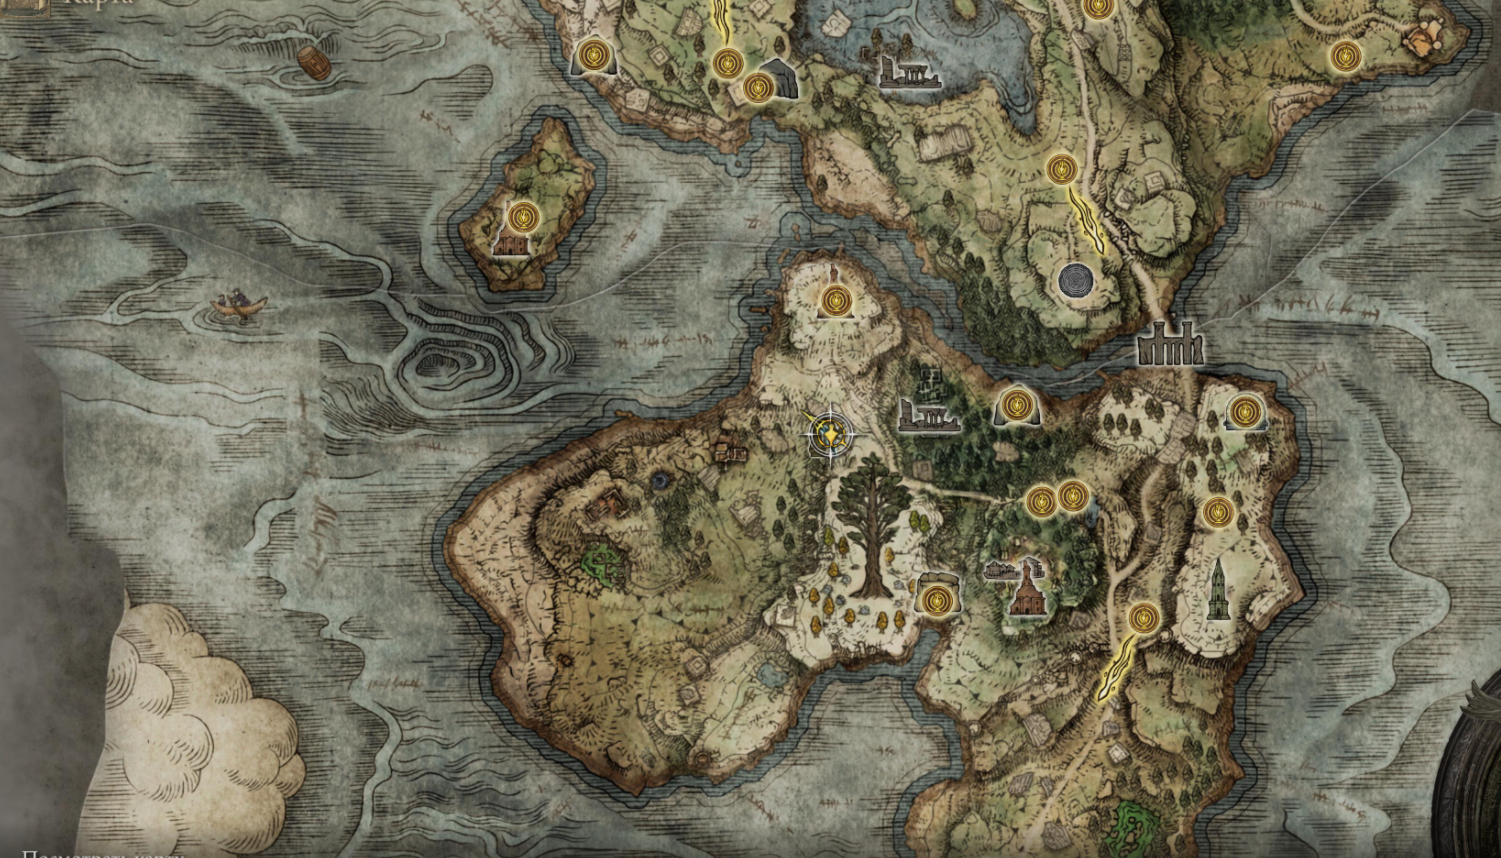
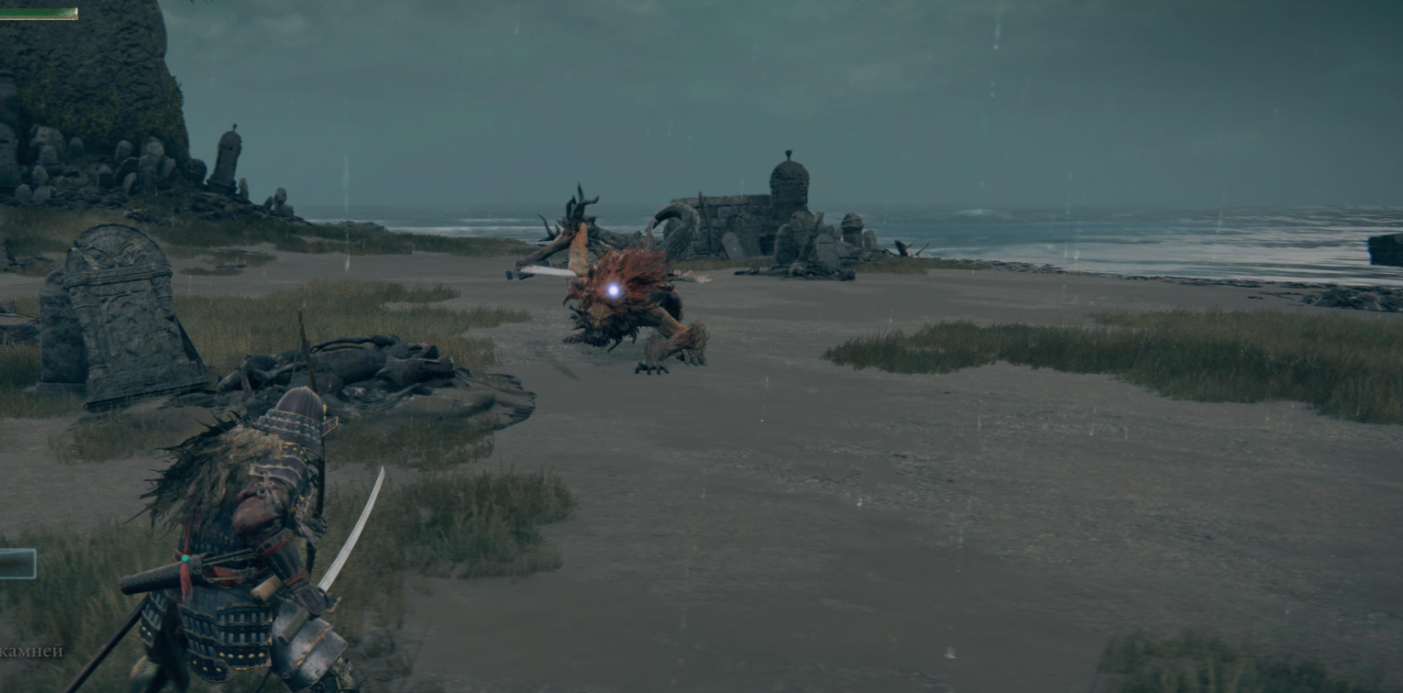
We are heading south along the road. Meet the ghost. From it, we go diagonally to the right and find a place of grace. From this point on, you can return to another location. We moved to a muddy cave and went to explore the western part of the swamps. Here we will meet the first dragon boss.
How to defeat the boss Eghil, the winged dragon. Where to find "Help Talking Head" and teardrops

The enemy uses several kicks, makes a sharp circular lunge, and pours fire on the hero from the mouth. The dragon also soars into the air to make a powerful attack or flood the swamp with a burning goop.
In battle, you must use a horse. We circle around the dragon and try to dodge its attacks and streams of fire in time. To do this, it is recommended to run away from the enemy away and move to the side. It is also desirable to call assistants who will distract the enemy in the first minutes of the battle.
As a reward, we will receive a dragon heart, which can be exchanged in the Temple of the Dragon Communion for a spell:
- Dragon Breath - Transforms into a fire-breathing dragon.
- Dragon Claw - Transforms into a dragon that rips enemies apart with its claws.
- Dragon Mouth - Transforms into a dragon that bites enemies in front of the caster.
Each spell requires high values of faith and sorcery, so it is best for a warrior to learn the very first skill.

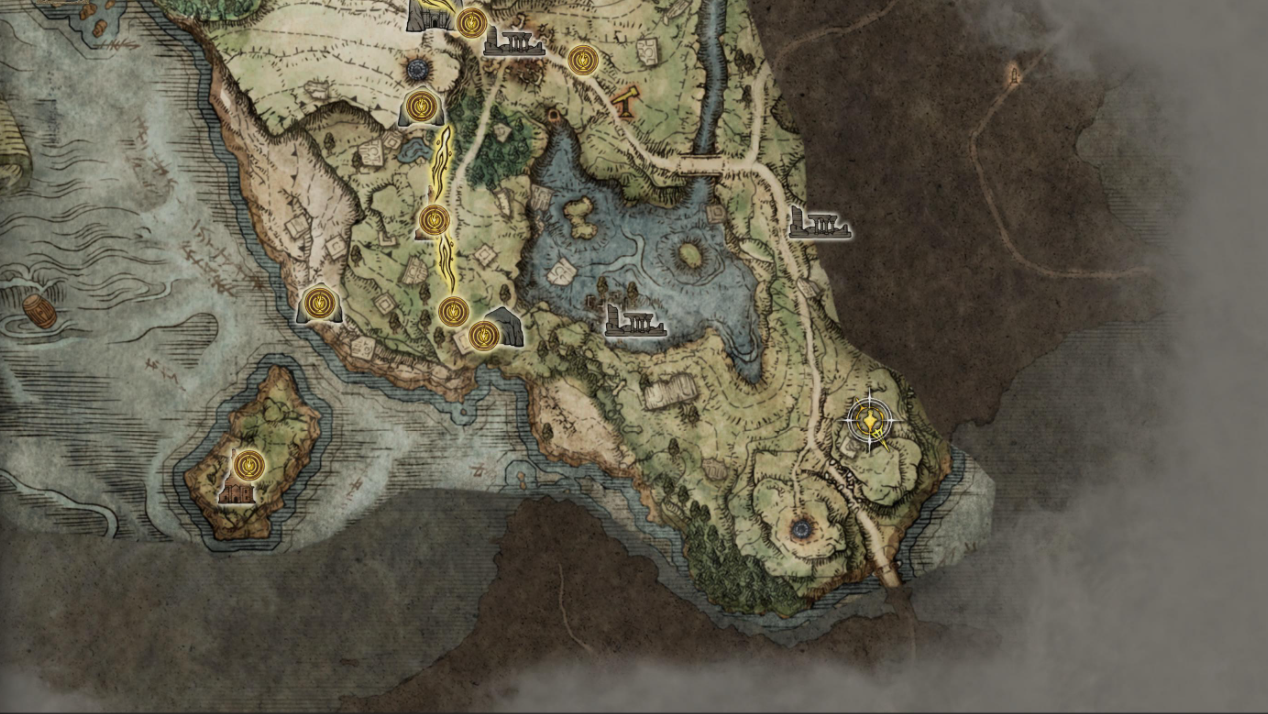
After that, we returned to the southern location in the Bastion of Morne Castle. We examine the mountain to the left of the road and find the Kallu Baptismal Church. We clean the territory from rats, take away from the column "Flame of Fury", and at the statue, we find the item "Drop of tears".

We follow to the northwest and destroy the enemies near the large fire at the ruined outpost. From one of them we will raise "Ancient sword". We are looking at other buildings. Let's find "Kite-shaped shield with emblematic fire". At a small fire near the cliff, we take away the rune of the inhabitant of the outskirts. In the east, near the cliff, we will find the weapon "Bastard's Shortbow".
Do not forget to increase the number of healing potions with the help of golden seeds and their power due to drops of tears. We move along the edge of the abyss and activate the place of grace. We teleport to the previous point and go along the road to the northwest. We find another place of grace. We move to the catacombs of the Impaler and clear the cave from opponents. We do not go into the large hall, otherwise, the trap will work. We take a step and immediately rollback. As soon as the platform goes up, we jump down.
We defeat the skeletons and pick up the item "Talking head "Help"". We use the stairs, activate the lever and through the tunnel, we reach the window. Through it, we will get into the doors with the boss. It is preliminary recommended to run to the place of grace and restore all spent elixirs.
How to defeat the boss Cerberus of the Cemetery of the Tree of Erd
Call for help right away. First of all, you need to clear the territory from minions. After that, you can concentrate on the boss. Cerberus constantly jumps at the enemy, uses streams of fire, and direct slashes and stabs in different directions.
We constantly dodge enemy attacks. If you have long-range weapons, it is advisable to stock up on shells and use only them in this battle. In close combat, warriors will have to dodge blows to the side and try to immediately deal damage to the enemy.
You can also run behind the columns, as they delay the boss a little. As a reward, we will receive the subject of the call - "Ashes of demi-humans".

We return to the point "South of the watchtower". We go into the forest to the northwest. On a small edge, we will find a small white tree. We inspect it and follow the tracks to the Underground Cave. Activate the place of grace. We run forward and go around the room with the chest along the right wall, otherwise, the hero will fall to a large cluster of rats.
Inside we find the item "Pinned Turtle Neck". We clean the territory and find a runic arc and kukri. We carefully descend into the abyss even lower and find ourselves in a cave with a boss.
How to defeat the Rune Bear boss and get teardrops
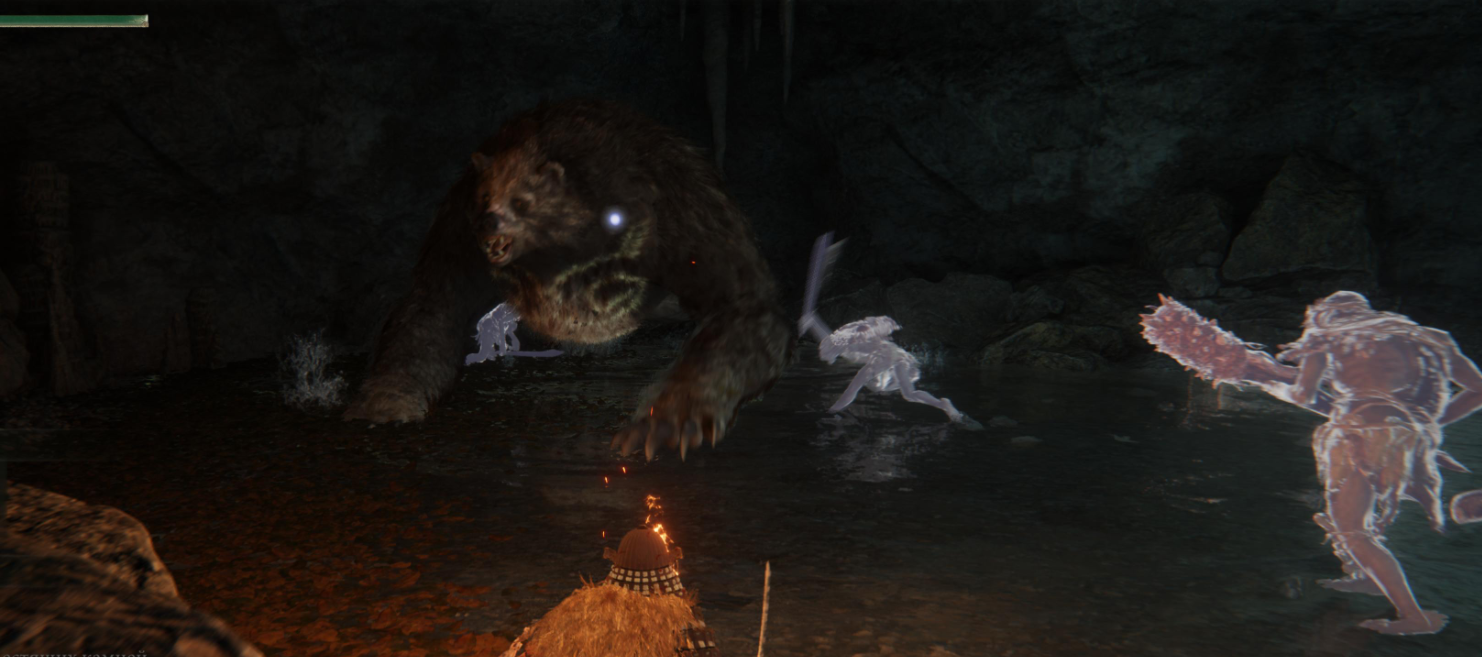
As soon as we notice the enemy, we immediately call on demi-humans. The enemy uses sweeping attacks with a large radius, makes short lunges forward, and pounces on the player. Assistants will distract the boss, and the player needs to hit him from behind. As a reward, we will receive the "Magic Dragon Talisman".
We go outside and go along the cliff to the forest ruins of demihumans. In the center of the destroyed building, we will find a giant.
We defeat the enemy and get the "Staff of the Queen of Demihumans". Here we will find "Crystal volley". From now on, even a warrior can use spells. We clean the nearest territories and move along the cliff.
Near the poisonous plants, we will find the item "Crystal Tear of Faith". We go down to the south and go along the lowest tier between a large tree and the Kallu Baptismal Church. We rest against the mountain and go deep into the cave. We go up the elevator and activate the place of grace. We will return here later.

We rise to the extreme northern point of the southern peninsula and find the Temple of Pilgrimage. On the way, we can destroy a small detachment of opponents and find the "Robe of the Aristocrat". Inside the temple, we activate the place of grace and pick up the item "Drop of Tears". We go outside.
Near the descent on the right, it is advisable to pay attention to the accumulation of animals. This is one of the best places in the game to collect bones for arrows. We rise to the tree, call on assistants and fight with a powerful boss. Previously, it is advisable to stock up on arrows and pump weapons in the temple of Ella.
How to defeat the boss Manifestation of the Tree of Erd
This is a very strong opponent that uses circular attacks and lunges. All attacks have a very large range. In addition, the opponent launches volleys of homing beams, which must be dodged to the side. As soon as the enemy launches these flows into the air, we press acceleration and run in a circle in any direction.
We call assistants who will distract the boss. In the presence of long-range weapons and spells, we use only them. We constantly run away from the enemy and dodge all attacks. They are very powerful, so they can cause serious damage to the hero.
As a reward, we will receive the items “Opal Tear in a Bubble” and “Ripped Crimson Tear” . We go east to the cliff and on the stones below we will find the body of a man with an object.

We carefully jump to this point and pick up "Ecu with the emblem of the eclipse".
In the northwest of the tree, we find the ruins leading to the tomb. We clean the territory, take away the runic arc and go down the stairs.
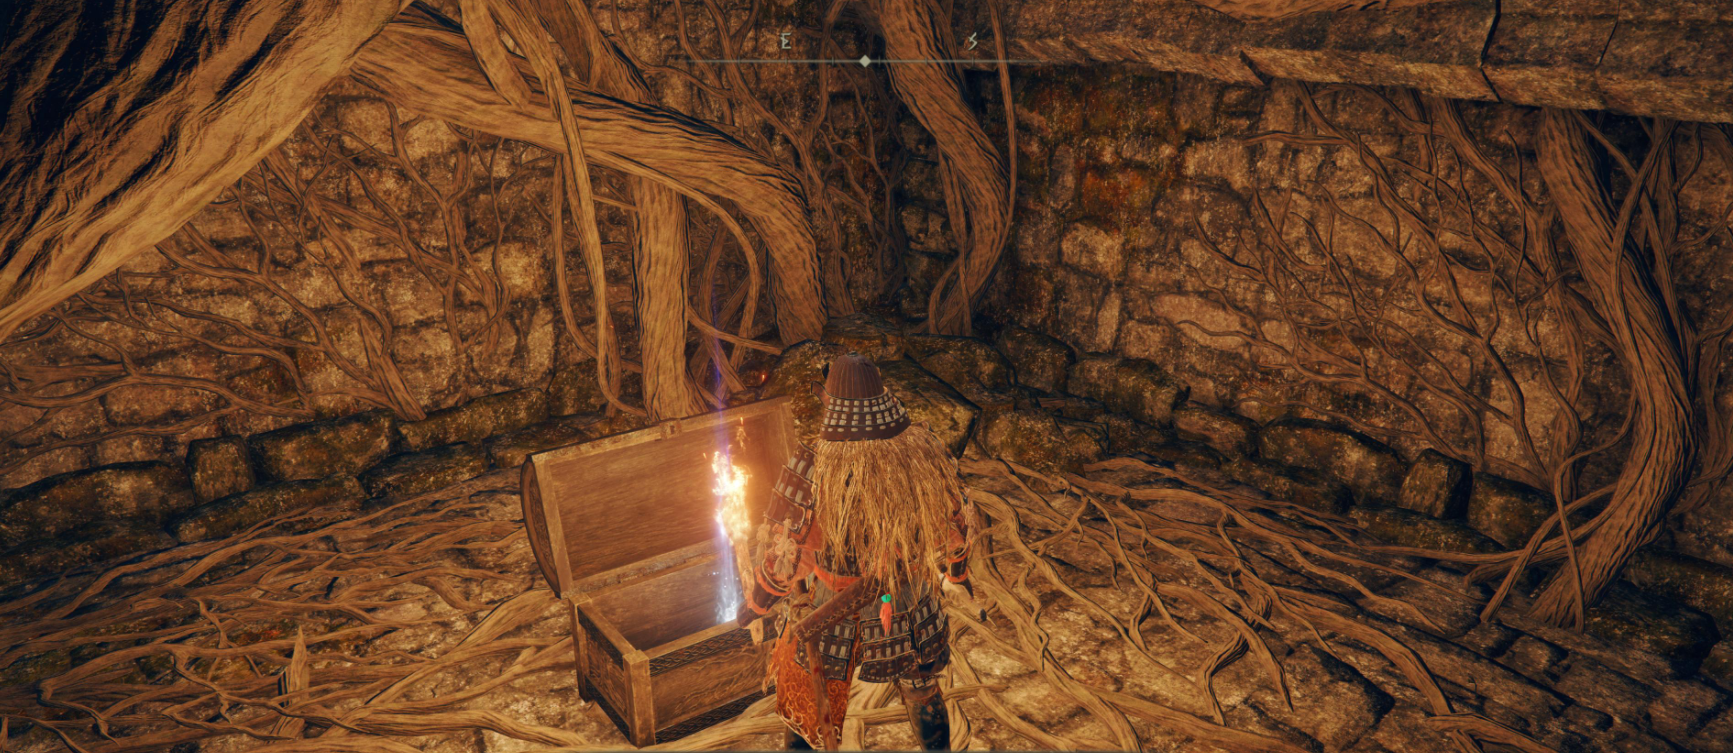

We kill all opponents, open the door and in the chest, we find the weapon "Winged Scythe".
We go outside, climb onto a huge fragment of the structure and break the ball. We get the item "Divine Protection". We move towards the tree and in the mountain we find a passage to the cave. Activate the place of grace.
We move past a large walking building and a prison, and at the edge of the location, we find the Fifth Temple of Mimike, which is guarded by ghostly headless knights.
Inside, we activate the place of grace and find the item "Drop of tears".
You can go down to the shore, destroy a large detachment of skeletons and pick up the rune of the outskirts inhabitant.
Near the south side of the coast, we will find another place of grace and a merchant.
You can buy useful items from him:
- Sword Key (3 units) - 2000 runes.
- A note about the mausoleum - 600 runes.
- Lantern (activated as a healing potion and constantly shines in the dark) - 1800 runes.
We rise to the nearest hill and find a cemetery. Near each grave lie various runes. We get to the ruined tower on the northwestern edge of the area. We destroy the knights, climb the tower and open the chest.
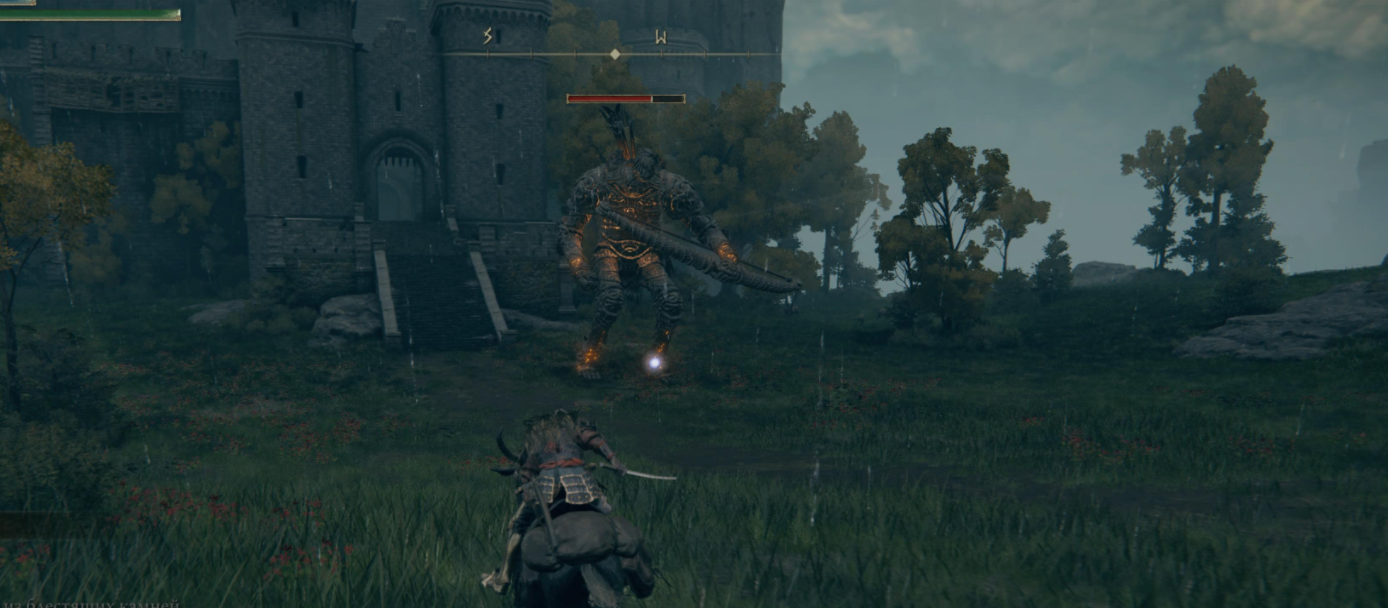
The hero will be transported to the northernmost part of the game world - Leindell, the capital of the kingdom. We activate the place of grace and run past the giant to the chest on the right. Inside we will find the "Talisman with blessed dew" (slowly restores HP). After that, we return immediately. At this stage, it is almost impossible to kill the giant, so you should not try now. We returned to him after meeting with Godric.
How to defeat the giant in Leindell. Where to find "Thank you" talking head

This opponent uses a limited set of moves:
- Ground piercing single strike.
- Sweeping blows in front of you.
- A combination of thrusting attacks into the ground.
- The fire between the legs.
- Lunge forward and throw stones.
It is always necessary to be at the opponent a little behind and between the legs. We attack his limbs and dodge blows. When the enemy falls, immediately run to his chest and pierce with a strong blow. After several such approaches, the enemy will fall.

We return back to the south and go to a moving building with a bell. We beat on the white skulls on each leg.

After a while, the building will come down to the ground. We open the door and go through the mausoleum. At this stage, the player will not be able to do anything.
We follow the ruins leading to the tomb. We clear the dungeon. in One of the rooms, we will find the subject "Talking head "Thank you"".

We also use the xiphoid key on the monument, go into the opened room and pick up the "Handbook of the Nomad Warrior [9]". We clean the territory and get to the boss.
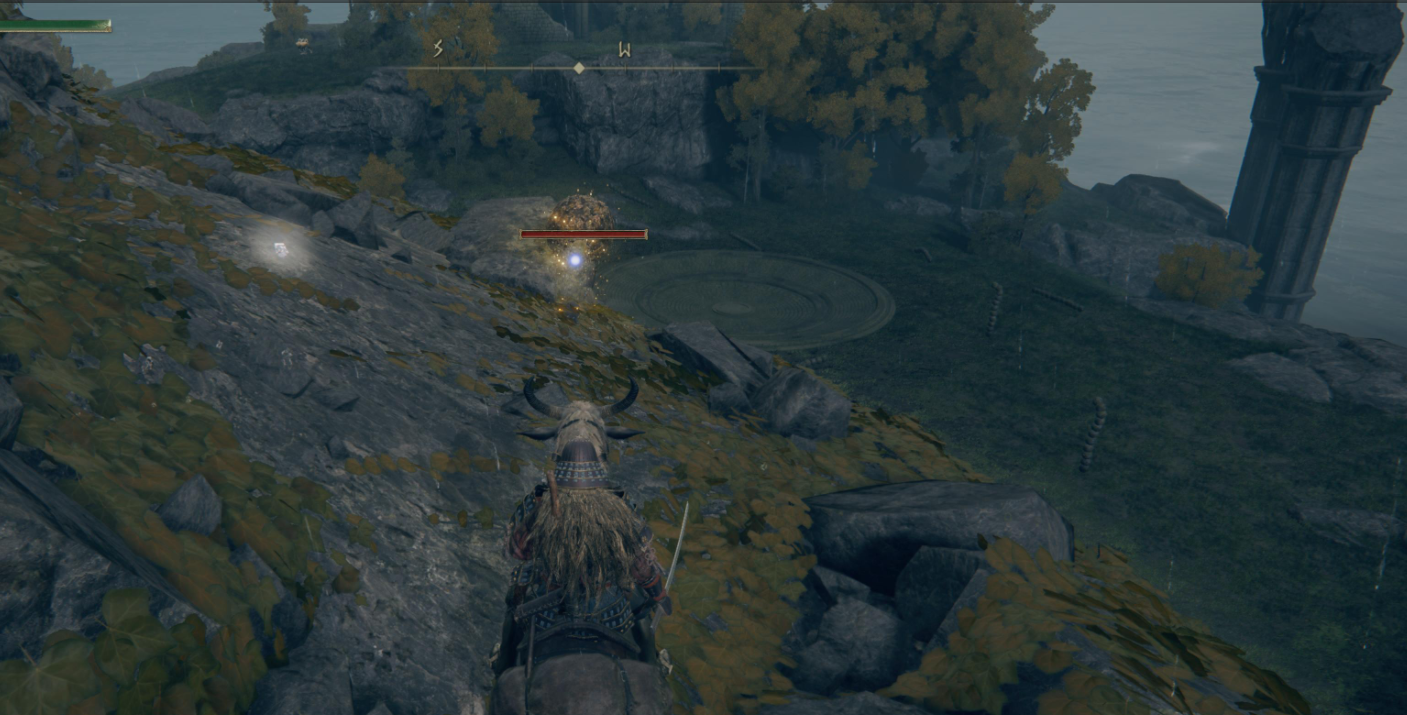
How to defeat the Shadow of the Graveyard boss
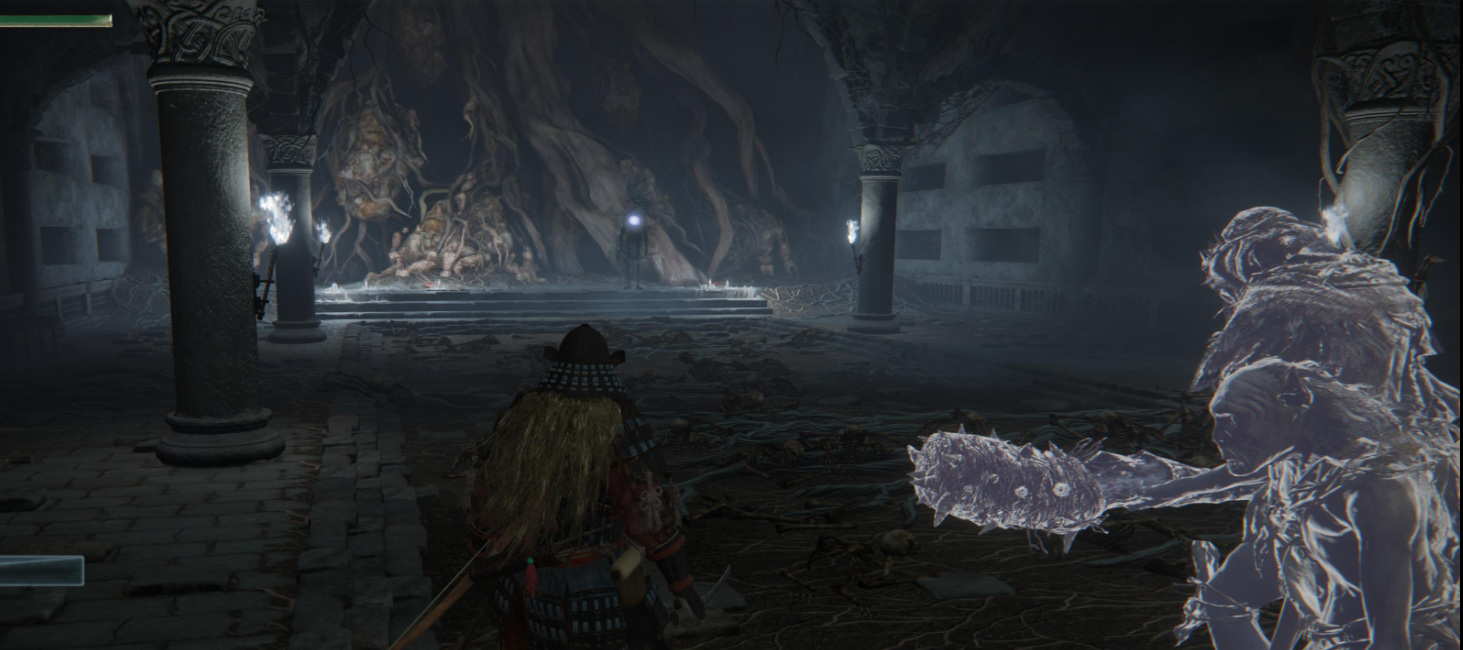
The enemy constantly moves in space and conducts a series of short blows. At this stage, the player will not have any problems. We call on helpers and keep our distance.
While the minions are distracting the boss, we run up from the back and inflict several accurate blows. For the victory over the enemy, we will get "Ashes of Luteli the Headless".
How to defeat the Ancient Hero of Zamora boss

We return to the prison. Activate it near the statue with the sword key and use the portal in the center. We pass inside. We immediately run to the blue light and after the appearance of the boss, we inflict several accurate attacks on him. We immediately run back.
In the battle with this opponent, the player will have to constantly keep his distance and dodge sweeping blows. The enemy is very fast, often launching blizzards and frosty currents at the player. If available, use items to protect against the cold. After defeating the enemy, we will receive "The Seal of Radagon from Scars".
We return to the Morna Tunnel. Now it will be much easier for the player to clear the dungeon. In addition, miners with pickaxes do not attack the player while mining stones. In this place, it is easy to collect blacksmith stones for pumping weapons. In the far room on the lower tier, we will find the rune of the inhabitant of the outskirts and exquisite meat. On the other side is a large piece of shiny stone. We open a large gate and meet a strong enemy.
How to defeat the Scaled Bastard boss
This enemy is an enlarged copy of the small monsters in this location. We immediately call on assistants and surround the enemy. We carry out several attacks and quickly finish off the boss. As a reward, we will receive Rusty Anchor.
How to defeat the Bloodhound Knight Darryvil boss and find the "Sword Key"
We return to the swamps and go to the second prison. Now it will be much easier for the player to kill this enemy. He constantly attacks the hero with swoops and performs fast, sweeping attacks.
You must constantly dodge and try to use long-range weapons. For defeating him, we will get the Blade of the Bloodhound.
After defeating this enemy, we can return to the Morne fortress to clear the territory and fight the boss. At this stage, it is much easier to do this. We go up the elevator and destroy the three dogs on the left. After that, we can kill the pumpkin head and a squad of monsters. This is not always easy to do, so it is advisable to call on partners.
We pass behind the fire and turn right. We find a tower around the corner, and inside there is a chest with Claymore weapons. We go down the stairs and destroy three opponents. We climb even higher, we clean the area, and find the “Infantryman's Headdress” and “Summoning Finger Potion”.
At the dead-end, we will find "Torch with steel wire". We rise to the level above and carefully jump to the canopy. We destroy four demons.
On the left path, we will reach Commander Morn, whom we talked about earlier.
If you go down the stairs to the right, then at the dead-end you can find blacksmith stone. We return back and reach the edge of the fortress. We jump down and activate the place of grace.
We go down a few levels and jump onto a wooden platform. On it, we take sword-shaped key. We get down further, kill all the demons and climb into the tower.
In the chest, we will find "Double Blade Talisman". We return to the narrow bridge (there was jelly here) and go down to the roof of the tower. With full health, we go down and get to the point with a hole in the floor. We carefully climb down the beams, otherwise, the hero may break. On one of them, we take blacksmith stone. We kill all the rats and the monster. Let's find the poor man's rune and the whip.
We leave the narrow room and activate the place of grace on the left around the corner. We pass along the bridge, defeat opponents, and pick up throwing daggers. Down in the water, we can destroy the jellyfish. Also, a huge enemy will appear near the three crabs. We kill him and pass into the crevice.
Inside we find fire arrows (15 units). We carefully inspect every corner on the street. In one of them, we will find a blacksmithing stone of darkness. We pass through the fog to the boss.
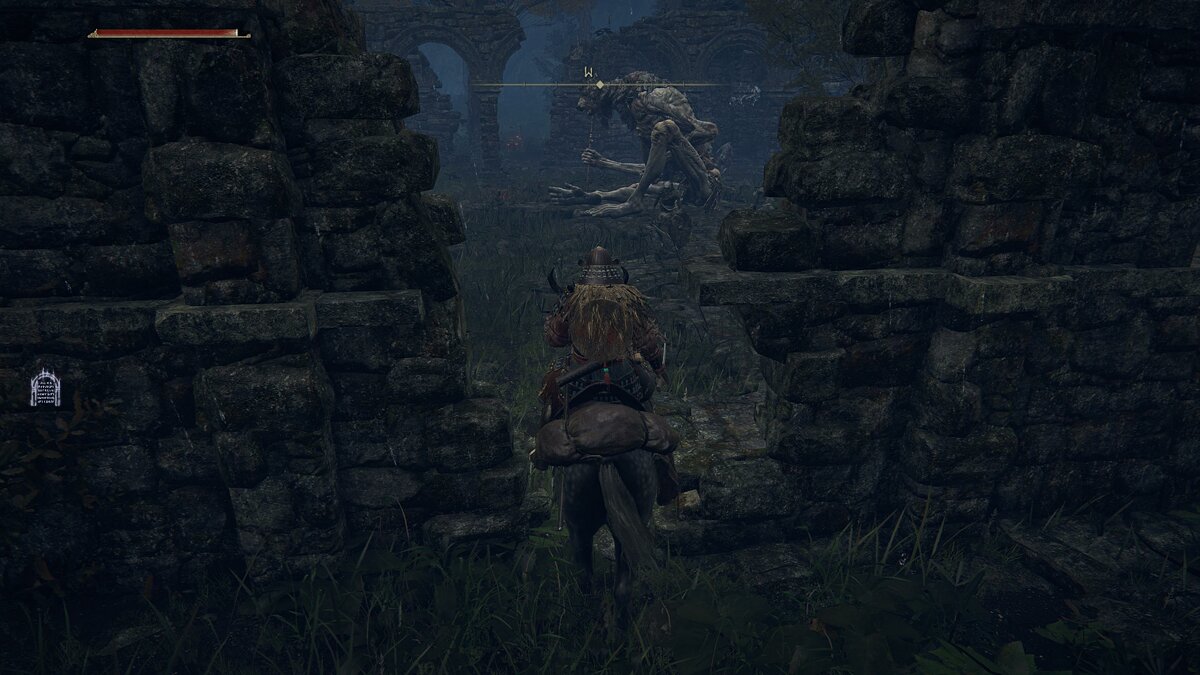
How to defeat the boss Bastard Leonin
This opponent uses combinations of attacks with powerful sweeping blows. We call on assistants and try to always attack the enemy from the back. He also often pounces on the hero in a jump.
At this stage, there will be no particular difficulties with him. For the victory, we will receive the weapon "Two-handed with a hybrid blade".
Comments
Post a Comment