This is what you need to do to complete Chapter 2 - Fly-In A Web in Poppy Playtime 100%. Can you make it to the train station and save your skin?

After the unexpected ending of Chapter 1 - A Tight Squeeze, the first part of Poppy Playtime; It's finally time to move forward in the story and find out what the hell is going on in this factory. Poppy is free, and she seems to want to help us.
After the introduction, turn around and in the room, you come to, use the door to the right.
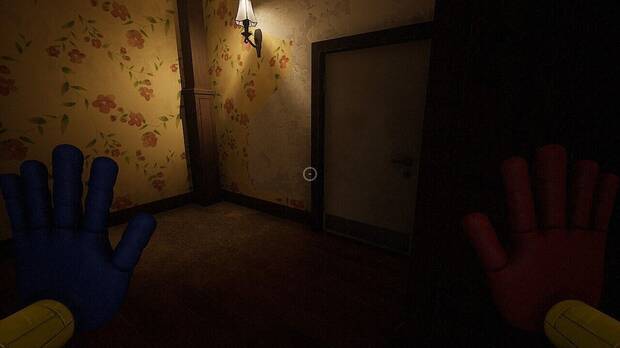
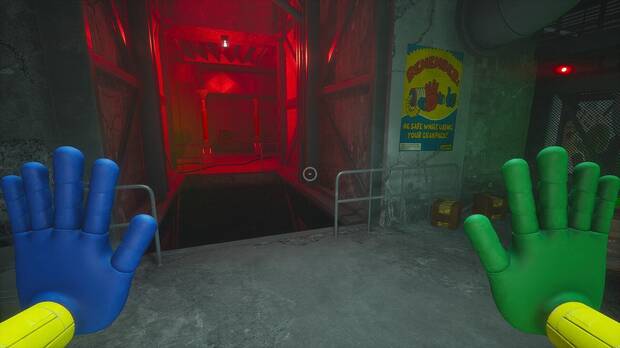
Go to the end of the corridor. Ludwig's office door is locked, so go to the right. You will see a sinkhole and, if you look at the top, a pipe to hook a hand to. The idea is to hook your hand, jump, and as you swing, press the button on your hand again to let go and get to the other side.
When you reach the other side, turn right and remove the barrels from the door to go through. You will come to a room where, on the wall, you will see a key that will open Ludwig's office. Take it and go palla, go. As soon as you enter, on the table, you will see a golden sunflower on the table and the Brown Ribbon, collect both.

You can see the tape in the video in the corner. To advance, you have to pull the fence with hand marks that are in a corner, behind the table.

After crossing the conduit and seeing your apparently new ally, you will have to solve the warehouse puzzle. All you have to do is stand to the left of the left post and connect your hand to the power supply. From there, attach the wire to the post, loop around the right one at the top, and go down so you can connect your hand at the end of the loop, to the right of the fence.

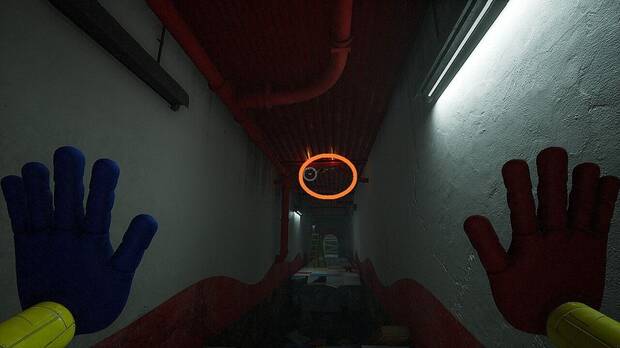
Now go back the way you came. To climb up the chute, simply hook your hand onto the black and yellow striped bar at the top and press the button on your hand again to climb up. After leaving Ludwig's office, turn right, to go through the other detour of the intersection. This time you will be able to open the door with the hands buttons. Swing on the roof bar to cross another chasm and go through the door. After the short sequence, jump into the hole.

Once downstairs, enter the Power door. It's time to solve the generator puzzle . In this case, things are somewhat more complicated. You have to stand on the left catwalk and throw your hand behind the blue pipe to the power supply. Change the catwalk and go around the pivot from above , so that when you go down, you activate the pillar but you don't get bothered by the gate that rises.

Now you have to move to the left walkway and go around the pillar from above. When going down to return to the right walkway, you will already have the two pillars active.

You no longer have to throw your other hand at the end of the circuit to restore the current. In the main room, a door will have opened. Go across and activate the red hand panel. After the cutscene, activate the lever in the next room to reach the train station. Go to the platform and activate the lever with the red light. At the end of the recording, a door will open at the bottom left, the Musical Memory door.

Head down the stairs and through the hole in the wall to your right. At the end of the hallway is a hole in the floor, which in turn leads to the molding room. Here we have another puzzle to solve. First, grab the light green ribbon on the machine. You have a television in the corner, next to the conveyor belt.

Now we go to the puzzle. Hit the far right button to fill a plastic chamber. By pressing the next button, you will see that the pipe is bent and the liquid comes out. Grab the broken piece to straighten it. When you press the next button things will go fine, but there is no paint for the hand. Go up the ladder in the far corner and you'll find the cube near the machine with the red light.

You have to put it in the hole under the red light of the machine on the right. This will allow you to press the rest of the buttons on the control panel below and get the green hand, which you can charge with electricity at the green source and open the door of the conveyor belt. Once in the duct, go to the right and follow the only possible path to the Musical Memory test room.
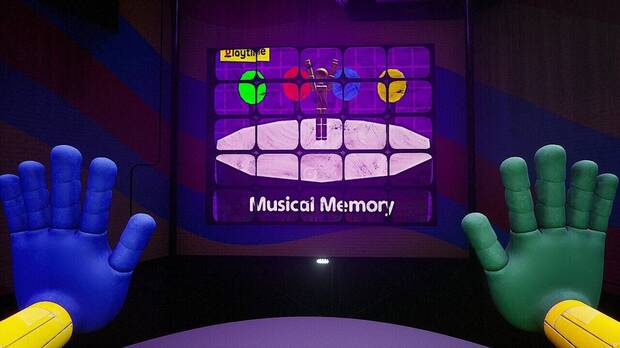
The puzzle is the classic "Simon Says": colors will appear on the screen and you have to press the buttons in the same order. As the puzzle progresses, new buttons will appear. There will come a point where a whole row of buttons will appear above your head and the screen will render the sequence in an impossible order. Well, this is where you have to look for a button that goes around the platform with a ! in the middle. Press the button to complete the puzzle and get the first piece of the code.
After the cutscene, go back and look for the vent handle, under the red light, to reach a storage room.

If you look closely, you should see a ladder straddling haphazardly between two bookshelves. Surround this shelf and approach the ladder, on one of the steps is the cyan tape.

Turn around, go up the stairs and go to the right to see the video player where you can watch the movie. Now comes the puzzle of the crane and the corridor, a double puzzle. Start by pulling the lever on the console at the bottom, then look for the overhead crane on the side of the warehouse. You can pull it by grabbing the bars.

The objective is to put it on the dinosaur next to you, which, if you pay attention, is on a platform.
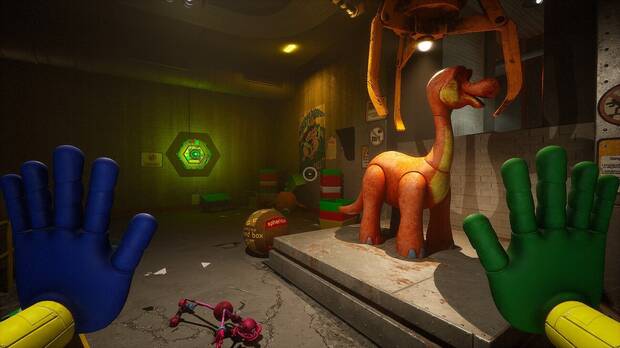
Now give electricity to the claw (throw the green hand to the green point and then to the connection point of the claw, on the side of it), wait for it to lift the dino, move the crane, climb on the platform and press the red button to get to the corridor. Here we have the second part of the puzzle. This is somewhat more complicated.
What you need to do is use the left connector, go around the right bar and quickly get on the elevator. Now release your hand to lower the elevator and from up here, throw your hand to the connector and go around the bar above. When you go down, the elevator will not go up. The cable should look like what you see below these lines.

Now you can throw your hand to the other connector and to the bar to complete the puzzle. Now you can use the elevator, cross the corridor and go up the stairs. Remove the chair from the door and you will return to the train station. Climb up to the console and activate the lever in the middle. After recording, you will see the next area to explore light up.
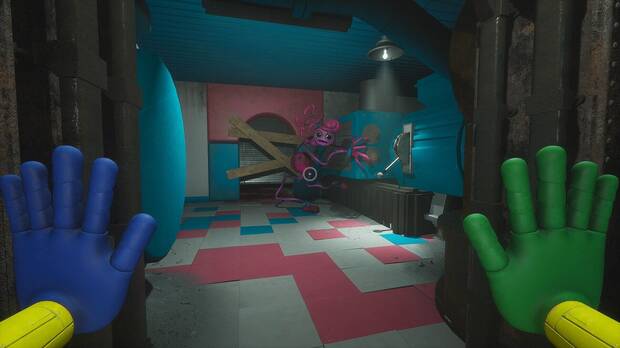
As you proceed to the next room, you'll be told what the Whack-A-Wuggy game is all about: it's the usual Whack-A-Mole, but with the holes in the walls and the hands. Every X amount of time you will hear a small Huggy Wuggy crawling through the tunnels. You have to hit him before he jumps on you. The hiss the bugs make will get louder as time runs out... but you won't have long to make it out alive if you do hear it.

The best advice we can give you is to go into the game settings and set the brightness and mouse speed to maximum. It is possible to see the monsters long before they come out completely.
After getting the second clue, go through the door at the bottom. Go up the stairs and when they break, you have to stand as high as you can and look up: you will see, in the central part of the tower's roof, a bar to hook onto. Jump, pick up the hand, and swing to drop down a higher flight of stairs to follow.

You will end up in an area with some tracks. Go to the right and turn left as soon as you can.

At the bottom, you will see a gate and a lever behind it. Approach the fence and... something will happen. Back away until you hear a noise. Go back and you will be able to cross the metal fence, now raised, until you reach a cart and several green energy points. You only have to use the first connector to activate the second, take the energy of the second for the third, etc. At the end, you will be able to use the lever to lift the gate and pull the minecart.

Repeat the process to open the next set of bars. At the crossroads, before the second lever, look to the side to find the blue ribbon.

Now comes the somewhat more complicated part: go back a few steps and at the crossroads, look left and right: on the left, in the corridor, there is a gate and two connectors. On the right, next to the video, you have a connector and a green power source.
What you need to do is go to the green power source from before, connect the green hand, and don't let go. Go to the junction, and then yes: quickly, activate the connector, raise the fence, use the second green power source, power one of the connectors on the left side fence, and take the power from the other connector (the one on the fence you just raised) and use it on the missing connector. If you've been quick, the gate will rise and you can take the cart to the bottom slope.
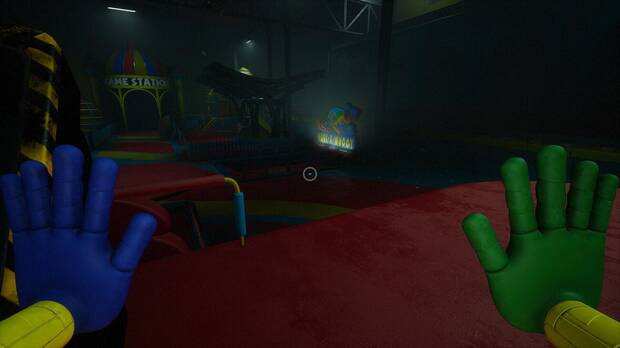
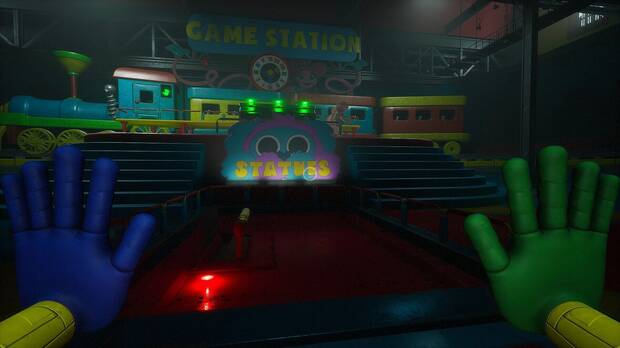
After destroying the logs, you can go to the right side. Drop down the hole to go back to the station, activate the third lever, and head to Statues, at the bottom of the console. Pull the bar to gain access to the area. You will have to pull with both hands and in the opposite direction to the side where the light is to open the metal plate.
As soon as you advance a little through the corridors, you have to solve an entrance puzzle to the Statues area. What you have to do is swing up (you will see the light bar) and hook to node 1.

Drop down, go around the two towers with the objective of making a U, charge the green energy, put it on the opposite node and you can hang from the other roof bar (only while the green light lasts).

Once at the top, you can close the U-shaped circuit by touching the two towers and you will complete the puzzle. Go back the way you came, and as you walk through the door, the metal shutter to your right will go up, allowing you to enter PJ Pug-A-Pillar's area. You simply have to go around the circuit moving with the lights off. When they turn on, you can't move. Keep in mind that you're being chased by the bloody sinister centipede, so don't waste too much time or he'll get you.
The trick is to cross the center area with the ceiling hoops - if you're swinging in the air, it doesn't count as a "failure". Be careful, if you throw your hand with the light on, you will die.

When you reach the end, enter the left hole, supposedly the easiest of the three to go through (remember to stop depending on whether or not the music plays). In the next area, you have to try to jump on the yellow cubes to move faster. Look for the yellow light on the ceiling, at the bottom right: you must hook onto that bar, when you go up you will break some glass and you will be in a control room.
Once there, look for the hole in the floor of the wall in front of the window to escape the area.

After dropping down the hole, use a couple of pipes to climb up and look for an open vent to follow through.

When you get to the machines, you have to push the buttons so that the long walkway is towards you. That way, you can use it to reach the green belt

You can watch the video in the button room. Then, go pressing both until you can go to the room on the left in the hole. In case you get lost:
- The left button only moves the long walkway, at 90º angles but always from "the middle". That is, at 45, 135, 225, 315. It will always be in the middle of a right angle.
- The right mouse button moves the short walkway at 90º angles from 0 to 90, 180, 270, and 0 again.
- The right button, in addition, will cause the long walkway to be placed at the next right angle that it touches (0, 90, 180, or 270) and, from there, it will always move at right angles until you press the button again left.


Comments
Post a Comment