Locations of all personal letters, secret documents, items, stone eagles, and workbenches in the seventh mission of the game
Here's how to find all the collectibles in the Secret Weapon quest, including personal letters, secret documents, hidden items, stone eagles, and workbenches. In total, this mission can find 19 collectibles.
Personal Letter #1: "We Had a Deal"
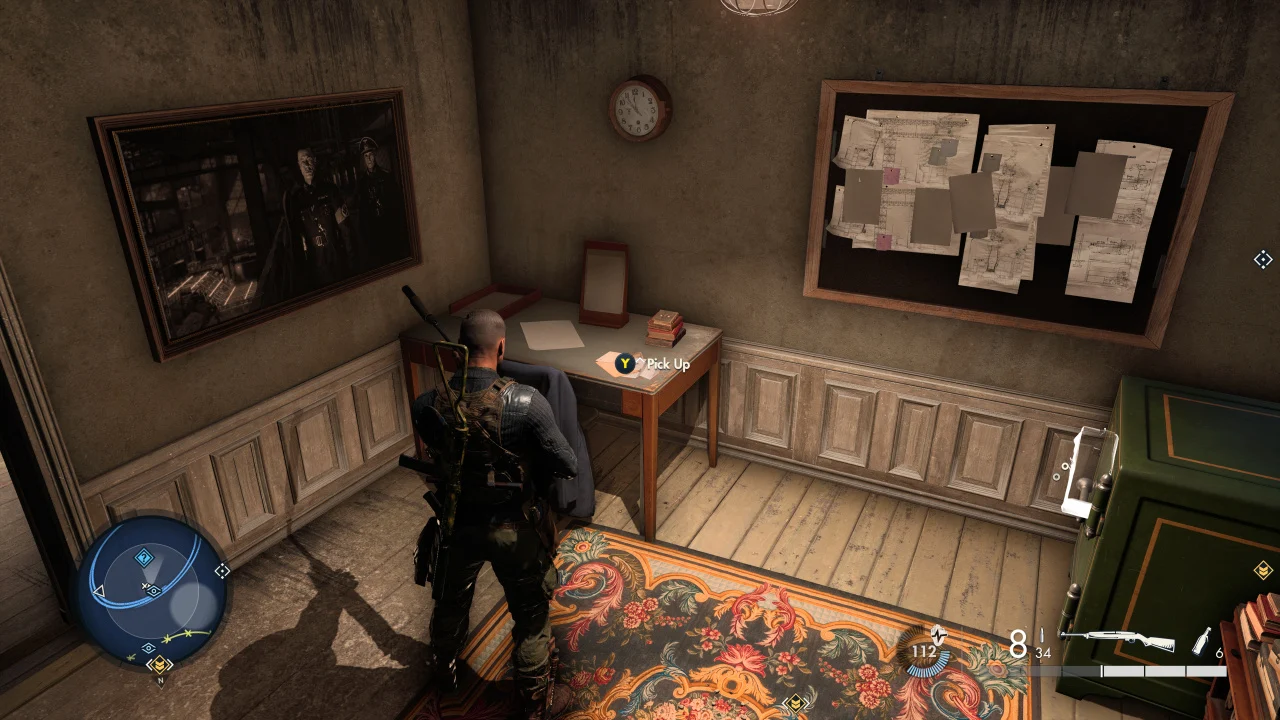
In the eastern part of the map, where the optional objective ("Get Manifesto") is located. Upstairs in the depot, where the officer stands, there is a table with a letter. Right in front of the safe.
Personal Letter #2: "Done"
An abandoned house can be found in the eastern part of the map, marked with a blue eye icon (unlockable starting location). Outside of the house, there is a pipe that you have to climb up and jump down to the ledge on the right. Pull yourself up, climb the window even higher, then move to the right and jump down to the balcony. Opening the door will take you to the building. The letter is next to the dead soldier.
Personal letter #3: "I can't work like this"
In the northwest of the map, where you need to sabotage the V-2 rocket. You will need to pick up this collectible for the story mission, during the objective "Explore the complex on the lake." Look in the hangar, on the side of the blue rocket suspended above the water.
Personal Letter #4: "V2s are obsolete!"
In a room where a switch must be pulled to launch V2 (primary goal: to sabotage the targeting system). On top of the bunker. The key to the door can be found with the officer opposite this bunker, standing near the V-2 rocket.
Personal Letter #5: Thinking Outside the Box
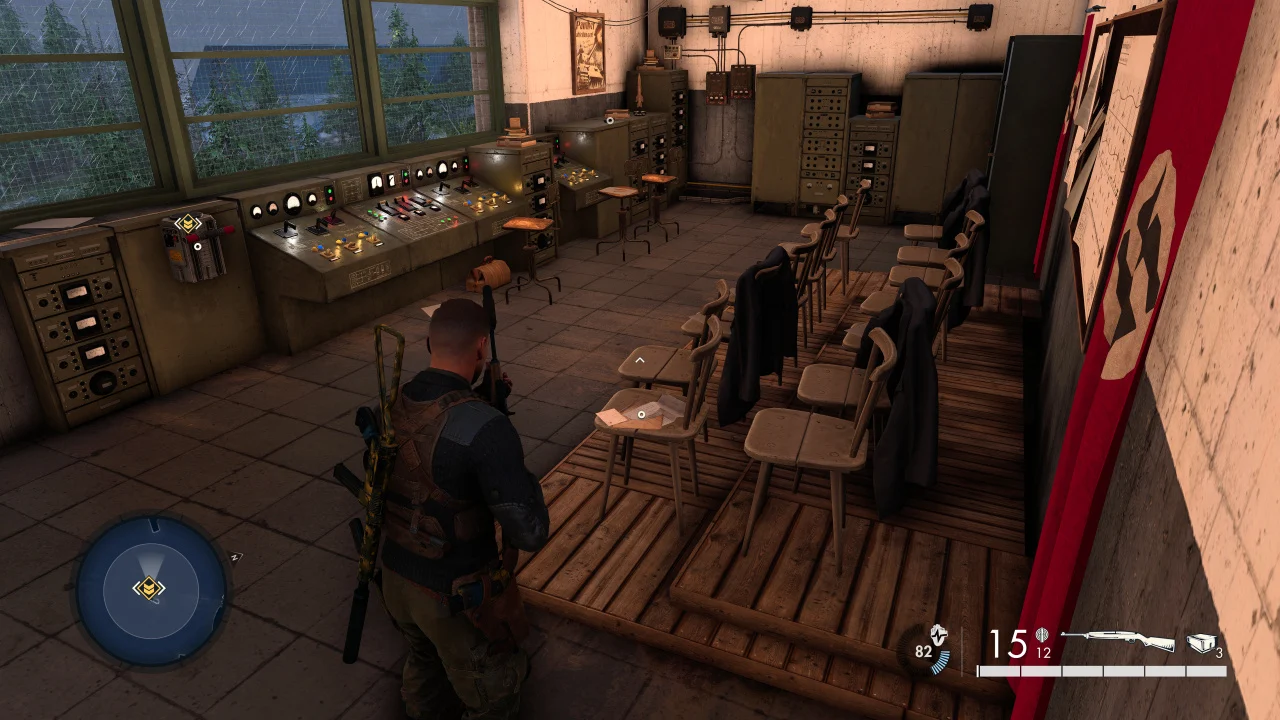
In the north of the map, inside a round domed building. At the top of the round dome (upper floor). Inside the domed building, you need to climb the metal stairs near the dome. Look for the control room, where a personal letter is also hidden.
Secret Document #1: "Incoming Shipments"
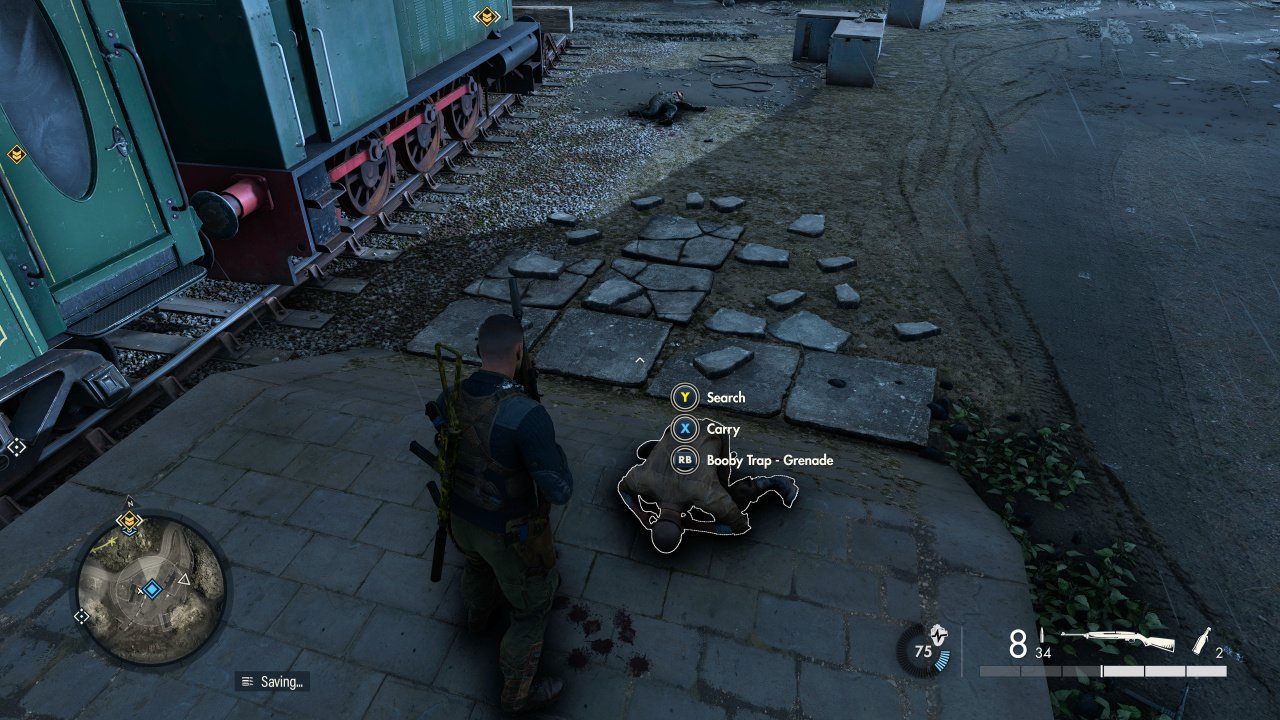
Can be obtained from the enemy. You will have to pick up the secret document if you decide to complete the optional task (blue circle on the map) "Get the manifesto". The opponent is wearing a brown uniform with a cap of the same color and usually stands in front of the train (if not alerted).
Secret Document #2: "Dr. Jungers' Schedule"
Looted from Christian Jungers, your main mission objective, marked with a red marker. This is a bald Nazi scientist in a white coat.
Secret Document #3: "A-4B Logistics Issues"
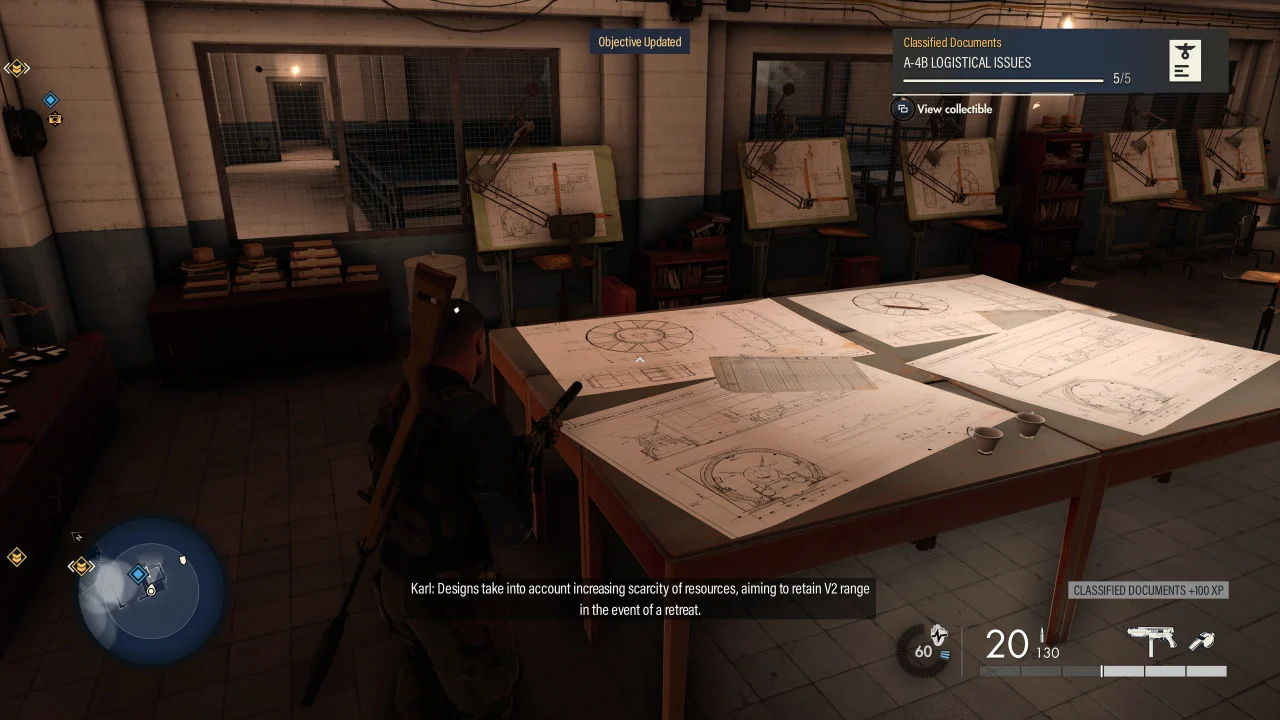
You need to pick up this document on the Raid on the Weapons Lab side objective. It is upstairs, on a large table with four drawings. Don't confuse it with the document in the basement, which is also part of the side objective but is not considered a collectible. You need the document at the top!
Secret Document #4: "Intruder Spotted"
Obtained from the enemy. After starting the mission at the default starting point, immediately go to the left to see an enemy on a motorcycle. He has a collection.
Secret Document #5: "Containment Report"
To the southwest of the map, on the top floor of the enemy outpost (in the form of a tower). You can dismantle the wooden planks on the backside of the tower or use the key obtained from nearby enemies to open the door. There is also a blue marker for the optional task "Sabotage the radio tower generator".
Hidden Item #1: Peenemünde ID Card from the Lab
Inside the building with a round dome, where the yellow marker of the main task "Find the Kraken's War Room" points. On the lower floor (basement), go to the end of the corridor, then climb the spiral staircase to the floor above and find two soldiers. To their left is a dining room with four large wooden tables. There is a hidden item under one of the tables. To pick up an item, you have to bend down and climb right under the table.
Hidden Item #2: Luftwaffe Playing Cards
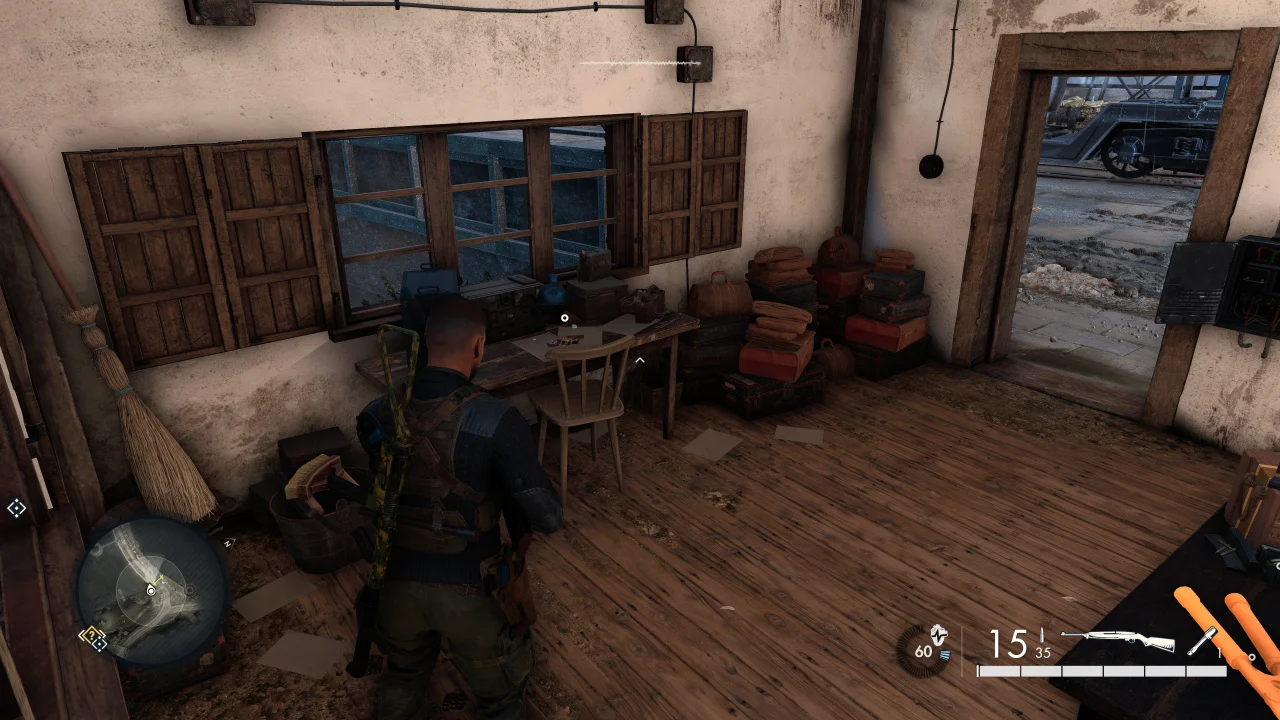
On the side of the bridge in the northwest of the map is a gatehouse. Inside the gatehouse, there is another collectible on the table.
Hidden Item #3: Prufstand XII Blueprints
In the southwest of the map, under the bridge. To get to the item, go through the river.
Stone Eagle #1
To the east of the map, on a small hill south of one of the extraction points for this mission, south of the starting point in an abandoned house. You can shoot the eagle while standing on the road, right under the hill, just a few meters from where the eagle is set up. You can also shoot from an abandoned house north of the eagle.
Stone Eagle #2
In the process…
Stone Eagle #3
In the southwest of the map, at the military outpost, where the optional task marker points. The eagle is installed on the southwest side of the largest tower of the outpost. Climb up the vines at the southwest edge of the large courtyard, then look up the tower wall and go a little to the right to see a stone eagle. You can shoot right from here. Very well hidden, so be patient.
Workbench #1: Sniper Rifles
In the northwest of the map, in the armory. You can either climb the ladder next to him and climb through the window and then dismantle the floorboards to jump down or loot the enemies to get the key to the front door. You can also use explosives.
Workbench #2: Secondary Weapon
Inside the building with a round dome, where the yellow marker of the main objective "Find the Kraken's War Room" points. Go to the end of the basement corridor and climb the spiral staircase to the next floor. You will find two soldiers and a locked door (you can knock out the key to this door from the soldiers). Behind the door is a second workbench.
Workbench #3: Pistols
In the southwest of the map, in a cave next to a waterfall. The workbench is marked with a blue eye icon on the map. You must dismantle the wooden boards blocking the entrance to the cave. Look for it inside.








Comments
Post a Comment