Location of all personal letters, secret documents, items, stone eagles, and workbenches in the fifth mission of the game
Here's how to find all the collectibles in Guernsey Keep, including personal letters, secret documents, hidden items, stone eagles, and workbenches. In total, this mission can find 19 collectibles.
Personal Letter #1: "No Need to Worry"
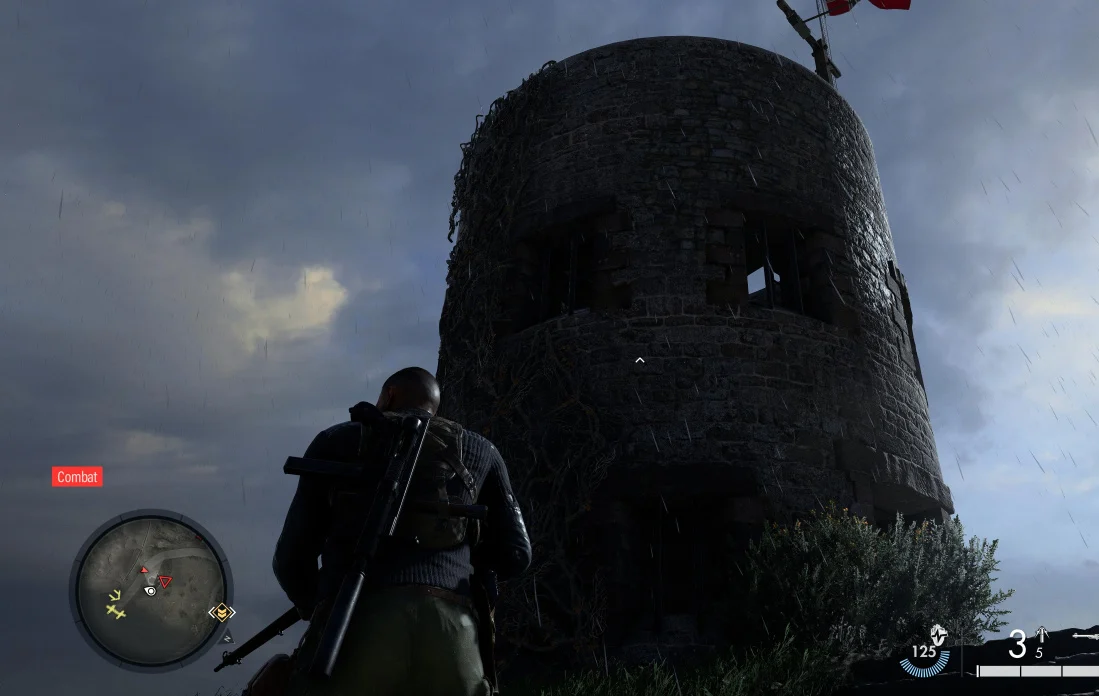
An officer wanders around the Martello tower, who is distinguished from the rest by a special uniform. Martello Tower is the southernmost building in the central part of the map, under a dilapidated farmhouse. Kill the officer and search the corpse to get the first personal letter.
Personal letter #2: "How to get off the island"
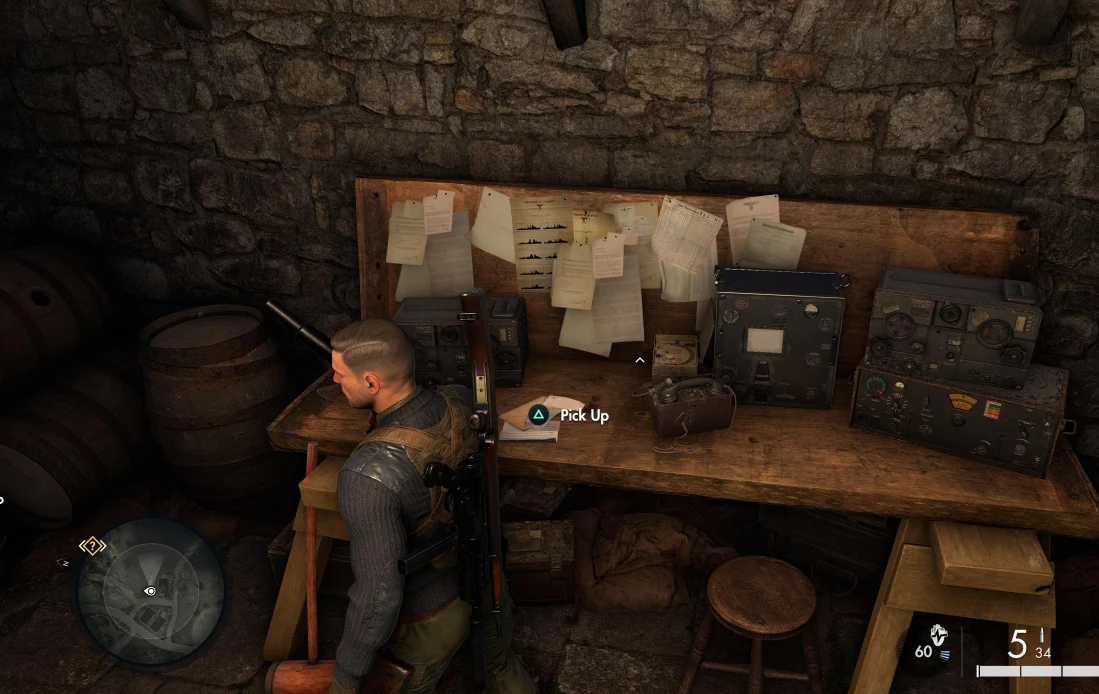
On the dilapidated farm, enter the northeasternmost outbuilding and go down the stairs to the underground room. Here you will find a second personal letter and a hidden item.
Personal Letter #3: "Confiscated Goods"
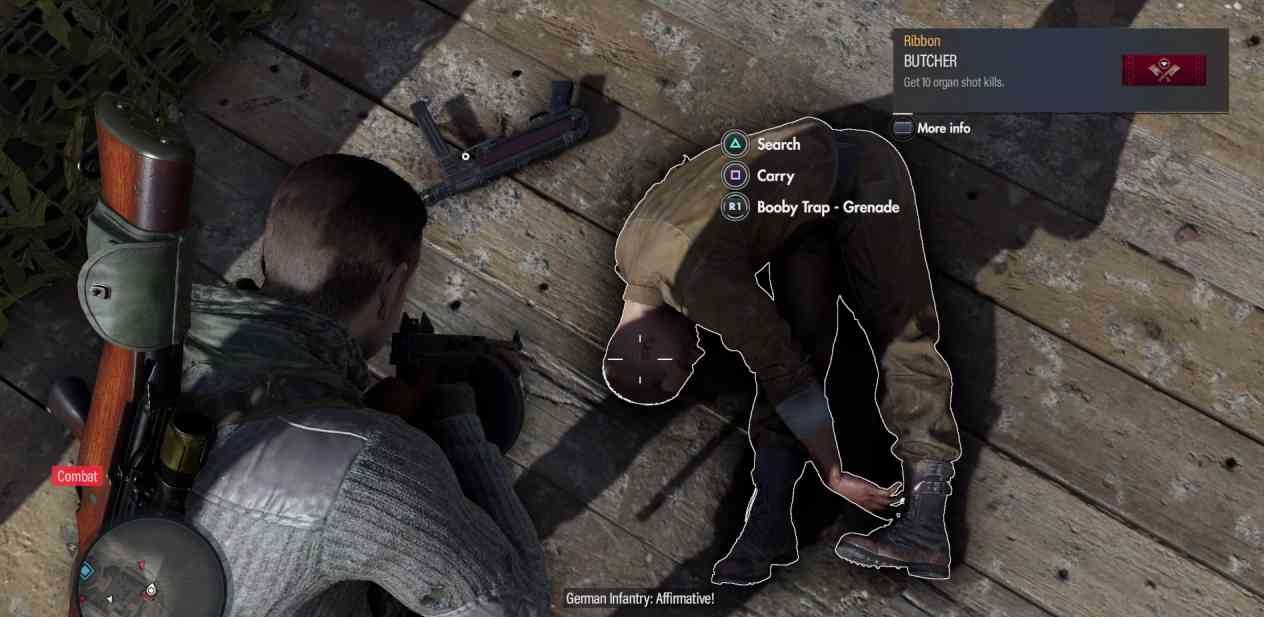
It can be found on a soldier in a brown uniform who walks around the area marked with a red circle on the map (this is a kill target). If the alarm is not raised, he will wander around the south side of the construction site, on the upper level. Either hold the "triangle" to search the soldier, or stun him to the "square".
Personal Letter #4: "The Flight of the Islanders"
In the bunker on the western side of the map, the fourth letter is on the table. The table is in the front room, on the second floor.
Personal Letter No. 5: "The Anxiety of the Huns"
There is a small Resistance hideout next to the underground hospital. Pick the lock to get inside and then crawl under the tables to access the stairs to the dungeon. There you will find the fifth personal letter. In the same area, there is a workbench for secondary weapons.
Secret Document #1: Endure the Pain
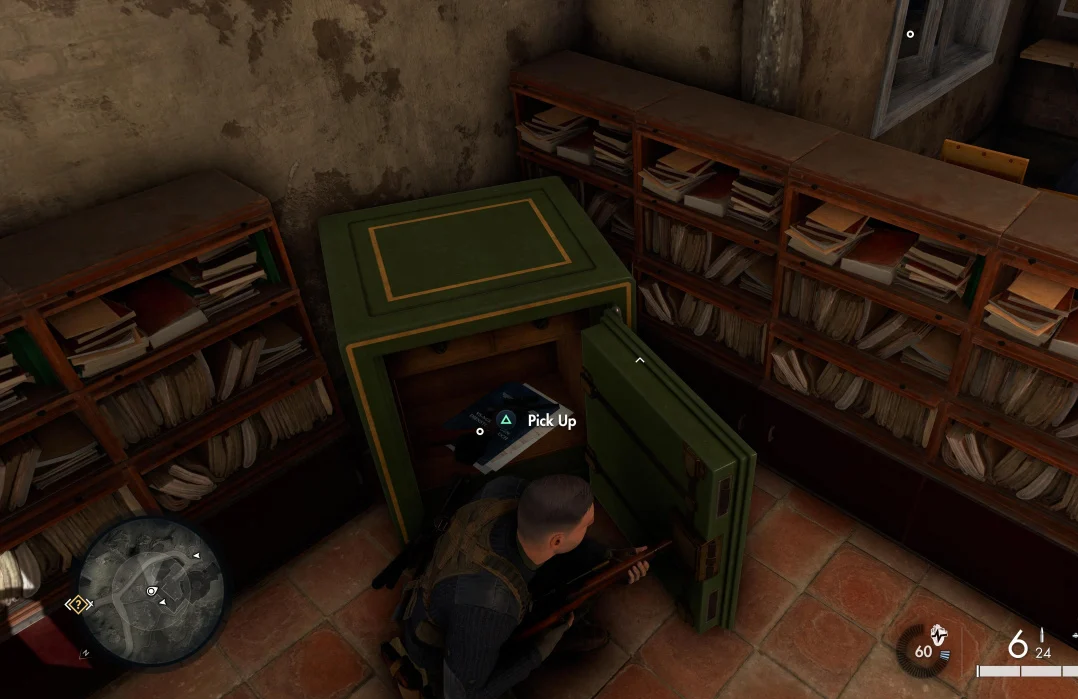
Go through Fort Hommet and in the main room find the code for the safe lying on the table. Then get out through the window in the corridor and use the creepers to bypass the locked door and get into the room with the safe inside. The first secret document is hidden inside it.
Secret Document #2: "Reducing Costs, Cost of Living"
In the room where you found the code, opposite the safe, there is a table with a second secret document. The door to this room is locked, so go deeper into the room, past the submarine, and enter the room from the opposite side.
Secret Document #3: "Stupid Officers"
On the west side of the corridor of the underground hospital, opposite the main ward with all the beds, under the poster is a table on which lies the third secret document.
Secret Document #4: "Transport Issues"
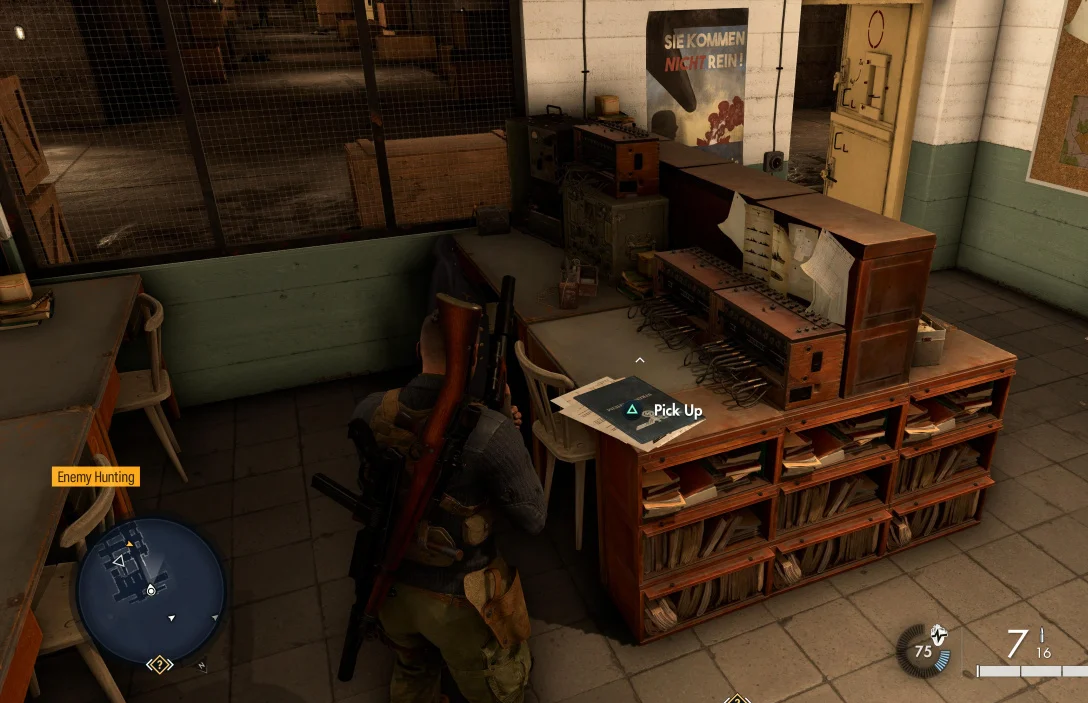
Go inside the underground hospital and go to the far end of the corridor. There is a library area with several bookshelves and radio equipment. There is a fourth secret document on the table.
Secret Document #5: "Draft Measures"
Enter the observation tower to the northwest of the entrance on the first floor, and in the first room immediately after the entrance, look for the fifth secret document. He lies on the table.
Hidden Item #1: Uniform Todt Badge
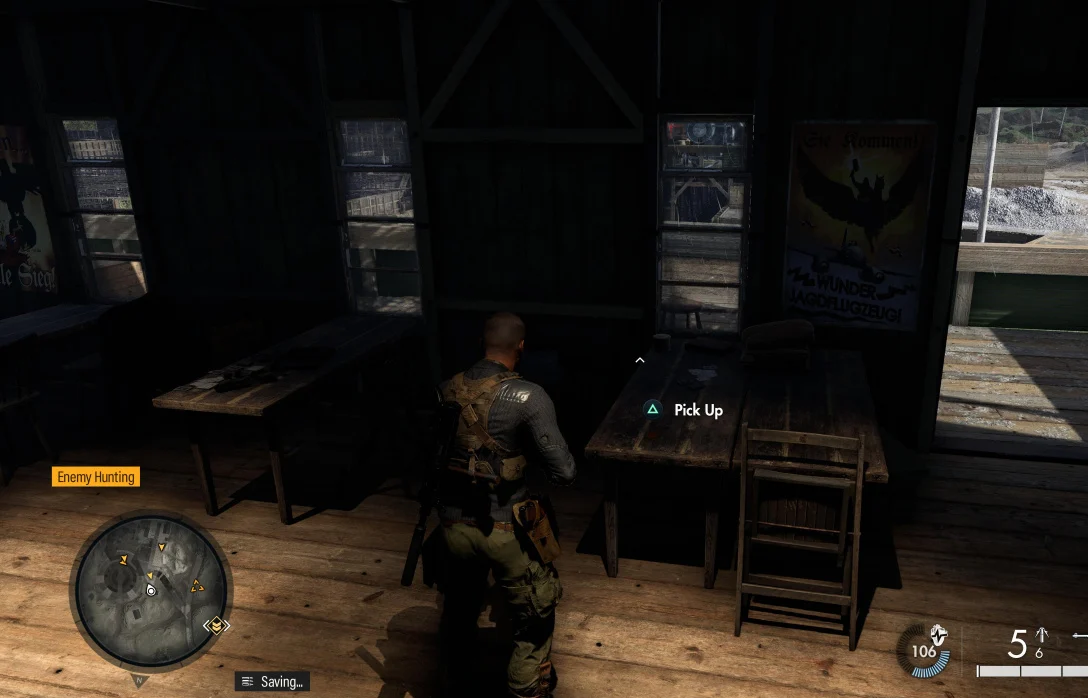
In the eastern part of the map, in the area of the construction site, there is a green building that looks like a barn. There is a hidden item on one of the tables inside the building.
Hidden Item #2: Radio
Head to the dilapidated farm in the middle of the map and enter the northeast outbuilding. There is a hole in the floor of this extension and a ladder that leads to a secret room. There is a second item on the table. In addition, in this place, you find a second personal letter.
Hidden Item #3: Handy Bag
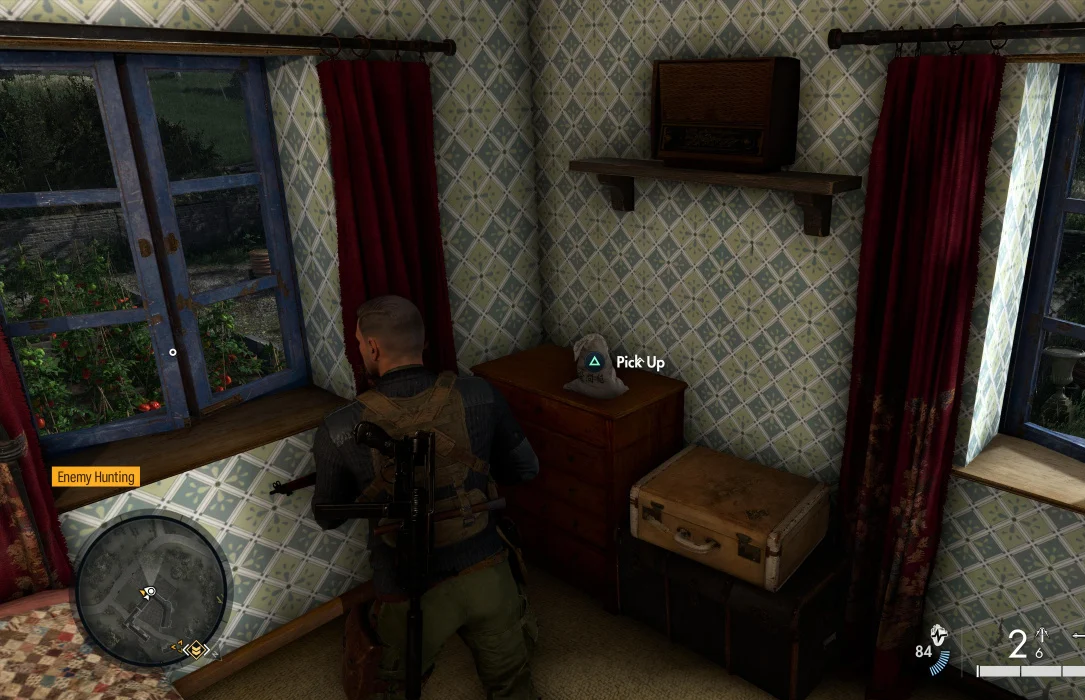
In the southwest corner of the main farmhouse - the one with the blue-tinted windows - go up to the second floor. In the corner of the bedroom, on the dresser is the third hidden object.
Stone Eagle #1
There is an observation tower in the northwest corner of the island. If you approach it from the south of the map, you can see an eagle hanging on the corner overlooking the sea.
Stone Eagle #2
There is a large church in the center of the map. Look up to the easternmost spire and you will see the second Stone Eagle at its top.
Stone Eagle #3
In the far eastern part of the map, above the Mirus ammo bunker, there is another stone eagle. If you don't want to sound the alarm, you can move closer and shoot the eagle with a silenced pistol.
Workbench #1: Sniper Rifles
The church in the central part of the map, inside the eastern spire, on top of which you saw the second Stone Eagle - the refuge of the Resistance. Climb up the vines on the side to access the first workbench.
Workbench #2: Secondary Weapon
In the Resistance safe house, where the fifth personal letter was found, you can also find a second workbench. In the same underground room.
Workbench #3: Pistols
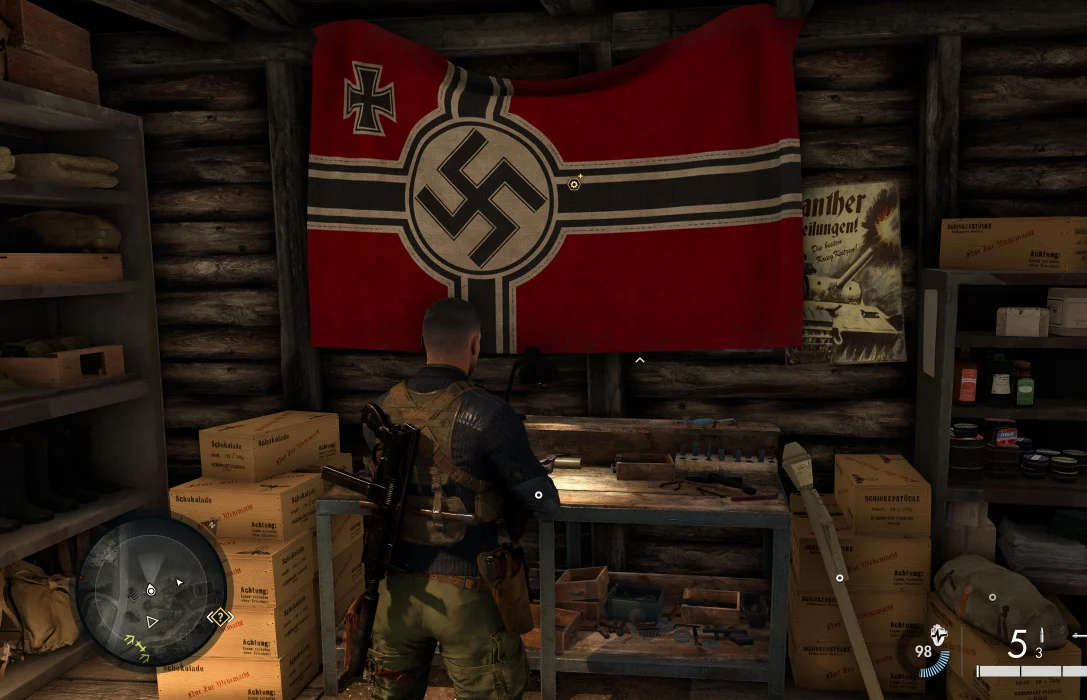
There are several trenches in the northern part of the map, east of the Operation Kraken prototype. Go to one of the side rooms and find the third workbench.








Comments
Post a Comment