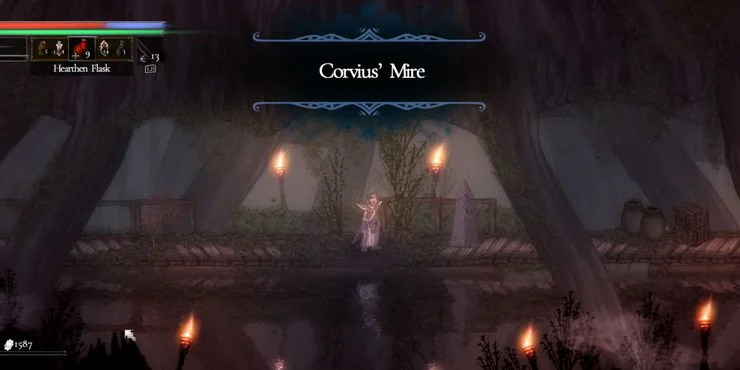
We tell you how to get through Bol Geran, find all the bosses, and open all the secrets
After passing the village of Ashbourne and Bol Gerana, Salt and Sacrifice will send you to a new location. In true Souls-like style, the game features a poison swamp, though it's not as dangerous as other titles in the genre. You will still encounter poison, caves, and old ruins as you try to kill the bosses and collect as much loot as you can. Grab some antidotes, make sure your armor is up to par, and get ready for the tricky area.
How to get to Corvius Mire
The rune combination for this area can be obtained from Bol Geran. To do this, you need to find Magnesin, absorb the hearts of the Aeromancer and Terramancer, and then go to the Bol Geran Temple. There you will find a dirty key that opens the door to the sewers. Inside it you will meet a guard who will give the combination.
Dark Earth Lair
When you first arrive at the Swamp, the only place you can go to is the passage to the west. First, look around a little to get some idea about this region. Be careful with water; standing in it will give you a poison status. As soon as you enter the Dark Earth Lair, you will find Twin Frospyr right under the entrance but beware of holes in the ground. They are hard to spot, but they are spiked traps that do a lot of damage. Be careful while making your way through this area.
Heading west from the entrance, you will find the first Mimic. If you try to open the chest, you won't be able to avoid the initial attack. So instead attack first. Luckily, defeating the Mimic will restore one flask. Exploding Balls is the third trap you will encounter within the first minute after entering this area. Do rolls to get out of their range (cloud), otherwise, you will be poisoned.
Hidden southwest of the first raincoat cluster is an obelisk. Take advantage of it. Continue west until you find the first mage hunt in the area. You will learn about the mushroom mage Por Miek. Either way, he will have to be defeated. Only in this way will you gain access to the rest of the area, so you can do it right now. Read more about mages in a separate guide. To the east of the victim, a half-hidden sack of Sunfire Mushroom can be found. Go further east until you hit a wall with a cliff. Fall down and jump over the trap to get the bag.
After killing the Mushroom Mage, you will be able to go through the previously closed door on the east side of the region.
Rotten Swamp
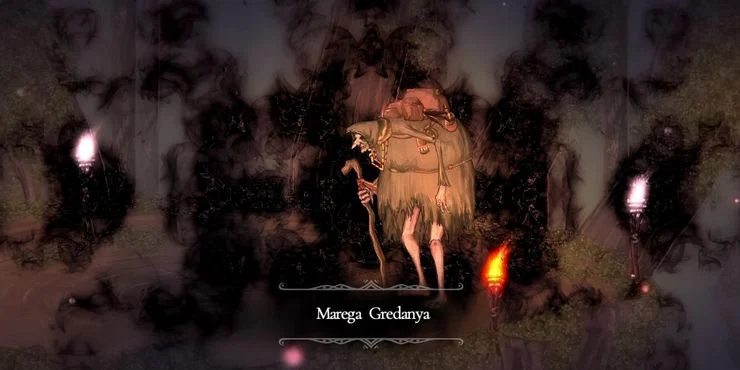
Run through the lower level of this area until you reach the stone building to the east. Climb up to the platform and find a bag of Blueblossom. Go back and then use the capture points to get to the obelisk. To the west of the obelisk is a magnesin pulley that leads to a second pulley. They form a neat cut to the entrance to the Lair of the Dark Earth. Head east from the obelisk using the capture points leading up and eventually encounter the area boss: Marega Gredanya.
How to beat Marega Gredanya
Marega Gredanya is an interesting fight, although with good skills the opponent will be quite simple.
All of Marega's attacks
- Summon Dolly: Marega's main trick. She creates a green glow in her hand and summons a straw doll to attack you. When the boss is low on health, this ability will allow him to summon two puppets at the same time. The puppets attack mostly with quick strikes.
- Swamp Bomb: The boss will take to the air and launch a green skull at you, which will subsequently explode. It has quite a large range, so move quickly.
- Melee Combo: This combo consists of a claw strike and a staff strike. This is a basic attack that is easy to dodge.
- Staff Strike: This is a single strike with a staff that falls to the ground. Easy to dodge, but attacks quickly.
- Invisibility: Marega Gredanya can become invisible for a short time. You can tell where it is from the shadow on the ground, but in that case, it's quite difficult to know what the boss's next attack will be.
Find a glowing stone
green ruins
great tree
How to beat the Sapblood Heart
- Mist Breathing: The heart takes a deep breath, collecting mist in the mouth. It then turns around and releases the mist in the direction it is facing. Easy to avoid.
- Mist Explosion: Same as Breath, but the explosion only hits the nearest area. It's more of a melee attack.
- Leap: The heart strikes the ground with the sword. There is also a two-hit chopping variation of this technique.
- Rush: The heart runs to one side of the arena. Make a transition.
- Spirit Shot: Spirits floating in the air will periodically fire ghostly bullets at you. They are the main danger in the second half of the battle.


Comments
Post a Comment