Locations of all personal letters, secret documents, items, stone eagles, and workbenches in the eighth mission of the game
Here's how to find all the collectibles in the Wrecks and Ruins mission, including personal letters, secret documents, hidden items, stone eagles, and workbenches. In total, this mission can find 19 collectibles.
Personal letter #1: "It's not over yet!"

In the southeast of the map, on the first floor of the hotel, in the side room, on the table.
Personal letter #2: "Clean the drain"

Inside the sewers (yellow main objective marker). Immediately after entering the sewers (short cut-scene) look for the letter on the left, behind the crate on the floor. Make a manual save before entering the sewers, otherwise, you won't be able to get out.
Personal letter #3: "He's not the sharpest"

In the center of the map, in the burnt theater. On the first floor, use the stairs near the entrance to find a chest that can be opened with a crowbar. Inside it is a personal letter. You can find the scrap itself opposite this chest, on the same floor.
Personal Letter No. 4: “Your man has spoken!”

In the southwest of the map, at the top of the ruined building, behind a locked door. You can climb the stairs on the side of the building, then go down and remove the key from the wall. Then go back upstairs to use it to open the door. Look for the letter outside the door.
Personal letter 5: "Meller is moving!"
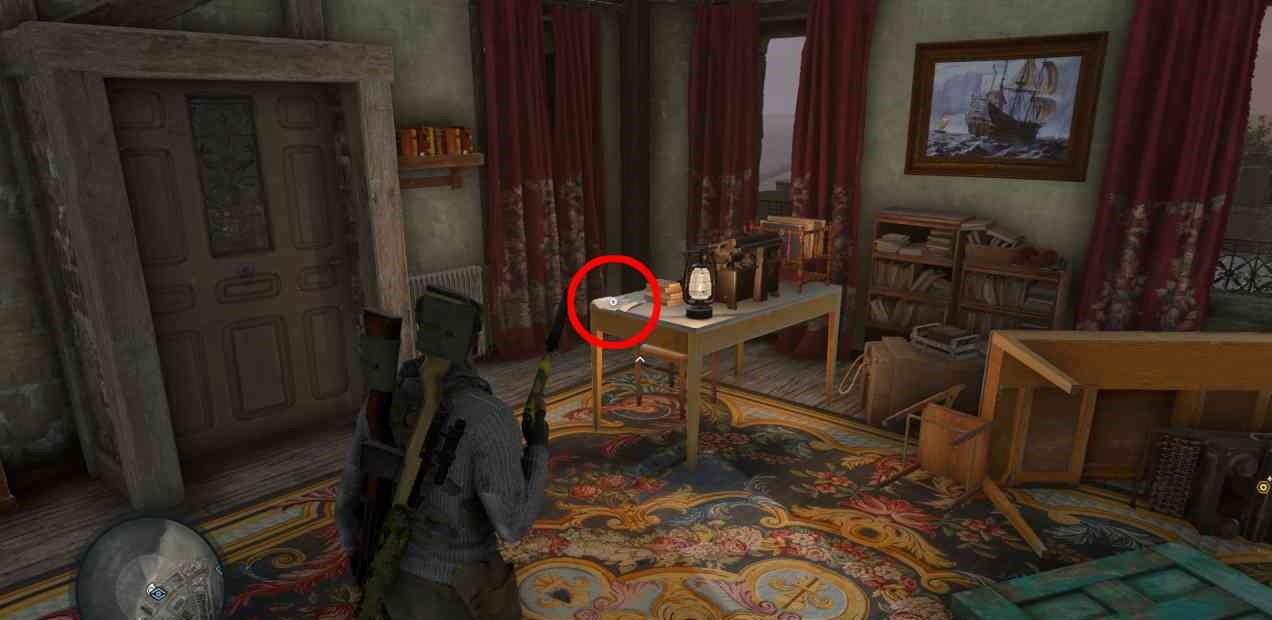
In the southeast of the map, in the building marked on the map with a "blue eye". These are Sea View Offices. The first floor, on the table.
Secret Document #1: "Safe Radio Links"

At the starting point of the map, by default, three soldiers stand next to each other. To the left of them on the box is a document.
Secret Document #2: "Broken Resistance"

In the southwest of the map, not far from the default starting point, you need to dismantle some wooden planks in the building, and then roll down the hill. This document will be in the next building on the right (two soldiers are standing there).
Secret Document #3: "Resistance Report"

In the basement of the destroyed building (interrogation room, marked with a "blue eye" icon). Go to the basement from the street. There is a locked metal door in the interrogation room. The easiest option is to go around the basement through the hole in the wall opposite the locked door that leads to the tunnel. You can also rob an officer on the street to get the key to the door, or use explosives.
Secret Document #4

Inside the hotel, on the top floor, in a safe. The key can be found downstairs from the hotel, on a table or in a chest up the stairs (either there or there). Use the key to open the door upstairs and enter the room with the safe. To open the safe itself, you can use the explosives that are behind another locked door on the top floor. In addition, you can get the code for the safe by examining the first personal letter in the level.
Secret Document #5
In the process…
Hidden Item #1: Stolen Tanto

Inside the sewers (yellow main objective marker). Before heading into the sewers, make a manual save, otherwise, you won't be able to get out. Immediately after entering the sewers (short cut-scene), you will see a locked door ahead, behind which there is a box. It can be opened with a crowbar. To open the door, you can use explosives or the sewer door key. The key is in a safe in the next section of the sewer. To open the safe, pick up the second personal letter of the mission at the beginning of the sewers. If you need a crowbar, you can find it in front of the safe.
Hidden Item #2
In the process…
Hidden Item #3: The "Real" Adolf

To the south of the map, inside the church, two floors up. Go through the main entrance (north side of the church) and go up the stairs on the left. Then go up the second ladder, but instead of climbing to the very top, you have to jump down to the next floor. Look for the picture here.
Stone Eagle #1

This stone eagle is set outside the map, in the southwest. You can shoot him from the Sea View Offices (blue eye icon) while standing outside, on the edge of the promenade. There is a red cart, behind it you can see the building and the eagle. Please note that you can only see the eagle from a certain angle.
Stone Eagle #2

In the northeast of the map, mounted on rooftops outside of the map area. You can shoot him while standing on the road east of the sewer entrance (main target), east of the area where the tank is driving.
Stone Eagle #3

In the northwest of the map, on top of the town hall building, where the target from the kill list is located. Installed above the main entrance.
Workbench #1: Sniper Rifles

Inside the sewers, where you will meet the first soldiers, in the armory on the left. You can pick up the key from the two guards in front of the armory. In addition, the key is also in the chest in front of the armory.
Workbench #2: Secondary Weapon

In the west of the map, in the building opposite the town hall (target from the kill list), in the attic. On the top floor, you need to run and jump to climb even higher.
Workbench #3: Pistols

In the northwest corner of the church, you can jump down through the hole in the floor to reach the last workbench.
Comments
Post a Comment