We tell you how to complete all the story and side tasks, eliminate targets, successfully evacuate, find all the keys and open all the doors
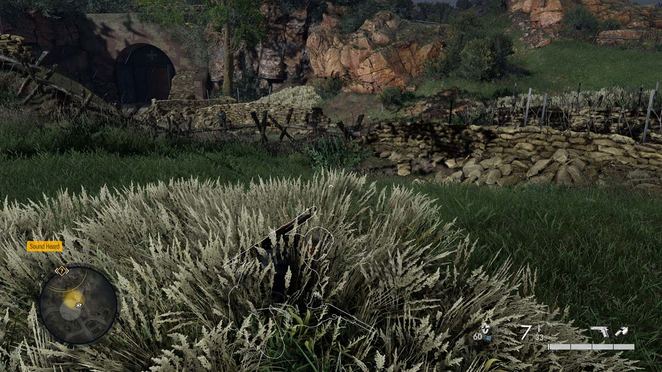
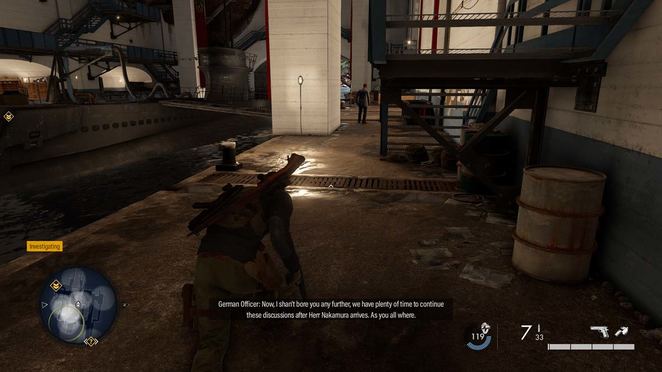
At the beginning of the mission, you have one main goal - to find the stealth plates. But, in addition to this, you will also be offered to eliminate another enemy - Lanzo Baumann. From the starting location, head north to enter the cave, then slide down the slope into the water. Continue heading north and you will spot a radio tower in the distance, which will trigger the "Neutralize Radio Communications" side objective. When you go north, you will see two German soldiers. They are located next to the tall grass, which you can hide in while you pick up the moment to eliminate the enemies.
Climb the steps to enter the German camp. Go north until you see a soldier on your right. Although the grass is not tall, you can use the nearby bushes for cover while moving toward the soldier for a stealth kill. If you look to the right of the soldier, you will see another one patrolling the long passage. As you approach, hide behind the crates to kill the enemy.
Head back the way you came here and look in the nearby crates for a bolt cutter. Stay low as there is a soldier nearby; use the whistle to lure him in and stealthily kill him. Move forward and you will see an officer patrolling the area. He is alone, so it will be easy to sneak up and eliminate the enemy.
Neutralize radio communications
There are two ways to complete the task. The easiest way is to immediately after killing the officer, climb the stairs and enter the first open door. Follow further, and you will encounter radio equipment that needs to be deactivated. On the next table is a map showing the location of the Mirus Munitions bunker (a corresponding mark will appear on the map). To the west of the radio equipment, there is another map that points to the Martello tower. To destroy the equipment, you need a crowbar. If you don't have this tool, exit the room and go around the tower until you see a passage on the left. Follow this path and turn left again to reach the Scrap Room.
The second way is to cut the cables with a bolt cutter. Climb the stairs towards the radio room, but go left around the tower until you see a passage on the left. There is a wire here that can be cut with a bolt cutter. Return to the entrance to the room with the radio equipment and go into the building ahead (but be careful with the patrol). Go right again and go up the stairs on the right. At the top, go to the western end of the observation deck to find another cable. Cut it with a bolt cutter. That should be enough to bring down the tower. Also, there are bolt cutters nearby in case you haven't picked up the tool before.

It should be noted that either method is noisy and you will alert nearby enemies (although the collapse of the radio tower will make a lot more sound).
Head north of the eliminated officer. Optionally, you can look into the room on the left to find a soldier operating a machine gun turret (if the noise did not attract his attention). After leaving the camp, continue walking northwest along the wooden boardwalk. Keep moving until you hear a loud explosion, which will unlock another main objective: neutralize the battery.
It is located at a distance from the underground hospital, and for now, you don’t have to worry about it. Keep heading northwest until you see a truck. Wait for the end of the conversation between the soldier and the driver. When the truck leaves, keep to the left and move past the soldiers. Keep to the left as you pass through a patch of tall grass, away from the main road. When you get to the paved path, cross over to the other side and then move to the left of the dirt road to avoid the soldiers patrolling the area near the buildings.
Quickly move around the machine gun turret area where the tall grass area is located. Here you will find a checkpoint with three soldiers. Use the whistle to lure them one at a time and then follow the dirt path to your right to get to the underground hospital. Go straight, and when you see the first room on the right, duck down and carefully look inside. you must catch the conversation of two soldiers. Find some cover to crouch on and use the whistle to lure the soldier in for a stealth kill. Then subdue the second enemy.
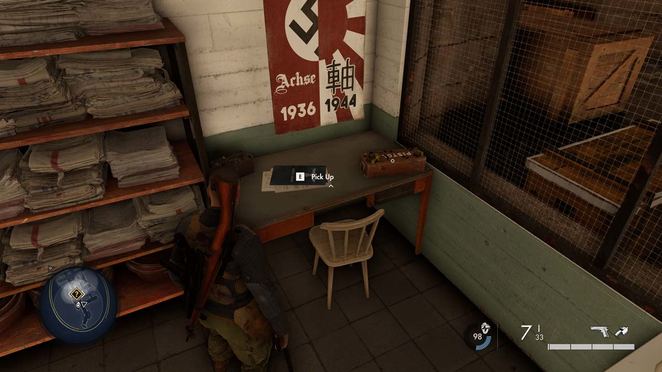
Once both are dead, go to the left room across from where the soldiers were and check the northeast table to find a document. Go forward in the same room to the locker and hide near the lockers on the left side. So you eavesdrop on a conversation about the second battery under construction. This is the start of the "Stop the construction of the second Mirus cannon" side objective. The battery is located near Lanzo Baumann, who must be eliminated on another additional task.

There will also be a map nearby where you can check where the Dollmann lookout tower is located. After the conversation ends, use the whistle to lure the soldier in for a stealth kill. You can then sneak up on another soldier and kill him. Go to the right, into the room on the other side (beware of the soldier who can see you). Kill the stormtrooper by sneaking up behind him, then enter the room and go past the projector screen. Turn left to return to the main area with stealth plates. Turn right to find an officer to eliminate.
Turn around and go to the room ahead. On the bulletin board to your left, there will be a map showing the tank depot. Continue to the left to find a soldier that can be easily eliminated. Examine the nearby document to obtain the Transportation Trouble Document, which will complete the "Find the Stealth Plates" starting task.

There will also be a map nearby showing the location of the coastal bunker. Continue looking for the stealth plates by leaving the room and going through the west exit. Continue west through the trees and avoid detection. Whenever possible, hide in the tall grass, and kill the soldiers if necessary (but you can basically avoid them all).
Heading west, you should see a stone shed in the distance. Go to this shed and crouch so as not to get into the field of view of the soldiers of this region. Go around the left side of the shed and then use the tall grass to reach the gap in the wall opposite. When heading to the nearest patch of tall grass, make sure the roads are clear (soldiers on motorcycles can move along them). Look to the left to find a gap between the wooden barricades and go through it. Turn right and go down through the camp.
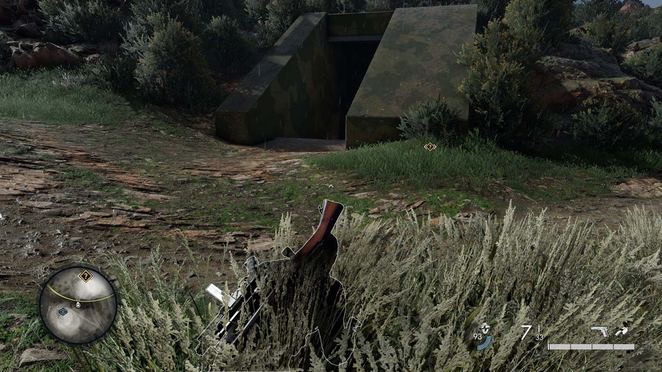
When the road turns right, go left to get to the Dollman Lookout Tower, but then turn right to the underground entrance. Be careful of the officer who patrols the entrance; use the nearest patch of tall grass to hide from him and wait for the best moment to attack. Watch out for soldiers who can climb the stairs to your left.
Inside the building, go down the stairs and follow the path until you reach a large area with a submarine. The plate is hidden here. There are many enemies in this region, but they can be eliminated sequentially. There are 3 ways to complete the task. You can either drop explosives into the vent at full pressure, a radio out the escape code, or start a chain reaction.
Keep moving forward and when there is a ladder leading down to your left, go down there. Watch out for the scientist patrolling the area and kill him as soon as you can. Go straight ahead and turn left past the submarine to get to the other side (ignore the area with the talking soldiers for now). There is another Patrol Scientist nearby and you must eliminate him. To the north of the scientist there will be another staircase that you can climb up. Go straight and then turn left to kill the soldier at the top of the passage. This will make it easier to move around, as it was difficult to hide from him.
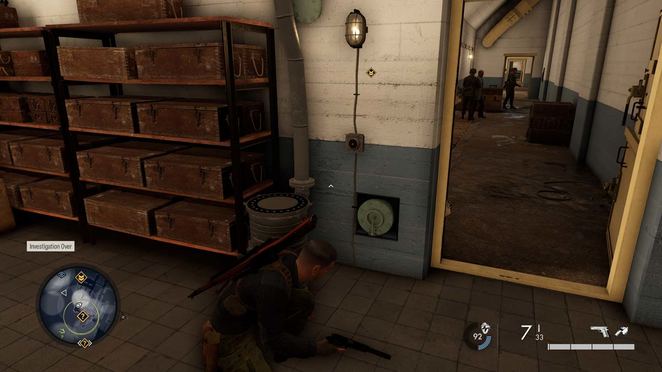
Go left and continue along the path to where you started the quest. You can see one of the scientists from the meeting. Hide behind the chest containing the bodies and wait for the scientist to go up the stairs. Take this opportunity to eliminate him (optionally put his body in a box). Go down the stairs a second time and go forward, past the first scientist you killed. Go left, but this time look to the right and go through the first door. You will see two soldiers looking the other way. A great opportunity to come up from behind and eliminate both. There is also a pressure valve here, but you will need it later (and only if you choose the explosive option).

Go into the room opposite the enemies and you will find a corridor with two enemies and a scientist. It's a tight spot, with little wiggle room, so whistling is unlikely to fit. Fortunately, there is a table with bottles nearby and you can use them to lure the enemies one by one. Hide all the bodies in the nearest box. Try to carry out stealth kills away from the corridor so that you are not noticed until one enemy remains. Once all three have been destroyed, you can use whatever method you like to sabotage the submarine. Despite the fact that there are still opponents here, hiding from them is much easier than from all previously eliminated targets.
Option 1. Throw explosives into the ventilation
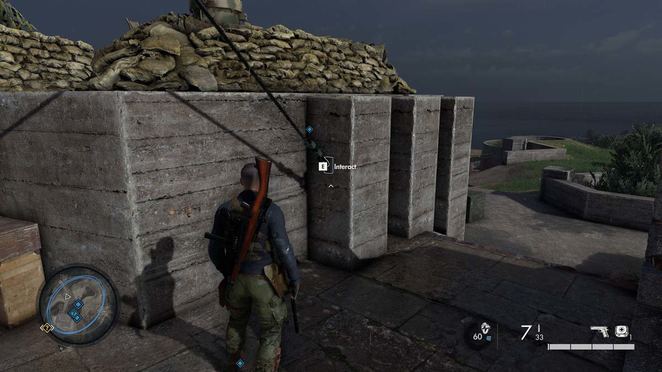
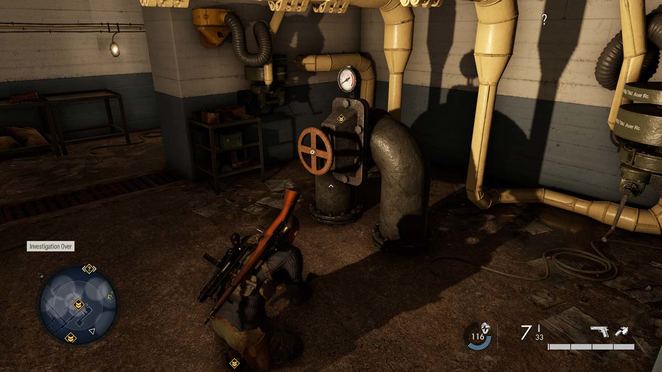
Return to the lower room where the two soldiers were killed. You can examine the pressure valve to the east of the enemies, and overload it to set up a giant explosion. To do this, you will need another valve, but it is not that far. Activate the adjacent panel to open the vent. Return to the room with the first pressure valve and go up the stairs, entering the room in the center. Inside, look for the second pressure valve, interacting with which will bring you closer to the denouement.
To complete what you started, you need explosives. If you don't have it, return to the bottom floor and go to the location of the second scientist. Turn right, then left to find a box of explosives (but watch out for a soldier patrolling the area nearby). Exit the dungeon and return to the surface. Head northeast and you'll soon reach a metal fence. You can find a damaged part, which is disassembled with a bolt cutter (the tool can be found in the underground part, in the western part of the submarine dock). You can then make your way to the vents on the left, planting the explosives and completing the mission.

Option 2. Withdrawal code
Return to the original location (where you first entered the room) and look into the conference room on the right. If you took the time to eliminate all the enemies, there should only be two officers inside. You can lure them out one by one with a whistle. One of them will have a combination to Fisher's safe, which contains the retreat code. Go to the right of the meeting room, down the corridor, and then right to find a safe. Open the safe to get the evacuation code for the submarine. You can also check the table in the center of the room to find the document.
With the code in hand, turn around and look to the northwest to find a door that you can open by picking the lock or using the bolt cutter. This will create a shortcut to the stairs you were descending earlier. Climb up and enter the radio room on the right. Find a table you can interact with to submit the code and complete the task at hand.
Option 3. Chain reaction
Go down to the lower level and go to the northeastern part of the submarine dock. Turn left and you'll see a panel that needs to be activated to turn on the fuel wires. Cross over to the other side and go up the stairs (the same one that got to the soldier in the passage above). This time go to the right to find the missile control panel by moving it over the submarine.
Now you need to go back to the area of the submarine, find a good angle to shoot at the hook holding the missile (from time to time it flashes red, indicating the area to shoot at). The corner can be found anywhere, but the main thing is not to stand under a hook or on a submarine. As soon as the cut-scene starts, the task will be completed.
Regardless of the method you choose, the next objective is to destroy the Mirus cannon. Return to the exit from the underground hospital and go north to a pile of logs. Be careful of the soldier patrolling the area. Head north and hide in the tall grass. You can then slowly make your way towards the trenches to find a path leading to the gun.
Stop building the second gun
At this point, you can head east to reach the construction site where the second weapon is being crafted. Turn on the camera and head to the base with the Japanese flag from the Second World War. Adjust your movement to get closer to the construction site, where you will see a suspended charge. All you have to do is aim your sniper rifle and shoot the hook (which flashes red from time to time) to complete the task.
Eliminate Lanzo Baumann
This enemy is in the same area. Just go east. Make a small detour along the wooden boards to reach the path, then continue east to find a small building where Lanzo Baumann is standing studying the blueprint. He has his back turned to you, and this is a great opportunity for a stealth kill.
But if you want to complete the bonus objective, you need to kill Lanzo by drowning him in concrete. This is easy to do - stun the man with an attack from behind, and then take him to one of the two concrete dispensers that fill the areas. Throw (F) Bauman's body into one of these areas to complete the bonus objective. When you're done, return to the tall grass area near the gun trenches.
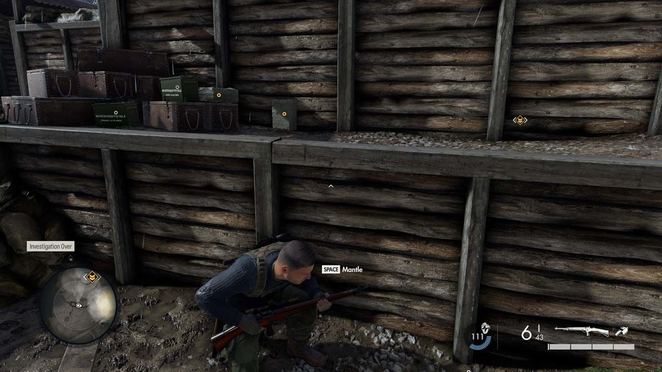
Find the part of the trench not covered by the wooden barricades at the western end (there will be an anti-aircraft gun). This part of the trench is being watched by a soldier; sneak up on him from behind for a stealth kill and then keep moving. Be careful when moving through the trenches, as they are patrolled by soldiers. If you continue heading east, you will eventually find some supplies, including some explosives.
Passing through the trenches, you will reach a fork. There are two ways - left and right. Walk left and enter the open door. You will find yourself in a circular area where the cannon is located. Walk to the right to find the right place. Just walk up and interact with him, and then move away (back to the entrance) to stay in a safe place.
It's time for the evacuation. Return to the exit from the underground hospital and follow the dirt roads opposite the log piles, just like you did when looking for the plates. Return to the dirt road leading to the farm buildings, but go right at the fork. This road leads straight to the extraction point, which is not protected by enemies, so you can quickly complete the task. As a result, you will receive an M1A carbine and a lure.


Comments
Post a Comment