Almost all areas on the Slime Rancher 2 world map are covered in fog. It can be dispelled with the help of special devices that are scattered across the three large islands. Today we will describe how to find data cards (Map Data Nodes) and unlock the entire map in the game.
Data cards are small devices that, when interacted with, will open one or another area on the global map. They are always in certain places.
Before you go looking for all the data cards, be sure to create a jetpack (Jetpack).
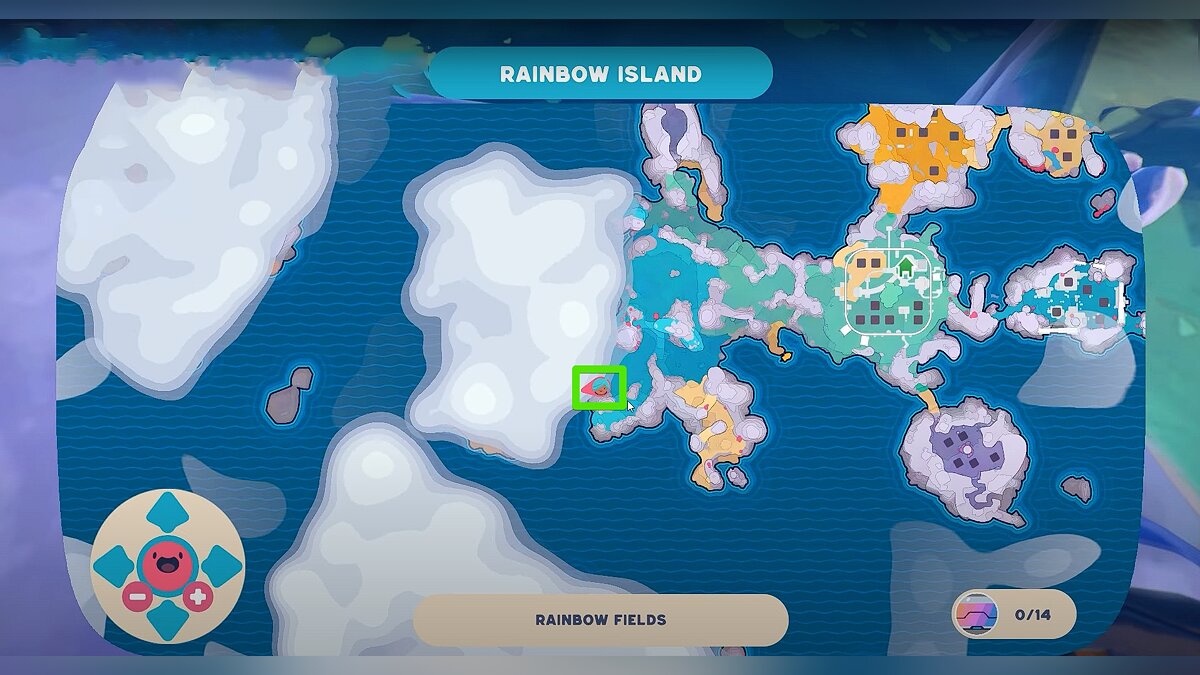
How to open the first part of the map in Rainbow Fields (Rainbow Fields)
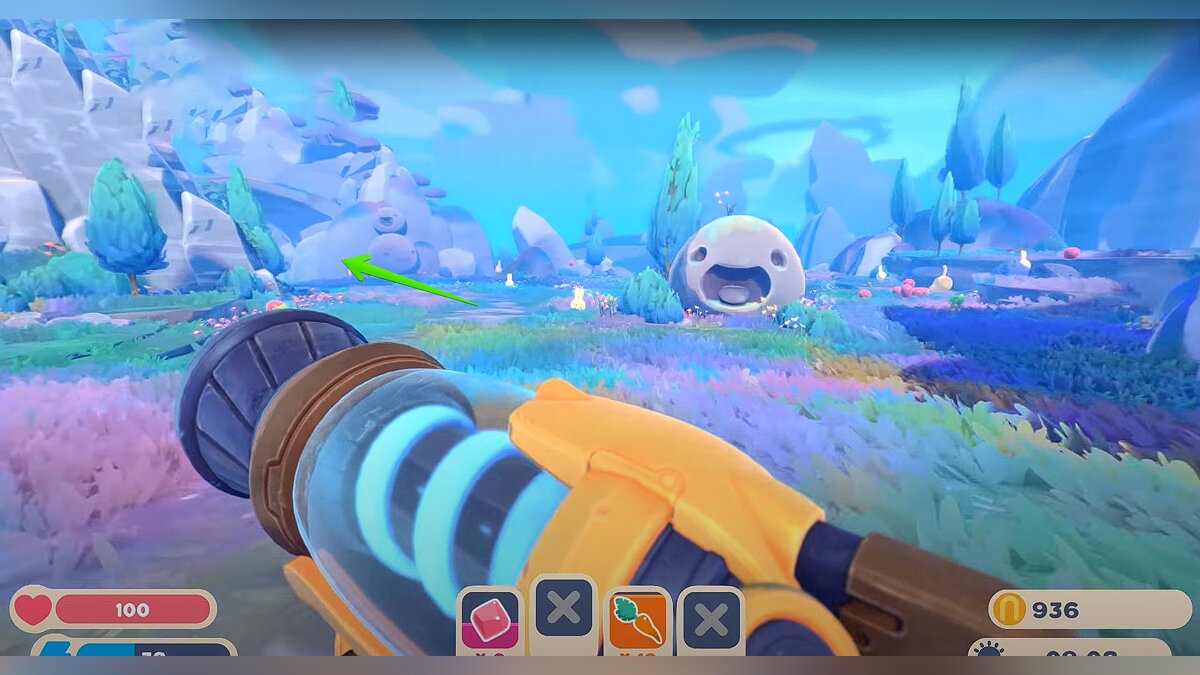
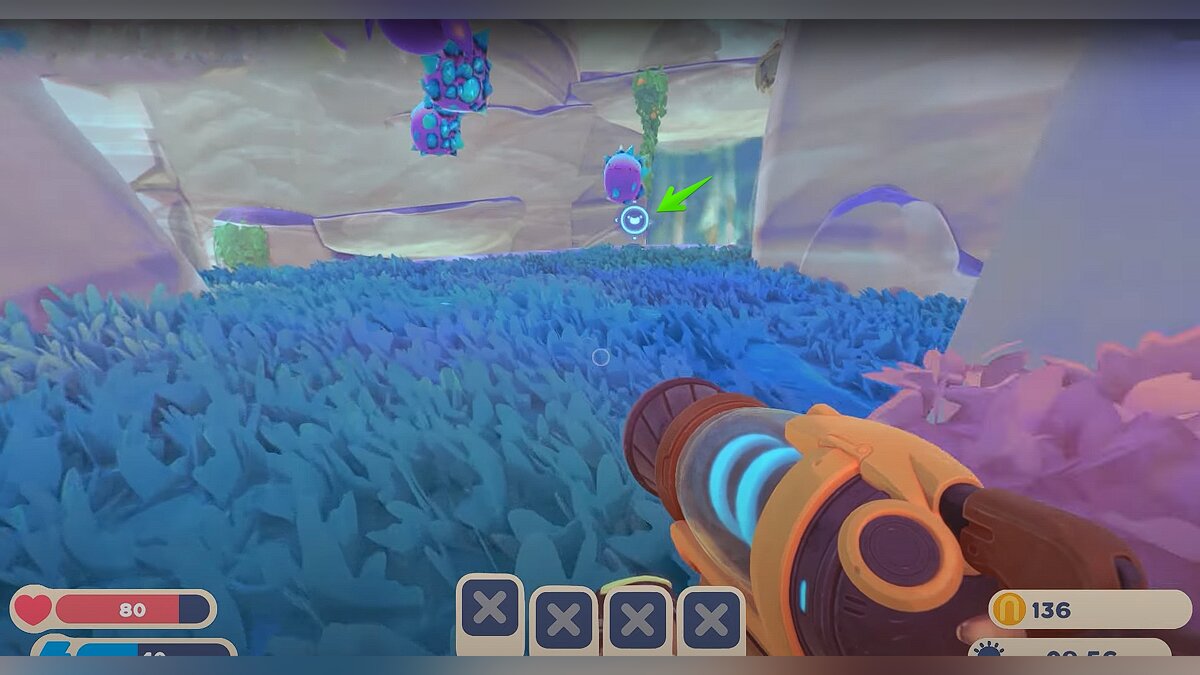
Go to the western exit of the Conservatory. You need to follow the path through the gorge. When you reach the large stone slime, turn left.
You will see a road under the rock. Follow it until it breaks. At the dead end will lie the first device (1/8).
How to open the second part of the map in Rainbow Fields (Rainbow Fields)
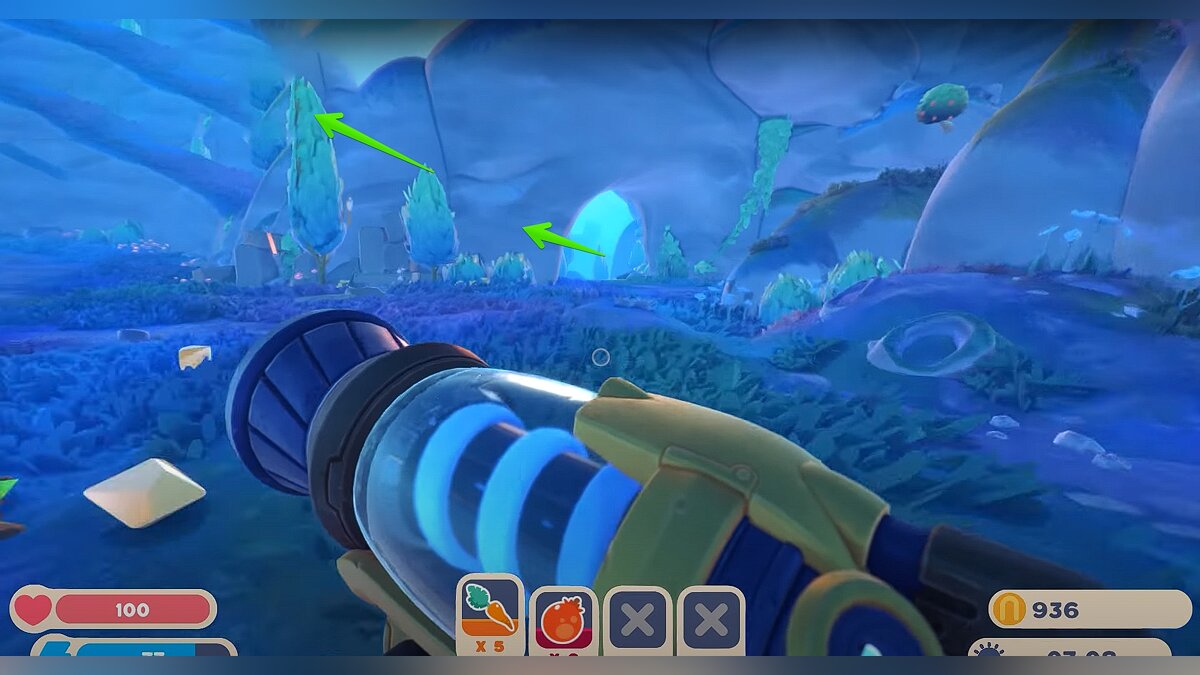
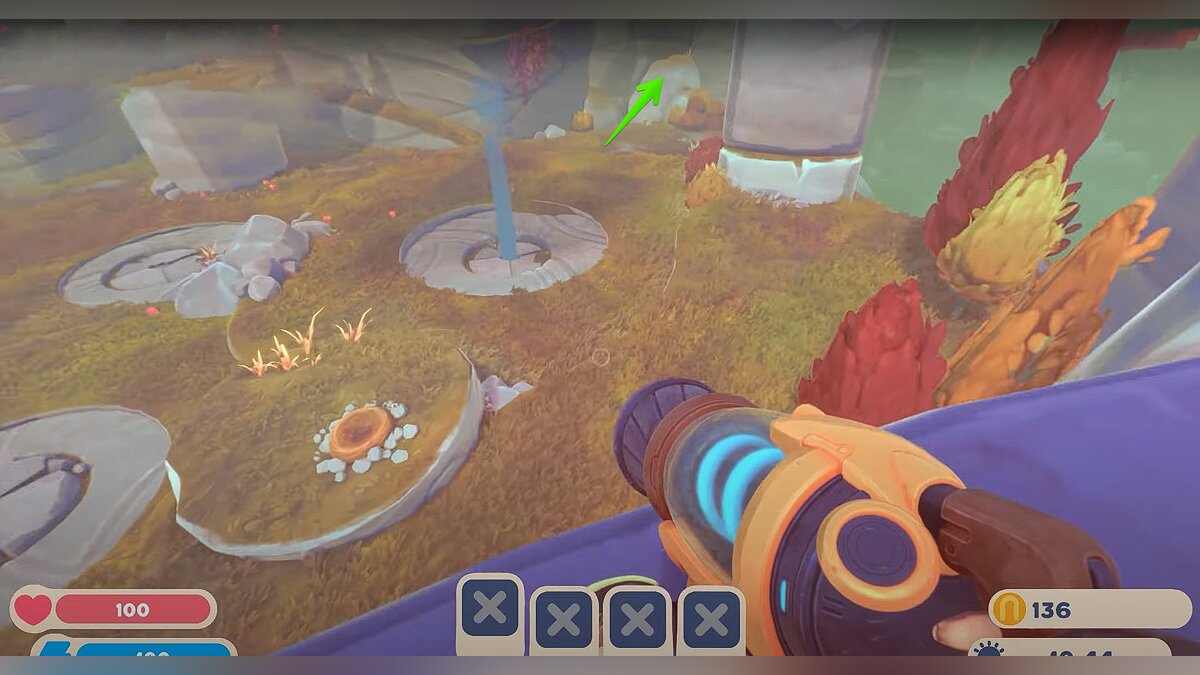
From the previous location, turn around and find the rise to the hill on the left. Run along the makeshift path to the top. In the distance, you will see a rock that you need to climb.
The device is behind small bushes (2/8).
How to open the first part of the map in Ember Valley
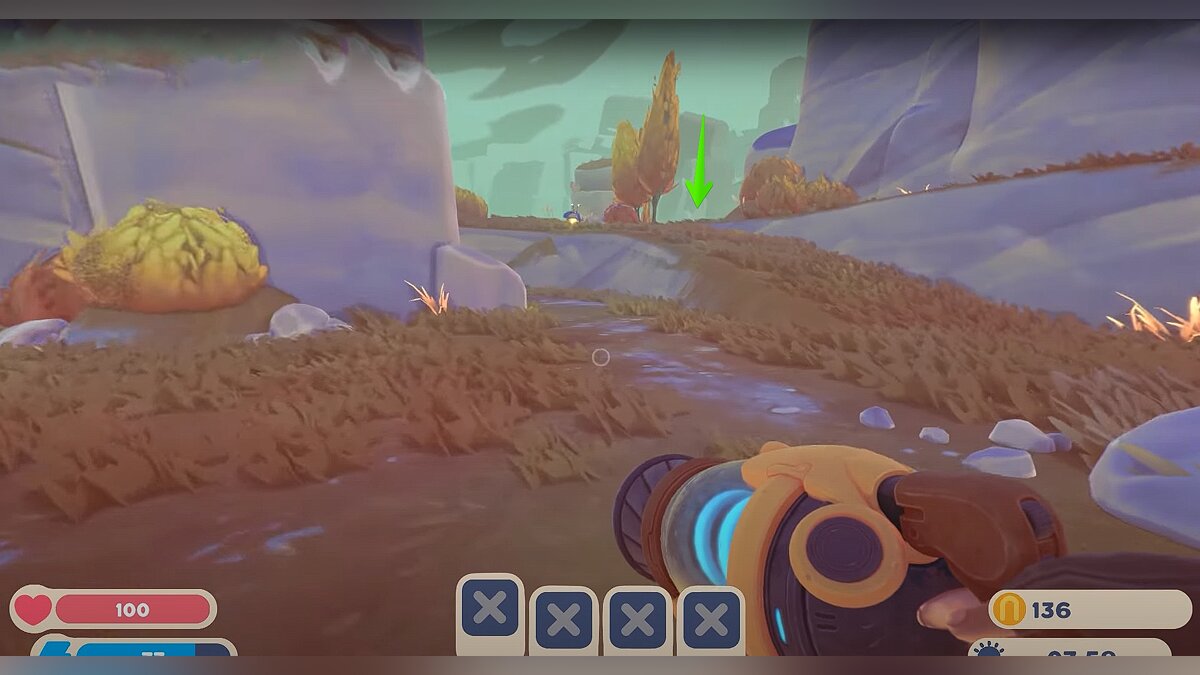
Move to the Ember Valley. From the teleporter, go down and follow the path. When you see a lift going to the right, climb it and climb up.
At the end of the ascent, on the right side, there will be a passage in the rock. Turn here and follow this road.
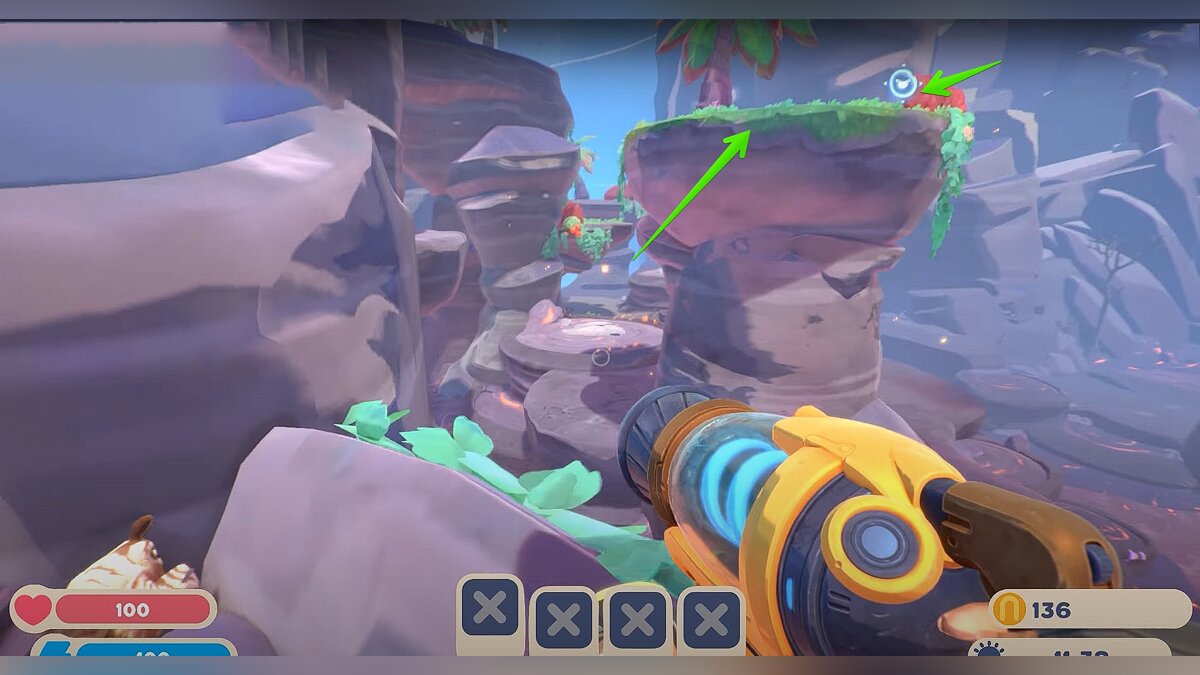
Get to the cliff and jump down. On the top of the rock on the right, you will see the image of a shell - you are here.
To climb up, go to the geyser, from which the slimes appear. Wait for them to disappear and climb into the water stream. He will take you straight to the device (3/8).
How to open the second part of the map in the Ember Valley
From the previous location, you need to use the jetpack to get over to the nearby cliff.
Turn right and follow the path forward until you reach a cave. Walk to the end of the cave and use the geyser to rise higher.
The device is located here (4/8).
How to open the third part of the map in the Ember Valley (Ember Valley)
Turn around and find a passage in the rock - here you are. Jump on the rocks and go down to the geysers. Here you need to turn right.
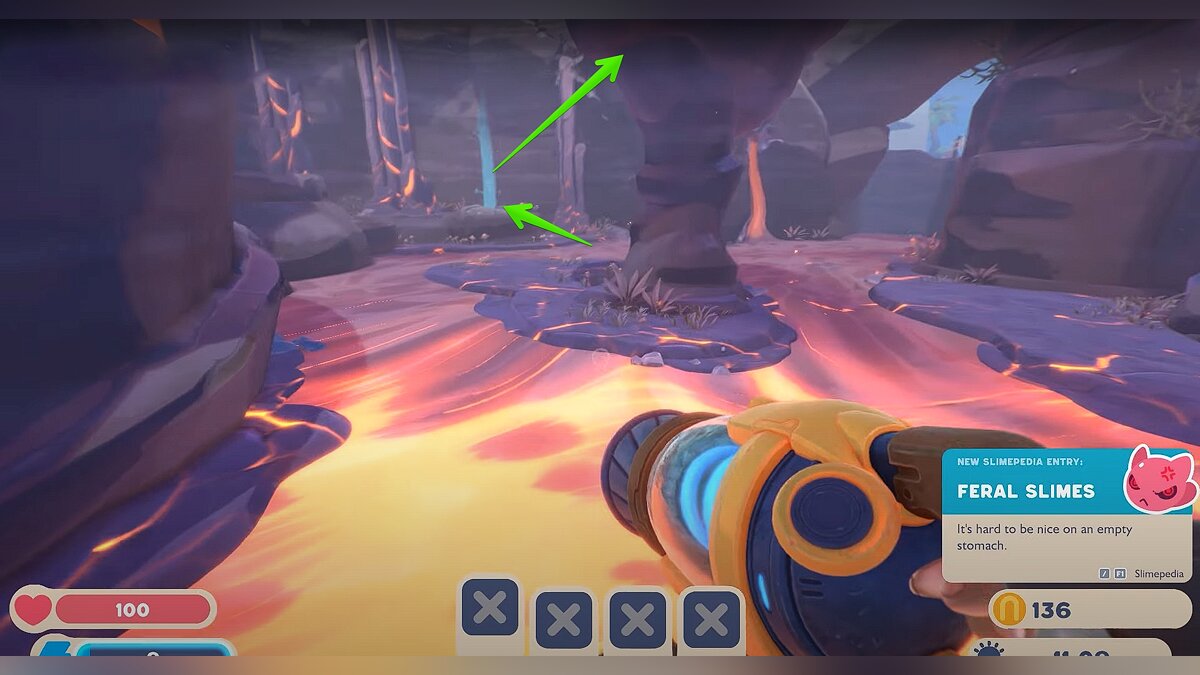
First, run along the river bank, then turn left. Here you will meet wild slimes and lava. Try to bypass it and get to the only geyser here.
Use it to get to the top of the cliff on the right. The device is located on one of the hills nearby (5/8).
How to open the first part of the map on the Star Coast (Starlight Strand)
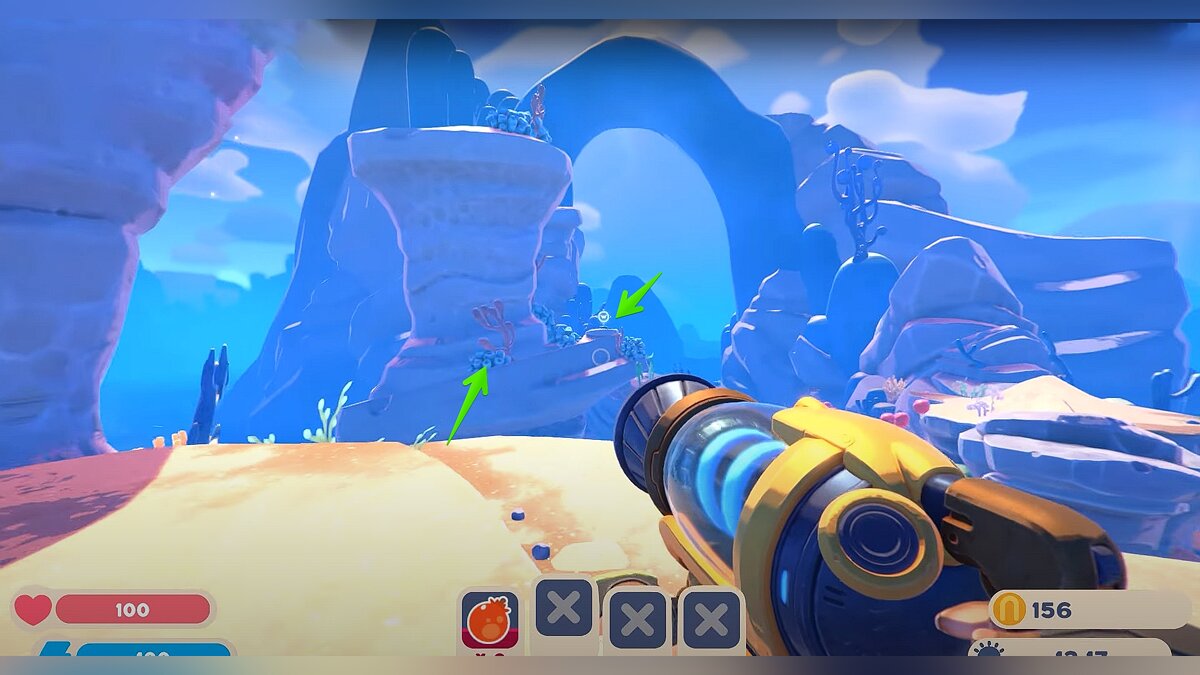
Use the teleport to Starlight Strand and climb the big rocks behind you. Keep left and get to the cliff.
You need to get over to the next rock and activate the next device (6/8).
How to open the second part of the map on the Star Coast (Starlight Strand)
Turn around and find large blue stones. Use the jetpack to get here and be at the portal.
Run along the path with red grass that goes to the left. Climb onto the rock and continue to follow deep into the island.
Among the trees with red leaves, you will see a rock that contains the seventh device (7/8).
How to open the third part of the map on the Star Coast (Starlight Strand)
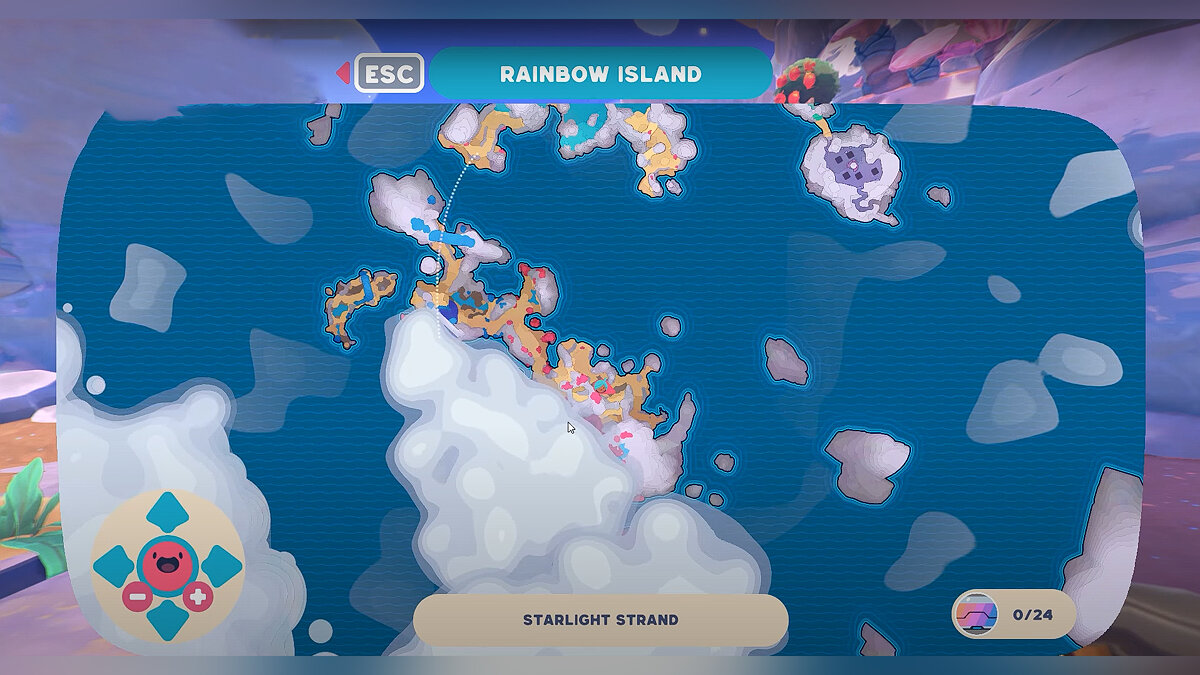
You need to get to the place indicated on the map above. The path to this area is rather difficult to describe. You need to move along the rocks and try not to fall down. If you suddenly fall, you will have to start the journey directly from the teleport.
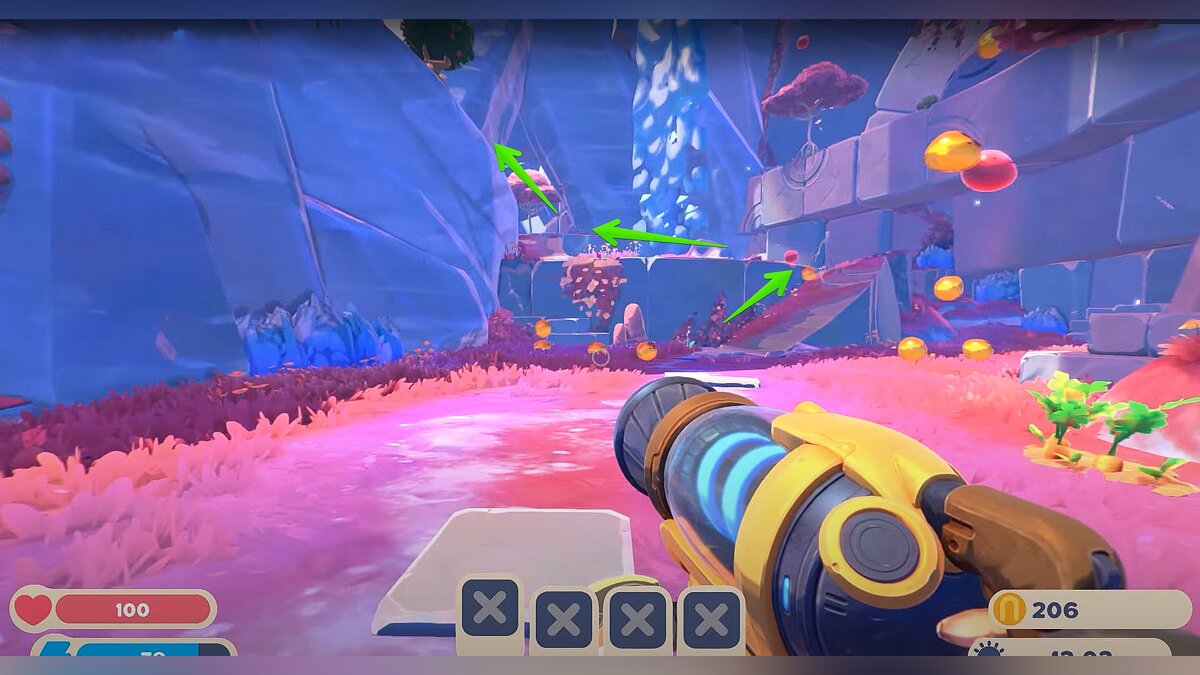
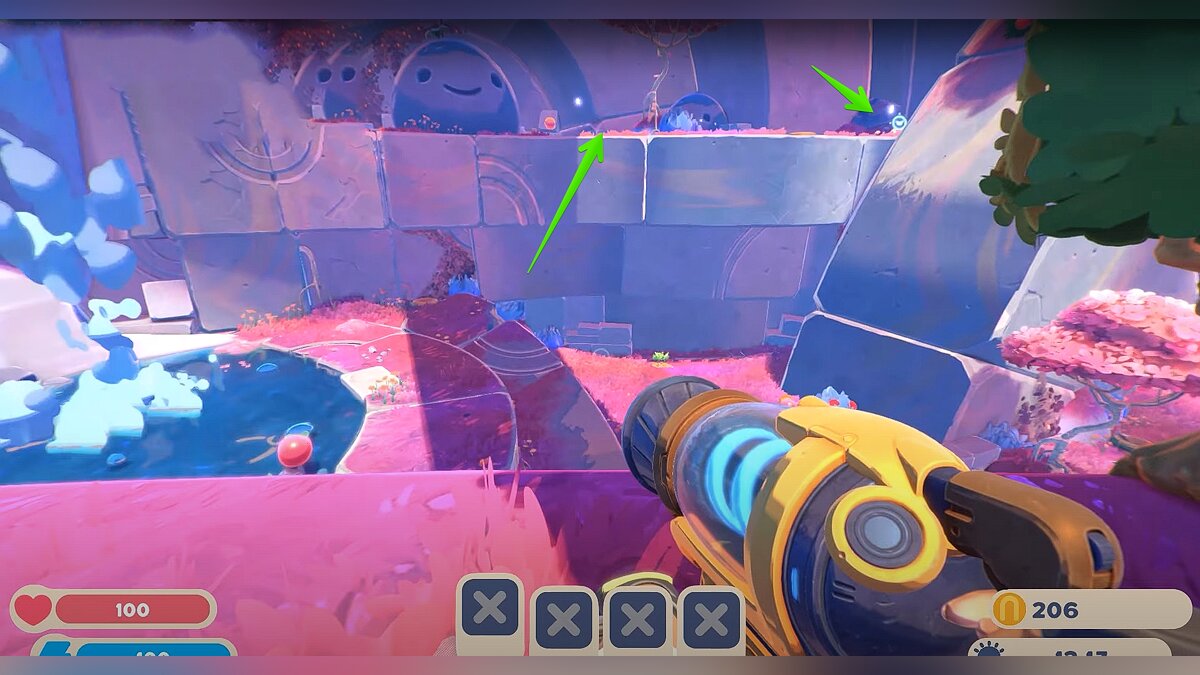
At some point, you will reach a large stone gate. From them, follow to the left and run to a large waterfall.
To the right of the waterfall, there is a large ledge on which the device is located (8/8).















Comments
Post a Comment