How to complete all the story missions of the game
Call of Duty: Modern Warfare 2 Remake, released in 2022, offers a large story campaign consisting of 17 missions. All of them are discussed in the walkthrough below.
tactical strike
The events of the first mission of Modern Warfare 2 take place in Al-Mazra. Players must prevent a weapons deal between the Russians and General Ghorbrani, the commander of the Iranian forces, from taking place. We are currently in control of Simon "Ghost" Riley, who is tasked with identifying the general.
Since the mission takes place in an open desert, you will be hindered by various visual obstacles such as dust clouds and enemies patrolling the area. Don't forget about the considerable distance between the player and the target, which makes it difficult to spot the general. With that said, here is a step-by-step guide to help you find and eliminate General Gorbani:
- Walk forward through the narrow gap and climb up the ledges.
- When you see an open field, stay where you are and under no circumstances shoot your weapon, otherwise, you will fail the mission.
- Press and hold the E button to use the scope to explore the area.
- Aim your crosshair at the right side of the area and you will see a helicopter land.
- Zoom in with the Shift key and you will see a man surrounded by several armed guards. This is General Gorbani - the main target that needs to be eliminated.
- Wait until General Gorbani moves away from the Russians and freely inspects the area. When he is not surrounded by anyone, mark him with the indicated key.
- After a short cut-scene in which Graves launches missiles at the general's position, you will be tasked with controlling the missile in first person.
- Follow the white markers on the way, avoiding collisions with various obstacles on the ground or leaving the track.
- You will be prompted to enable boosters by clicking LMB. Do this by aiming at the red square.
- After being hit, a short cut-scene will start and the mission will be completed.
Kill or Capture
In the second mission of Modern Warfare 2, Ghost and Soap lead MARSOC Marines tasked with killing or capturing the terrorist leader and Ghorbrani's second-in-command, Major Hassan Ziani.
As soon as you can move after landing, put on your night vision goggles and follow the team until the helicopter crashes. Walk forward to get to the nearest house and get your weapons ready to take out all the enemies on the first floor. As soon as you clear the location, head to the second building and destroy the enemies that are located on the terrace. Once you've done that, move inside the building and use the flashbang grenades to blind and destroy the enemies on the first floor.
Then go upstairs to clear the second floor. Be careful when opening the door, as the enemies stationed there set up an ambush. Use flashbang grenades to neutralize the threat and eliminate everyone without taking damage. As soon as you clear the second floor, you will realize that Hassan is not here, so the Ghost will order you to regroup and clear the crash site. Slowly follow the crashed helicopter. You can take off your night vision goggles as this place is already well-lit.
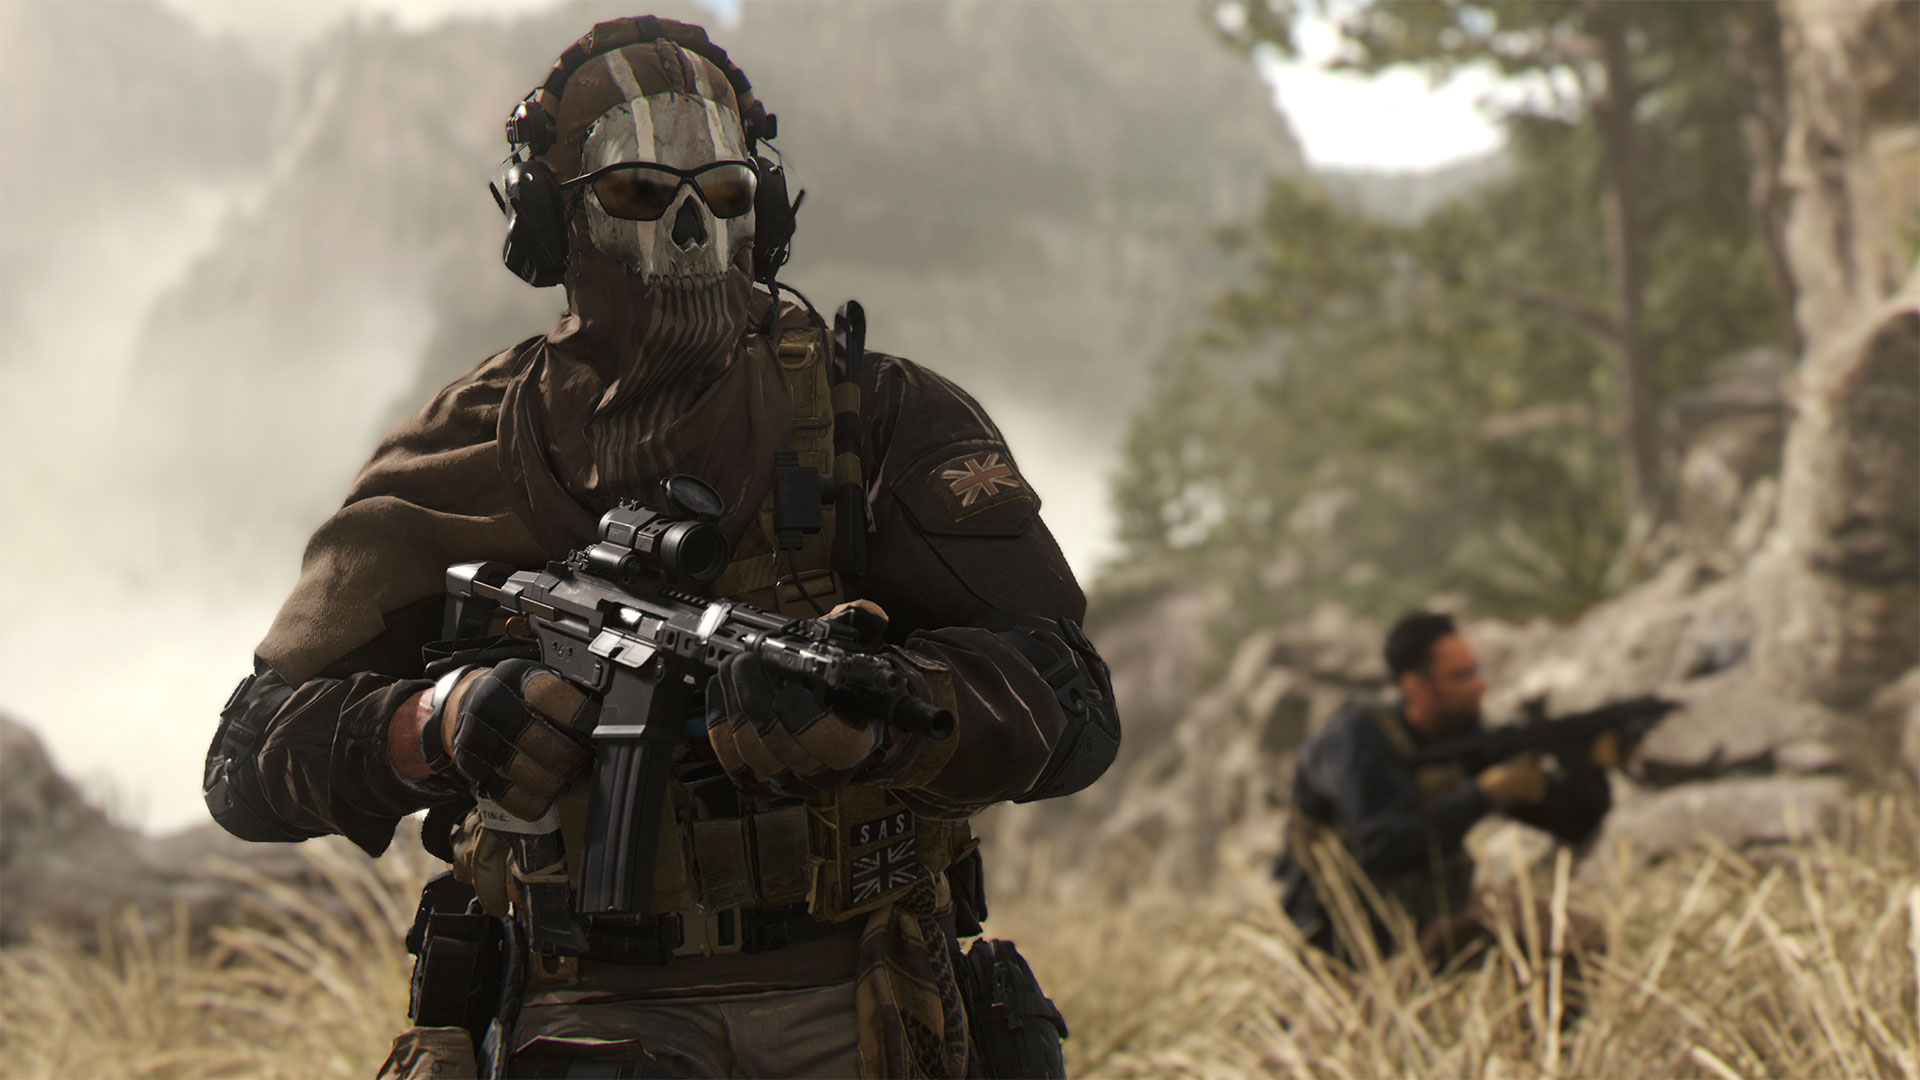
Get inside the helicopter through the back and aim your weapon at the line of trees visible from the windows as the enemies will arrive from there. Protect the right rear of the helicopter from incoming enemies. There will be three enemy waves in total. In which case, use shelters and restore health. If you run out of supplies, on the right side of the helicopter, next to the windows, look for a backpack that will allow you to restore ammunition.
In addition to ordinary enemies, an armored personnel carrier will appear, which will conduct heavy fire and can cause serious damage. Keep firing and wait for the air support team to launch a missile attack. Once the area is clear, leave the helicopter and move forward with the rest of the team through the tree line. When you reach an open area where you can not hide, you will have to confront the enemy sniper.
Lie down on the ground to somehow complicate his task. The sniper is on the roof of the building. Keep moving until the second wave of snipers appears. Kill them and move on. As soon as the warship provides air support, most of the opponents will disappear. After neutralizing the threat, go inside the building and clear it, destroying all enemies. Some will run into open combat, and others will hide in cover, so be as careful as possible and take your time.
After you clear the first floor, go upstairs and do the same with the second tier. Eliminate enemies until you reach a room with a bed, a chair with Hassan's uniform, and a table with documents to study. After that, you will learn that Hassan managed to escape before the attack.
Exit the building, regroup with your team, and head to the nearest warehouse. Go through the main entrance and eliminate all threats. After clearing the area, find a blue cargo container that you can interact with. During the interaction, you will find an advanced US flag mobile rocket launcher guarded by Hassan's men. This will complete the mission.

Mokrukha
The mission begins with Laswell putting together facts about a Mexican cartel smuggling illegal cargo through the docks of Amsterdam. Thus, they learn how Al-Qatala (AK) took possession of an American ballistic missile. Price and Sergeant Kyle "Gaz" Garrick enter the Amsterdam Docks, which are heavily guarded by Al-Qatala guards. You will play as Gaz, who has throwing knives and stealth equipment.
The mission is stealth focused: Captain Price leads you across a pier where you must get rid of several guards to reach your final destination, a barge parked at the end of the pier.
The first segment of the mission will end with the covert elimination of several patrolmen scattered throughout the pier. There are two ways to approach the goal:
- Total Stealth: This method is highly recommended, as it is not difficult to implement, since Captain Price is personally involved in this, or at least gives advice.
- Checkers Bare: After all, Modern Warfare 2 is Call of Duty, so almost any mission can be completed by attacking the enemy head-on.
First, pay attention to the guard on the pier. Having dealt with him, you need to eliminate two characters located on a patrol boat nearby. If you go up to the pier, you will get a P890 pistol with a silencer, which makes the task much easier. After that, move through the water to eliminate two more guards on another pier. Next, there will be another patrol boat and three more guards, and after that, you will finally enter the barge.
Inside the barge
As soon as you clear the pier, the next step will begin - get important information from the barge. Once inside, Captain Price will immediately join the fight, single-handedly dealing with two guards. Then a couple of heroes will go to the lower deck to clear the cabins. Along the way, you can pick up a Bryson 800 shotgun and Kastov-74u, which will drop from the dead guards.

Clear the two cabins on the left-hand side and enter the last one, where you need to eliminate three more guards. As soon as you deal with them, Captain Price will order you to go deeper into the cabin to check the last room. As soon as you enter it and begin to explore the contents, Gaza will attack the last member of the cartel on a barge. Having dealt with the last enemy, accept the call on the phone. As a result, the mission will be completed.
Mastery
In the fourth mission of Modern Warfare 2, Gaz, Price, and Laswell use CIA espionage tactics to secure a high-profile target in Amsterdam. Since the mission takes place in a public place during daylight hours, you need to act discreetly and carefully. You will play as Gaz, armed with a P890 silenced pistol. After Laswell hands over the tranquilizer syringe, exit the alley and follow to the right place.
After walking to the end of the bridge, you will notice two thugs from the Cartel standing next to each other. On Laswell's instructions, you need to quietly kill one of them, while she eliminates the second. Wait until the bandits split up. After that, slowly approach the enemy wearing sunglasses and a brown puffy jacket. Use the tranquilizer syringe obtained from Laswell against him.
Regroup with Laswell and keep following her until you reach a cafe where Price is listening in on a conversation between the cartel and an Iranian to get Hassan's whereabouts. Price will inform Gaz and Laswell that they need to create a distraction, then take out the thugs and secure the target. Approach Price and pick up the decoy grenade that he passes under the table.

Following Laswell's orders, you must place the grenade in the trash can in the alley next to where it stands. After the device goes off, a couple of cartel thugs will enter the alley, trying to find the source of the noise. Take advantage of this opportunity and use the syringe to quietly eliminate one of the enemies. Before you leave the alley, be sure to hide the pistol with a silencer.
Once you're outside, Price will attempt to lock onto the target. In this scenario, a couple of Cartel thugs will attack you, and other enemies will appear. Stay behind your allies, use cover, and you won't have any problems. Fire the silenced pistol to kill enemies and protect Price. Once the thugs are eliminated, go to Price and use the tranquilizer syringe on the target. The mission will end and you will be transported to the next location, in Mexico.
The border
The action of fifth mission of Modern Warfare 2 takes place on the US-Mexico border. For the first time, players are introduced to two new characters, Alejandro Vargas and Rodolfo, who are members of the Mexican Special Forces. You will play as Rodolfo. Laswell informs Alejandro about an Iranian terrorist who is aided by members of the Las Almas cartel.
The mission begins on the bank of the river near the border of the two states. You and Alejandro must move through the forest until you reach a passage. From here you have a view of several members of the cartel and the US-Mexico border. Eliminate the enemies and cross the border to the USA by climbing the stairs.
Follow Alejandro as he escorts you through the area along the border. Be careful, as there are civilians here, and shooting at them will cause the mission to fail. You can aim at them with weapons so that they step aside and do not get in the way under your feet. When you cross the street and enter the complex after Alejandro, your partner will ask you to help with the garage door. As soon as you find yourself inside the house, the owner will try to attack you. Point your gun at him to defuse the situation.

Go through the house, and as soon as you go outside, you will find an alley. Follow this path to the left, as the passage to the right will be closed. While moving forward, a cartel truck will try to ram you. Luckily, there is a parked van on the right side that you can take cover behind. Eliminate the remaining cartel members in the area. Once you've cleared the area, follow Alejandro to clear a path ahead. You will find yourself in a house with civilians. Focus your weapon on the two people in front of you. If you don't, they will try to attack you.
Get out of the house and onto the road. You will be approached by local police who will try to detain the heroes. While Alejandro and the Chief of Police are talking, a rocket will fall, killing the cops and lightly injuring Alejandro and Rodolphe. You will be shot at from a nearby house, and the cartel members will try to attack in close combat. After destroying everyone, you can pick up enemy weapons at will
After clearing the area outside, go inside. Kill all the enemies on the first floor and go up to the second. Open all the doors and destroy the hiding enemies. When you approach the last door on the right side, a cutscene will play and you will be attacked by cartel members. You will see the Iranian terrorist Hassan for the first time. He will try to burn the heroes locked in the house, however, Alejandro saves our hero at the last minute. This will complete the task.
Cartel fighters
In the sixth mission of Modern Warfare 2, Ghost, Soap, Rudy, and Alejandro are in pursuit of Hassan, who is being protected by a cartel. Events unfold in the territory of Las Almas. First, when you can control Soap, follow Alejandro, who opens the gate. Here you will encounter the first enemy wave that you need to eliminate. Follow the team through the streets of the city, but be careful: new opponents can emerge from nearby houses at any moment. Eliminate them and continue moving deeper into the location.
After reaching a certain point, you will see a white door that you need to open and go inside the house. Inside it there are two more heavily armed opponents. Neutralize the enemies on the ground floor and exit the house through the kitchen door leading to the backyard. Wait for an ally to throw a smoke bomb so you can safely get to the next house.
Once there, eliminate all the enemies inside the building and go upstairs - gradually clear the first and second floors using tactical grenades to neutralize the threats with ease. Once on the second floor, you will notice ammunition on the table. Refill ammo. The most important detail in the room is that Hassan is not inside, he has escaped again. To make matters worse, the cartel paid off the Mexican army to ambush you. Soon there will be armored personnel carriers and trucks with soldiers. Hiding in the house, shoot through the windows at the enemies.
Take your time at first. Let the enemies come closer, and when you can make accurate shots, attack any targets. In this part of the task, it is best to use a sniper rifle. For those who want to be like Rambo, there is a RAPP H LMG near the wall. When the soldiers come closer and open fire, try to shoot them in the head. Throw grenades to blow up enemies with shields. Suddenly, a gas bomb will hit the building, which will create a gas cloud inside the room. You need to leave the location as soon as possible.
Alejandro will then open the window and you can escape to the mountains. Get out of the window. After escaping, make your way down the mountain by jumping over pits and climbing difficult sections. In the end, the enemy army will catch up with you. To deal with opponents, you need to use rocks as cover, killing them one by one. Continue to follow Alejandro down the slope and down a few ledges while escaping your pursuers. As before, take cover and destroy enemies.

Once you're sure you're safe, follow Alejandro again, avoiding rocks and ledges until the enemies catch up with you again. You will also find yourself under fire from a sniper who has settled in the distance. Once on the cliff, you will literally be driven into a corner, so there is nothing left but to jump into the water.
Jump down and swim towards Alejandro, who is heading towards the bridge. While you are sailing, enemies from land will open fire on you. Dive underwater to protect yourself from injury, and use rocks as cover to take out targets. Once you clear the area, follow through the fallen trees and take out the enemies. Keep swimming forward until you see a bridge.
Hold the position until air support arrives and destroys the bridge and enemy infantry. Once the bridge is destroyed, follow Alejandro to the nearest truck and enter it to complete the mission.
air support
The seventh mission takes place in Las Almas, Mexico. Graves informs General Shepard of the whereabouts of Al-Qatala leader Hassan Zyani and then requests air support. The main objective of the mission is to help the 141 team chasing Hassan.
First, you need to find Ghost and his squad using a thermal imager. They are located next to the barn on the right side of the location. You can recognize them by their flashing beacons. The ghost will tell you when the truck leaves the building. Keep following the car until it stops. After that, you will be prompted to scan the greenhouse. By performing this action, you can destroy opponents. Be sure to use the 25mm cannon. Do not shoot at civilians or any civilian structures.

When you clear the area, a ground team will come here. When the woman with the child leaves the zone, you can proceed to eliminate opponents. Team 141 will head towards the greenhouse. Reuse the 25mm cannon to destroy the next enemy group. Don't shoot at the buildings! Only on armed personnel outside. Examine the greenhouse. As soon as it becomes clear that Hassan is not inside, use LTM to destroy this structure.
More enemies will appear. Keep eliminating them. Then the ground party will pass along the road to a large complex. To open the gate and let the troops through, use the 40mm gun. Eliminate all cartel members in the yard. As before, do not shoot at the buildings. Ghost and his comrades will find Hassan inside the building. Continue to provide them with air support while they lead Hassan out of the area and leave him in a vehicle.
reference point
In this Modern Warfare 2 mission, Graves and the air support team help Ghost's ground team destroy cartel reinforcements and protect Hassan. You will control air support, and you will be able to use a thermal imager.
First, you need to scan the area using the aircraft camera. Armed with a camera, locate a gas station to the north and zoom in to confirm the visuals of the team present there. Zoom in on the location and scan people to see if there are cartel members nearby. Then scan the market. Pay special attention to the buildings pointed out by Graves.
Once you're sure the path is clear, the ground team will start to slowly move towards the gas station, but will suddenly be ambushed by a car that will crash into their truck. An enemy group armed to the teeth will jump out of the nearest buildings. You can destroy them in any way, but do not forget about the civilians, who should not be harmed.

After the team sets up camp on the roof of the restaurant, you will have to defend their position until help arrives. There will be several enemy waves. Heavy gunners and other enemies will rush to the scene. Do not forget that the aircraft is equipped with three types of weapons. First, kill opponents with rocket launchers that can deal significant damage, and after that - those who are closer to the team. To protect your plane from missiles fired, launch your own missiles.
Protect your team and your plane with everything you have and don't worry about buildings. However, stay away from the church as there may be civilians there. Then blow up the bridge before reinforcements arrive. As soon as the team is safe in helicopters or other aircraft, the mission will end and you will receive your well-deserved reward.
Reconnaissance in force
The ninth mission starts right after Graves finishes interrogating Hassan. The action takes place in Spain, where Captain Price and Gaz have gone, dressed in fancy dress and trying to find American missiles that are under the control of terrorists. First, eliminate two unsuspecting snipers. Lie down and look for cartel bandits ahead of you with the thermal scope of your rifle. Instead of engaging in combat, follow Captain Price and act in stealth.
Price will notify you that there are two snipers ahead. He will kill one of them right after you get rid of the first one. Continue to follow Price's instructions and crawl through the tunnel to the other side. A patrol will approach you. Stay away from Price and don't move so you won't be seen. Once Price informs you of a patrol ahead, be sure to hide your weapons.
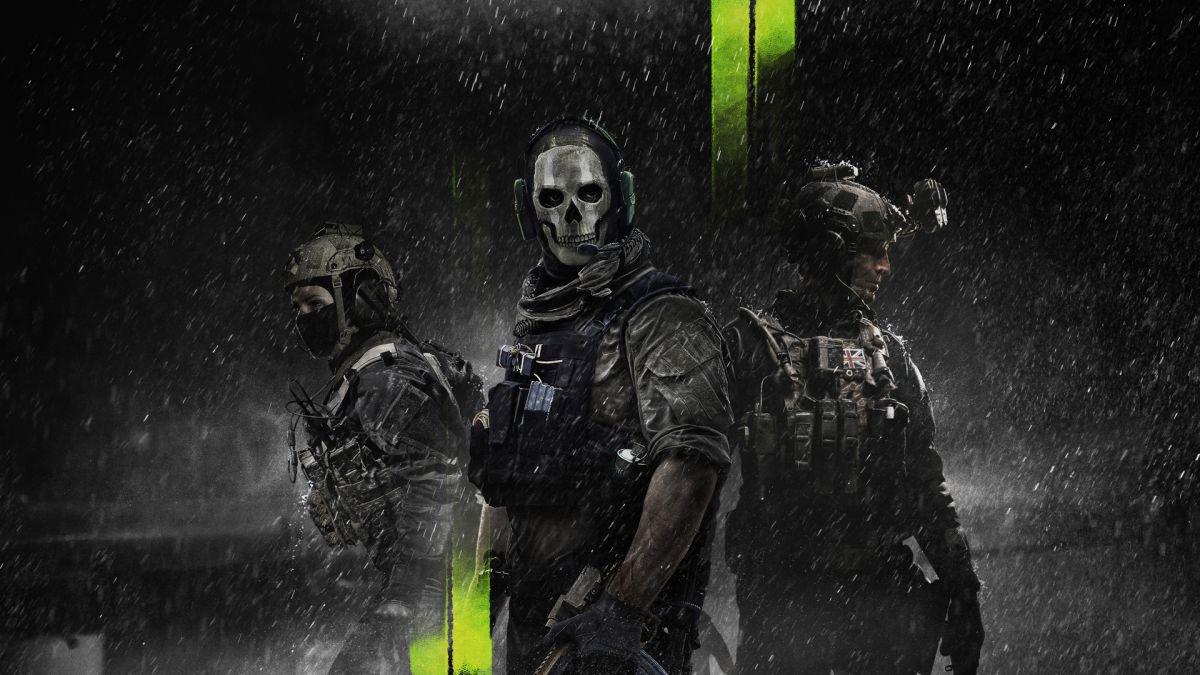
One of the enemies will try to come straight toward you after a large group has passed. To avoid it, carefully and confidently go to the left side. Once the opponents leave, you will face two additional enemies. Get rid of one of them while Price takes care of the other. Slowly move up until you reach the hut. Take out the heart rate sensor as Price suggests and check the surroundings for enemies.
Continue to follow Price, acting stealthily. Laswell will contact him, and you will have several options for dialogue. When you arrive at the observation deck, you will see a complex guarded by armed opponents. To get rid of them, listen to Price's recommendations. If three opponents are crowded together, you should switch positions so that you can take out two of them with one shot without attracting attention. Make sure there are no bystanders when killing targets. Captain Price will help you every step of the way, eliminating extra targets and giving advice on when to change your sniper scope settings.
Once all opponents are hit, go down the hill to enter the facility. As you approach this area, patrol cars will drive up. You must sneak past them even if you can engage in combat. Go to the right place to see the locked warehouses. Climb onto the roof and throw tear gas at the vents to open the warehouses. All opponents will be forced to go outside, and you can eliminate them.

Once inside, approach the container marked with a marker and open it. Inside the container are drugs, a gold Kastov 762, and a .50 GS pistol. If you want, you can take a new weapon. However, it is recommended to leave the sniper rifle equipped. When you go outside, Price will warn you of five enemies moving in your direction. Get rid of them.
After everyone is dead, go to the second warehouse and use the same strategy. Find the card table located along the right wall inside the warehouse. Maps will point to the tunnels under the lighthouse. Leave the warehouse and follow Price to a new position. While Price is telling you, to get rid of the armed guards. Enemies wear armor, so be sure to aim for the head. Once the path is clear, move towards the lighthouse. Another hostile patrol will arrive shortly. Although you have the opportunity to engage in combat, it is best to sneak past the enemies in stealth.
After passing by the patrol, move towards the lighthouse. Before reaching the lighthouse, you will come across two buildings. The first house can be entered through glass openings on the roof. Alternatively, you can also use tear gas. After clearing the area of enemies, go inside. Here you will find crates with Russian marks. To enter the second house, use the C4 explosive on the main door and take out all the enemies inside the building.
You will meet Price, and together you will go in search of a way into the tunnels under the lighthouse. As soon as the car drives off, follow Price through the dark tunnels. You will reach a cave with a sea at the end. As Price and Gaz search for the missiles, Laswell informs them that members of Al-Qatala are after her boat. Price and Gaz do not get to the rescue in time, and she is captured.
Rigidity and calculation
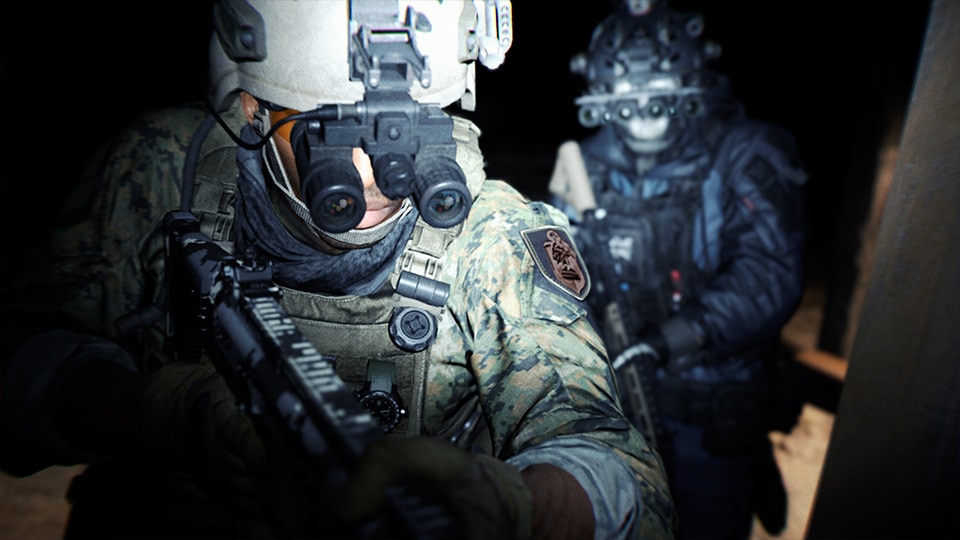
In this Modern Warfare 2 mission, Price and Gaz recruit old friends (Farah and Nikolai) to help them rescue Laswell from Al-Qatana in the center of Urzikstan. In the first part of this mission, you are inside a helicopter as Gaz, and your objective is to provide air support to Farah's ground team. Use your Kastov rifle with a telescopic sight to neutralize all enemies in sight. You can also take cover inside the helicopter to regenerate health and replenish ammo from a backpack nearby.
Some enemies are wearing heavy armor, so you need to aim for the head. Do it quickly, as they usually use flare guns that can shoot down a helicopter. Even after several attempts, a missile hits the helicopter (planned in the story), because of which you fall to the ground and hang upside down on a rope. Hanging upside down, you need to use your X12 pistol to neutralize all opponents. After a while, you will be asked to cut the rope to get back on your feet. You need to time it so that you land on the roof of a passing truck. Do it quickly to avoid death.
Now, while on the truck, neutralize the enemies to your right and climb into the cab to take control of the vehicle. Time your jump carefully, otherwise it could lead to death. After you take control of the vehicle, find a balance between moving the column ahead and killing enemies by leaning out the window.
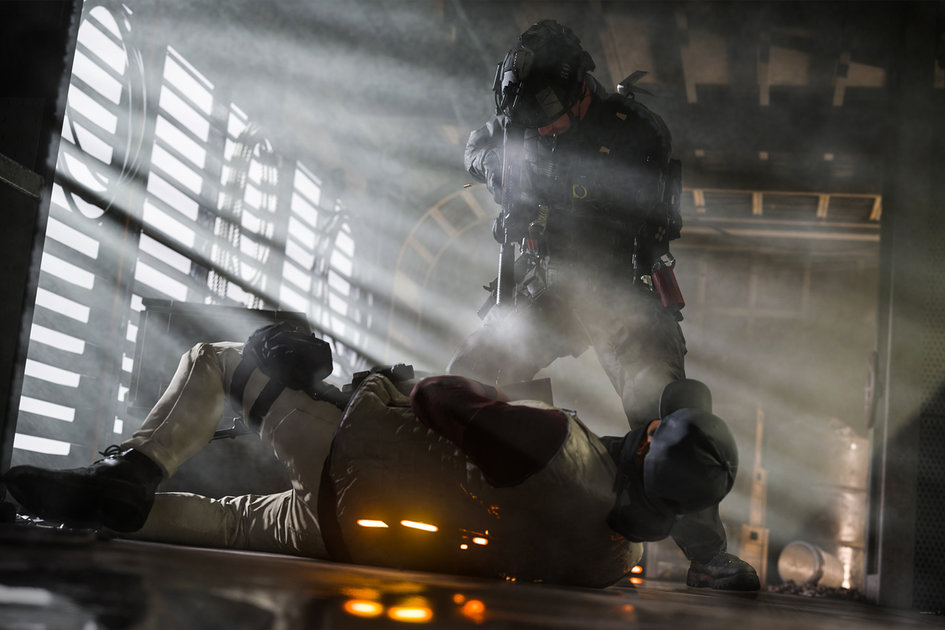
To begin with, accelerate, and while the car flies forward, get out of the window and shoot at the enemies nearby. The vehicle will take critical damage and you will need to steal another vehicle immediately before the one you are in explodes (causing your death).
A smarter way to survive is to change the vehicle as soon as its durability reaches 50%. When stealing new vehicles, try to choose smaller ones, as they move faster. The remainder of the mission involves a combination of shooting enemies and stealing vehicles to get closer to Laswell's position. Sometimes you need to do other things. For example, jump into the vehicle Price is in or use the grenade launcher to kill nearby enemies.
During this chase, you will encounter armored vehicles with enemies that shoot at you and leave mines on the road. To survive, stay away from the laser from the armored personnel carriers and don't run over the mines. You need to do this until you get close to the vehicle. After that, you need to jump into it, kill the enemy who crawled out of the hatch and set the charge.
Once you've done that, return to the truck that Price is in. When the car stops, neutralize all enemies in the region. After clearing the area, approach the black truck to open the door, save Laswell and complete the next mission.

El Sin Nombre
This is the eleventh mission set in Las Almas, Mexico. Players will take on the role of Soap under the leadership of Alejandro Vargas of the Mexican Special Forces. The mission begins with Soap pretending to be a snitch and heading to a meeting in Las Almas to give information about the team that attacked the cartel. When Soap approaches the compound, the guards will disguise him and take him to meet El Sin Nombre.
Immediately after the elevator stops, players will meet Diego. Follow him to meet Valeria, who is already interrogating several Mexican military men. She will ask you to sit down and then start asking questions.
Here are the correct answers to all her questions:
- Question: who attacked us?
- Answer: it was the Mexican special forces.
- Question: who were they?
- Answer: American PMC Shadow Company.
- Q: Who is in charge of the Shadow Company?
- Answer: Philip Graves.
- Question: what does he want?
- Answer: rockets.
After completing the interrogation, follow Diego and Valeria into the elevator and get to Alejandro. He will hand you a knife and a mask for self-defense in a cartel-infested area. After this scene, you will be presented with two options: take Diego's keycard from the second floor of the house, or find your way to the roof. Now you can freely move around the campus and decide for yourself how to complete the task. But in any case, you need to act covertly. Passage to the second floor and the garage is prohibited, and the guards, if they notice you, will immediately attack. You can pick up bottles and a throwing knife from the bar to distract enemies and get rid of them.
Go south from the complex and turn left at the very end. You will find a small wall allowing you to climb up to the balcony. Climb up and go inside. Now go left and look for the stairs that lead to the second floor. Look for more throwing knives here - one on the left on the table and one on the counter in front along with bottles. You will see armed men on the balcony guarding the door behind which Diego is. Use throwing knives to kill them. Start opening the door, but don't break in as this will alert the guards. When you open the door, wait a few seconds before entering the room.

When both Diego and the guard turn away, use the throwing knife to kill the first guard. He drops the phone, which starts ringing. Turn it off immediately. Then sneak up on Diego to eliminate him. Take the key card. Here you can also get a gold .50 GS and Lockwood 300.
When you get out of here, Alejandro will warn you of guards approaching your position. Don't engage in combat and find cover. To your right, there will be a cabinet (if you enter, then to the left) with armor. Go inside and stay there until the guards leave. If you want to get a silent weapon, find a small cabinet near the entrance to the room where Diego was killed. Inside it is a silenced P890 pistol, but only with 10 rounds.
When you're ready to leave, just go to the small room to the left of the exit. Escape through the open window, get to Alejandro and enter the elevator. Follow Alejandro down the hallway and after leaving El Sin Nombre's room, use the camera to see the cartel leader. It turns out that Valeria is El Sin Nombre. After a short conversation with Alejandro, you will open the doors and eliminate all enemies. Run outside to see the squadmates who have surrounded Valeria.
Dark water
In this Modern Warfare 2 mission, Soap, Alejandro, Ghost, Graves, and his Shadow Company race to an offshore oil platform to prevent an impending attack on US soil. Once you can move as Soap, follow Graves, neutralizing any enemy threats in your path. Moving with your team, go through the door to the right of Graves and neutralize the two enemies. Continue walking with the squad until you reach the red room. Watch out for any enemies that might attack you.
Exit the red room and continue up the rig. Climb up with the rest of the team, killing the enemies you meet along the way. Continue clearing areas until you reach the helipad where the blue cargo container is located. Interact with the container door. When you open the container, you will notice that it is empty and that the rocket has been prepared for launch. After talking with the crew, you will realize that the rocket is controlled from the ship.
You need to get on the speedboat and take it to the ship, where you can help Ghost find the missile control device. After you find yourself on the right ship, you will need to clear the territory and neutralize the enemies that stand in your way. The problem with the ship is that its deck is constantly flooded due to high waves, and the containers slide in different directions.
While moving forward, try not to get hit by containers while neutralizing enemies on the way. A great strategy is to use the red constructions on the sides of the ship, crouching and firing at enemies from there. This is very convenient, as such structures will protect you from containers that can cause serious damage if they collide.
Keep walking until you reach the end of the deck where you can open the door on your right. Clear the first floor and go up the stairs with Graves. Moving forward, you need to go upstairs to plant explosives on the door. Blow her up. Be sure to step back to avoid taking damage. Enter the room and clear the area. Once all threats have been neutralized, return to the corridor and go through the door. Climb up to the second deck to clear it, then enter the other doorway ahead and neutralize the next threats.
Once all areas are cleared, go upstairs to reach the bridge. Neutralize all enemies and gain a foothold in this place. Once safe, go to the missile control system, which is in a brown case on the ship's dashboard. After opening the case, you will understand that the rocket must be manually detonated before it reaches the target. To do this, you need to follow Laswell's instructions.
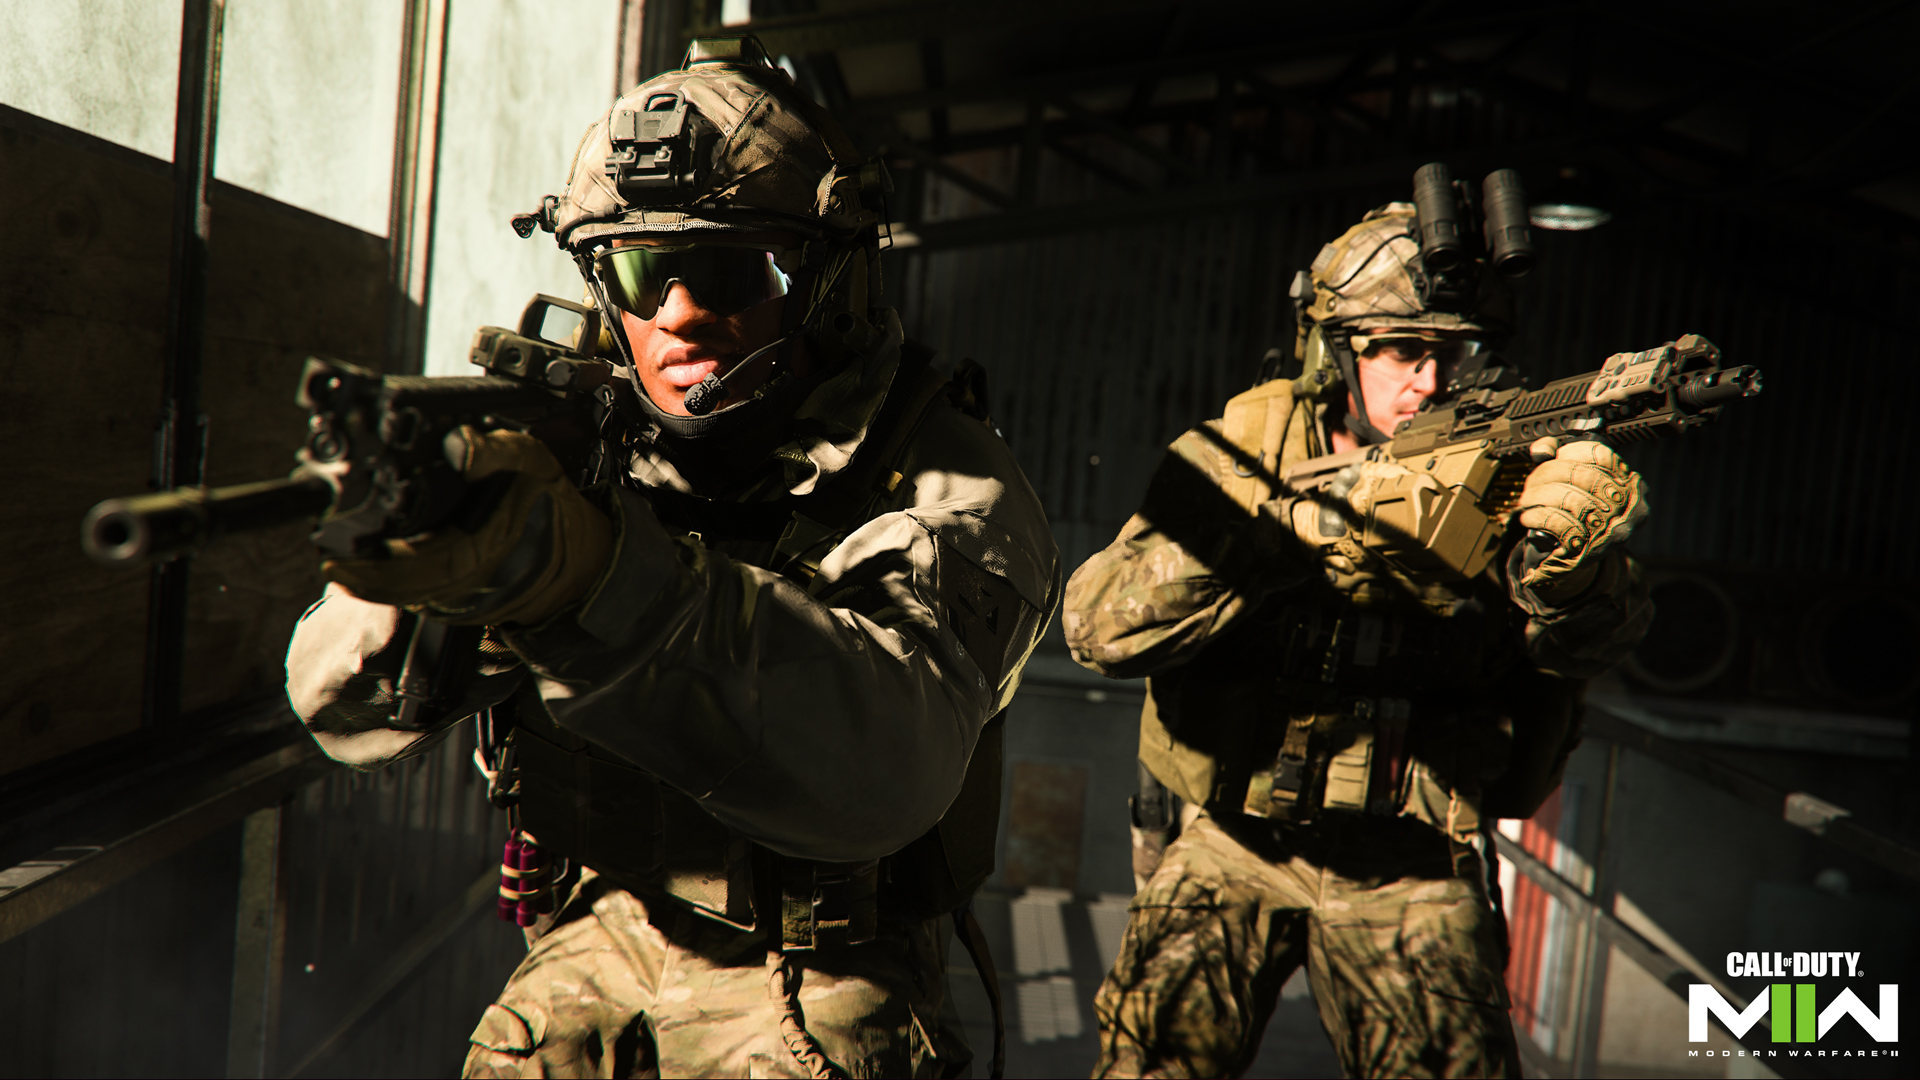
First, open the case and activate diagnostic mode by simultaneously pressing the CLR and Mode keys. Depending on the platform you are playing on, the rocket controls will be marked according to the keyboard/button shortcuts you have set. Therefore, carefully read the instructions.
After completing the previous step, give Graves the letter C from the second row, the first column. Finally, press the EXE key to detonate the missile on the rig, warning Alejandro to evacuate as soon as possible. When the rocket is launched, it will collide with the launcher and the mission will be completed.
By oneself
Get up, go forward and enter the alley on the left. Wait for Graves and Shadow Company to leave, then move forward and enter the building with the doors open. Be sure to crouch and hide behind the yellow car so the Shadow Company won't see you. You need to go through the door on the right, but it's locked, so go to the door on the left side and go inside to find something to open the first door.
Grab the item from the corpse and the piece of metal from the fan, then open your inventory to craft a hack tool and head back outside to open the door on the other side. Go to the next room. Open the door just outside the corridor. You will find yourself in the bathroom: search the area and return to the living room. If there is an enemy at the end of the corridor, wait for him to leave and go through the other door to the dining room.
Climb up the stairs to your right. Turn right and right again to get into a very dark part of the house. Search the area and take the headlamp. A headlamp will help you see in dark places, but if there are enemies nearby, be sure to turn it off, otherwise, they will easily notice you. Now that you have your headlamp, you can see the door in the unlit area. Open it, go inside, and then open the door on the left hand.
Go inside and take whatever you can find. Watch out for the dog in the next room as it will start barking and the noise will alert the enemies below. One of them will go up to check the upper rooms. Turn off your headlamp and head to the exit leading outside before the enemy sees you. Jump off the balcony, turn right and go up the stairs. Move forward and wait while the Shadows deal with the people in the fountain area. Don't let them find you.
Once the Shadows move, jump down and collect some bottles around the fountain. Throw a bottle to distract the guard standing outside the store with the La Dulce sign. Climb into the store and exit through the back door. Move forward and use another bottle to distract the Shadow guarding the building right in front of you. Enter the clothing store on the right, go to the back, open the door and keep moving until you find Shadow's corpse. Take the knife.
With a combat knife in hand, you can eliminate targets. Do this with a lone enemy in front to get his weapon. Now that you have a pistol, you will be able to approach Ghost. Go to the alley - the one next to the La Dulce store, and you will see three Shadows guarding this place. You can either engage in combat or craft and throw a smoke bomb to stun mercenaries. Either way, cross over to the other side and jump onto the flooded road below.
Do not go through the nearest green door. Instead, go around the building and jump through the window. Dismantle the trap to get a shotgun. You can take the knife from the shelf by the stairs (if you don't already have it). Go upstairs. There are no enemies here, so calmly search this place. Then move to the door at the end of the corridor. When you open the door, you will meet a wounded man who asks for help.
Turn right and use the hack tool to open the nearest military crate. Inside it, look for a dose of adrenaline and several explosives. Take them and open the next door. Search the coffee shop and open the door on the left to find a safe. Open it with code 10-10-80 to get a silenced .50 GS and a throwing knife.
In this area, you can open the military crate next to the fan to get explosives and a scope that can be attached to any available weapon. Jump off the railing to keep moving. Search the lower part of the coffee shop, but be careful, there are enemies outside. This area is full of Shadows, so we recommend using stealth and getting rid of some of them. You can also use smoke bombs to distract and stun enemies.
Your goal is to get to the tunnels to get closer to the Ghost. Follow the marker to the flooded area. Go across the street from the coffee shop and go downstairs. Swim further and dive to hide enemies. You can kill them. Keep moving through the tunnels until you reach a ladder on the other side and use it to get back outside. Move forward and jump onto the roof of the white car to enter the alley. Enter the store on your left and open the door. The enemy will ambush you, but the Ghost will finish him off.
You are close to the Ghost, but the area is full of enemies who are aware of your presence, so using stealth is optional. Go outside and go through the building on your left. There are armed enemies here, so don't engage in combat unnecessarily and keep moving fast. You can use the lanes and vehicles to hide from the mercenaries. Go to the other side of the location. A ghost will come out of the church. Return with him, armed with more powerful weapons dropped by nearby enemies. Your goal is to get to the pickup truck and get into it. The mission will then end.
Jailbreak
The mission begins with a cutscene of Soap and Ghost meeting with Rodolfo to rescue Alejandro from Graves' clutches. Once the cutscene ends, the real quest will begin. Events unfold at night, next to a prison in Las Almas, Mexico. You will take on the role of Soap, accompanying the Phantom and Rodolfo.
Several armed guards stand outside the prison. First, kill the main guard on the tower. Pay attention to the Ghost, who will order to kill the guard standing near the car. The one in the cap. Follow the Ghost's instructions as you clear the area of enemies. Go to the base of the sniper tower and follow the Ghost to climb it. Once inside the prison, follow the Ghost to get rid of the two guards in the security room. Be sure to use the stealth approach.
After capturing the security room, use the security cameras to help the Ghost with the stealth elimination of opponents. You can switch between cameras in your field of view to get a new vantage point and effectively guide the Ghost. There is no need to shoot at enemies in armor. A knife should be used against them. Stand behind the first enemy and take him out. He can be killed with a knife or a gun. After eliminating him, switch cameras and tell the Ghost to sneak into the shadows to bypass the three opponents. When the other three enemies turn away, kill the guard on the balcony with a pistol shot.
Switch cameras and let the Ghost go up the stairs. Change cameras and ask the Ghost to come out from the opposite side. If other opponents are not looking, stab another guard with a knife. Proceed to the next complex and silently kill both guards. You can order the Ghost to use the pistol against both enemies in the area. Order the Ghost to approach the truck parked on the side and plant the bomb. Switch to the camera on the other side of the road for a better perspective.
Once the first bomb is planted, direct the Ghost towards the generator to create a distraction and immediately hide behind the cover. A guard will approach you and decide to inspect the generator. Kill him with a knife. Make sure the enemy on the rafters above has left the area. Get rid of the enemy who repairs the car. Once you've done that, keep stealth and take out the three nearby enemies. Now, if you switch the camera, you can plant a bomb in the car. Kill the guard exiting the truck and then plant the bomb. When you're done, cross to the other side of the road and stab the guard on the side of the road with a knife.
Go to the next complex and eliminate the highlighted guard. Kill him with a knife and use the generator to create a distraction. Get rid of the two guards immediately. Go to the building and stab the guard patrolling the nearby area with a knife. Continue and kill the last guy from below. After that, you can safely plant the bomb.
Silently dodge enemies and move towards the front of the truck. Soon an enemy will approach your area. Eliminate it with a knife. Kill the guard near the car and plant the bomb. After planting the fourth bomb, the last phase of the mission will begin.
You and Rodolfo must leave the security room and go to the center of the prison. Keep taking out all the enemies on the way until you get to Alejandro's cell. The ghost will open the door to his cell and you will be reunited with Alejandro. Continue down the corridor, killing all enemies on the way. Go to the control room and press the button to open the prison doors. Clear the inside of the prison of all opponents and pursue Alejandro.
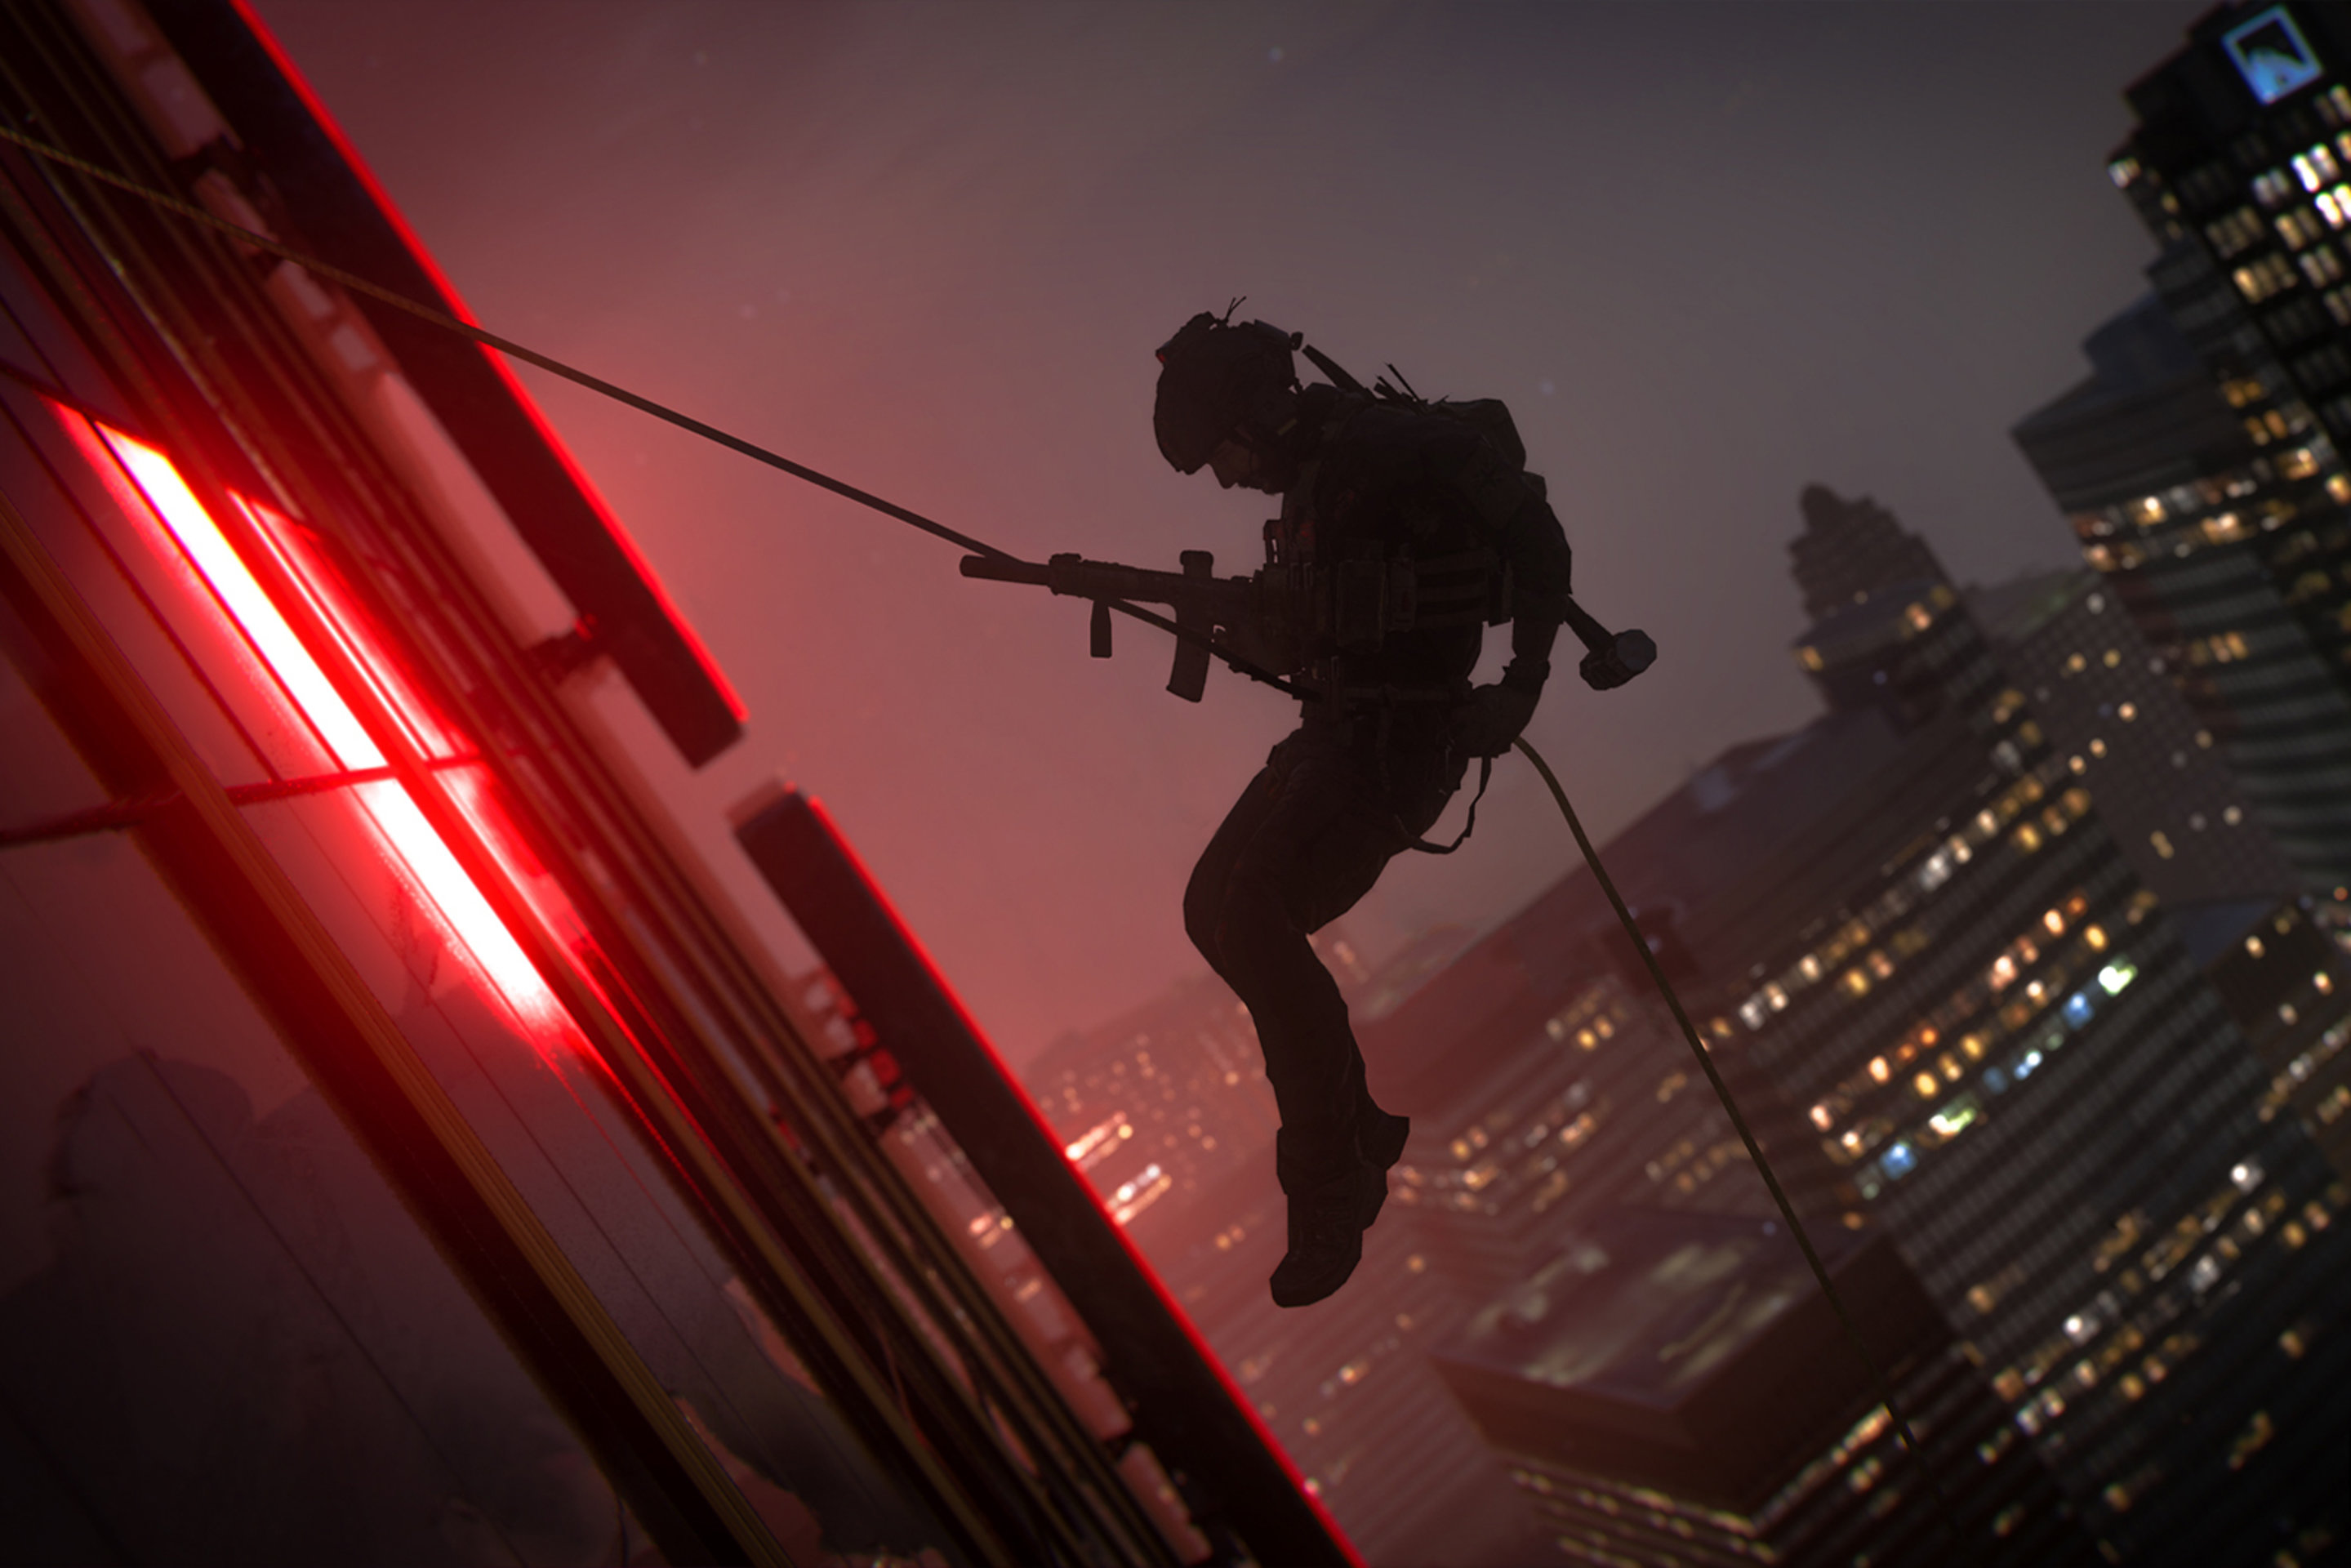
As you move forward and eliminate enemies, you will be given the opportunity to use the bombs planted by the Ghost to destroy large groups and enemy vehicles. Keep chasing Alejandro until you reach the prison walls where you will be met by Price, Gaz, and Laswell. Find green smoke and approach it. Climb up and keep fighting large enemy groups approaching your position. Once Alejandro's people are safe, you can evacuate.
Backdating
Stay in the car and observe the situation. When Erickson tells you, to lean out of the car to eliminate the enemy. Kill the rest of the opponents. If you need to heal, you can hide in the car. Erickson tries to escape, but the enemies are blocking the road. Your task is to destroy as many enemies as possible. Unfortunately, there will be too many of them, and, in the end, they will kill you.
Ghost command
At the start of the mission, Alejandro, Gaz, and Price are inside the tunnels leading to Graves' new base in Las Almas, Mexico. You will take on the role of Gaza. Go through the tunnels until Alejandro asks you to stop. He will report traps in the area and then launch smoke bombs to detect laser beams. Carefully avoid the mines until you reach the red switch and disable the traps in the tunnel section. Watch out for any sound and use smoke bombs to spot traps in the next region.
As you move forward and follow Alejandro's lead, he will announce that there are three guards nearby. Eliminate them and find more smoke bombs near the orange box. Make your way through the tunnels while continuing to follow Alejandro. Use smoke grenades to spot traps and disable them. In the end, you will reach the right place, and Alejandro will report about the stairs that lead directly to the Graves base.
Once you and your team reach the surface, take out the two guards near the helicopter. This is where you and Price split up. Price and Alejandro's men will board the helicopter while you and Alejandro enter the hangar to clear it out. The first phase of the mission is coming to an end.
In the second part, you control Soap. Your task is to attack the main gate of the base along with the Ghost and Rodolfo, marking the targets that Price should shoot from the helicopter. When the cut-scene ends, you will be given the opportunity to take the spotter's scope and mark the targets. Put a tag on the vehicle at the gate surrounded by armed enemies and Price will destroy them. Break into the area and grab the armor before you leave the van. Once in the open, immediately take cover, as you will be shot at from the building on the left. Keep marking enemies so that Price continues to cover you and your team.
Go inside the building and follow up, killing all the enemies you meet on the way. As soon as you get to the terrace, you will be spotted by a machine gunner located on the other side of the base. Use the spotter's scope again to destroy it and clear the area with Price's help. Make your way to the next building with the Ghost, killing opponents who were not lucky enough to get into your line of sight. Once inside, eliminate all enemies and turn right from the stairs. Keep moving forward.
Finally, you will see the command center, but you can't get close to it yet, as it is heavily guarded by armed enemies. You need to eliminate all enemies outside the center using the spotter's scope. There will be several snipers on the roof. Here you can use Price's help and also fire your weapons. After taking care of the enemies, move to the command center and keep opening the doors.
A cutscene will play shortly and you will return to playing as Gaz, who entered the hangar with Alejandro. After clearing the hangar, follow Alejandro's directions and make your way to the other side, using the vehicles as cover. Operate stealthily and carefully, as the area is teeming with enemies. Eliminate all opponents inside the third hangar and get to the blue container where Valeria is hiding. When you knock on the door, Valeria will confirm her presence. This will trigger another short cutscene and you will now be playing as Soap.
Once Soap and his team break into the command center, Graves will attempt to escape. Move forward and destroy enemies. Once through the office, follow through the control center to the exit door. After you go outside, enemies will hit Price's helicopter, causing it to crash. Keep moving forward. When you get to the walls, Rodolfo will ask you to pick it up, and then he will help you climb the wall and gain access to the training center.
Graves will approach you in a tank. Shooting with conventional weapons is useless. You'll have to use C4 scattered throughout the area. These explosives are hidden in orange boxes, so look for them. There are not many enemies here, so eliminate them first; otherwise, they will interfere with you and complicate the situation. Once you've collected C4, keep moving towards the house with the top floor. From there, you'll be able to drop bombs on Graves' tank while avoiding damage. In total, you need to use four explosives, and the tank will be blown up.
Countdown
The mission begins with Valeria informing Task Force 141 about the latest missile hidden in downtown Chicago. You will take on the role of Soap and, together with Price, infiltrate the skyscraper in which Hassan is located. Going down from the roof of the building, you will be able to shoot while upside down.
Going down, you will find enemies who are holding civilians hostage. You can shoot enemies through the windows, but make sure they don't harm the hostages. After clearing the first floor, continue down and eliminate all the terrorists on the next two floors. Keep going down and Price will find the entry point to the building. He will break the windows and you will finally be able to get inside the building.
Follow Price and you'll reach a server room filled with hostile targets. Eliminate everyone. A shotgun or submachine gun is recommended, as most encounters will take place at close range. Make your way to the control room to capture Hassan, but by this point, he will already have left the area. Price will blow up the second window so that both of you can go to the next level by going down.
When you go down four levels, you will see a lot of opponents who will shoot at you. If possible, do not engage in combat right now, as there is nowhere to hide. Instead, move to the left and go inside to get behind cover. We'll have to get rid of several enemy waves. Use all available gadgets and get rid of them. Once the danger is eliminated, go to the exit door. The one behind the bar. Follow Price down the stairs and through the exploded wall. Once you reach the next area, Hassan will launch a rocket.
You will be able to regroup with Gaz and his team. Use their help to eliminate all opponents on the floor. Enemies have armor, so shoot them in the head. Once all the enemies have been eliminated, approach the door and continue using the snake chamber. At this point, the door will explode and more enemies will appear. You will be knocked out and Price will be injured.
Follow Gaz and enter the elevator. When you start moving down, there will be an explosion, and you will be separated from the rest of the team. You will also lose your weapons. Climb down and jump on Hassan, who is carrying the missile control panel. Having snatched it from the hands of a terrorist, you will be attacked by enemies. Unfortunately, you do not have weapons to protect yourself. The only options you have left are to find cover and craft a weapon. Immediately turn around and run forward until you reach the counter.
Climb over it to collect all the available items, then run back to the hole on the right. Move silently so that the enemies do not notice you, and collect as many materials as possible. There is a lot of cover in this area, so find the right one and get access to missile control. You will learn that the missile is headed for Washington and that you must stop it immediately. Follow Laswell's instructions to help hack the system.
Close the device when Laswell reports the noise it is making. Return to the counter. To your left, there is a door marked EXIT with a small opening. Make your way through it and you'll find plenty of crafting materials. Make sure you don't get noticed. Retrieve the device and follow Laswell's instructions to detonate the bomb.
The next goal is to eliminate all armed guards in the area. Use available crafting materials and prepare a sharpener and hacking tool. Open the drawer near the counter to find a knife that can be used to kill enemies. When you kill the last enemy, Hassan will shoot the hero and pull him out of the building. The perspective will change and you will take on the role of the Ghost, who is in another building. Shoot Hasan in the head to save Soap and complete the story campaign.


Comments
Post a Comment