All story missions in the game: how to defeat the bosses, find all the children
At the beginning of the game, choose one of the two available difficulty levels - "Adventure" or "Story". As you can imagine, the first option will provide more tests.
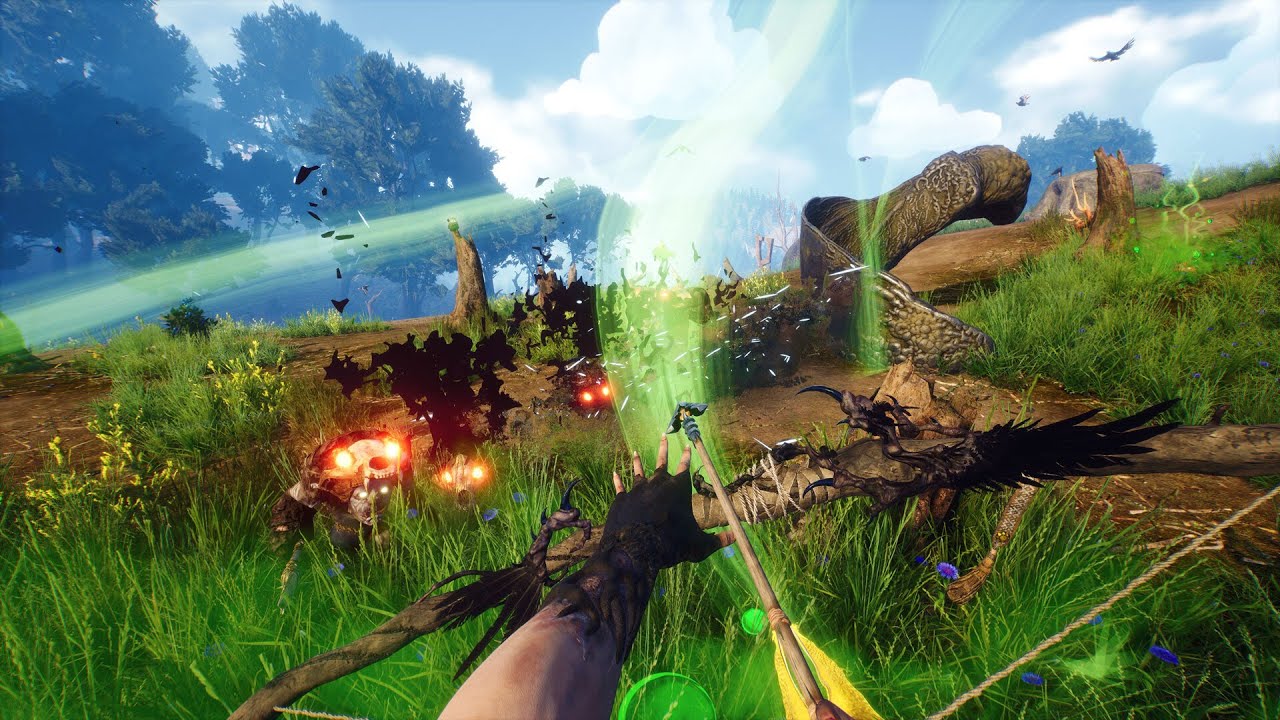
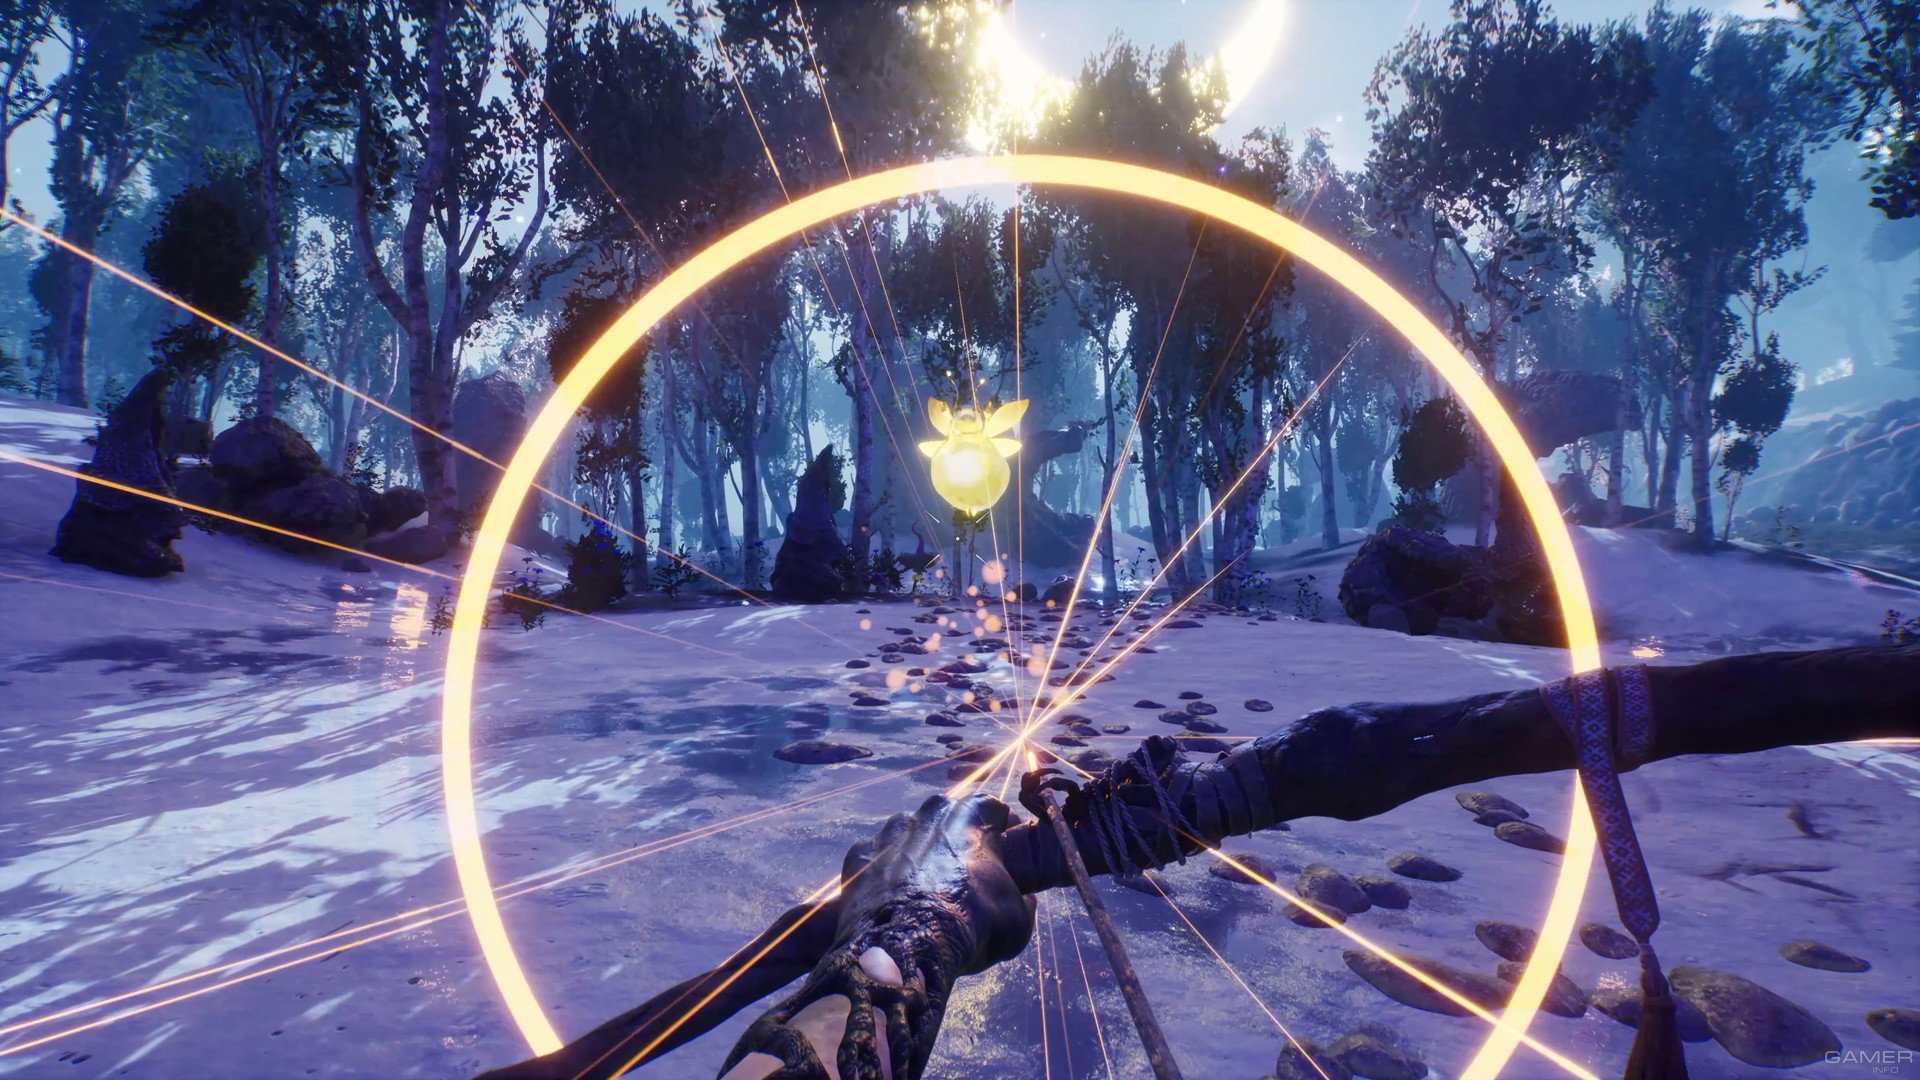
After the video, go to the dried tree and remove the bow. This is your main weapon. Walk forward to find the mermen. Attack them with dashes to destroy and pick up crystals. Take a couple of steps forward, and you will receive a task to create arrows. Look for snags that will yield branches as well as feathers. Feathers lie in heaps in the clearings on the left and right. After collecting all the items, hold down the TAB key and make arrows - LMB makes one arrow, RMB - the maximum number (either limited by resources or the maximum stock of arrows in the quiver). Walk forward, study the bow controls and shoot the bob on the tree. Choose the path of light or darkness.
Hunting
After the video, you will be offered to get meat. In fact, the heroine does not suffer from hunger, and cooked meat is one of the options to restore health points. You can open the menu and explore several categories. In the equipment menu, you can open new skills, and the journal contains the current task. The "Temper" branch contains three scales that are associated with previously made decisions. The guide has a lot of useful information.
Find the first altar nearby and a red flower growing near it. Altars are used to save progress, but one flower is needed each time. The same flowers are needed to unlock new skills. Search the clearing for resources. In general, do this whenever you show up in a new place. Go forward, jump down and see a hedgehog. Shoot the apple on the tree to do a good deed. Many of your actions are viewed positively or negatively. For example, killing birds is an evil deed.
From the well, go to the left until you find a deer in a clearing. Crouch down and shoot the deer. You won't be able to kill him the first time. Keep chasing the deer and finish it off. Collect deer meat. Open the map and return to the well. To the side of it is the very place indicated by the "red cross" on the map. Climb up the ledge, and save the bird by interacting with the carnivorous bush. So you free the bird and do a good deed. If you shoot at a plant, you will also kill a bird, committing an evil deed. You can climb higher and jump into the gorge under the fallen log. There will be your first chest. This way, return to the fire and cook a piece of meat.
persistent search
Save and go to the other side along the fallen tree. You will automatically pick up a bean. Beans are mysterious creatures, they see and know everything that happens in the forest. If you knock down a bob, he will tell you what to do next. Bean shells are used in alchemy as valuable ingredients. You can shoot the spider to get its eye (pick it up from the ground). Break the clay vases blocking the way. Get to the hut. Look around, collect resources and go upstairs to enter the hut. Pay no attention to the fact that it is transparent. Walls, floors, and other objects will appear as you approach. Enter inside the house and inspect the boiler. Craft a Health Potion to permanently increase your maximum health. Climb up to watch the video. Interact with the idol.
Get out of the hut and follow the trail of crumbs. Press the F key to destroy the barrier with a reflective focus. Kill the rouhans. It is not necessary to pull the arrow completely - they die with one quick shot. Continue moving, and inspect the destroyed bridge. Go a little further and talk to the mushrooms Borvi Borko and Jack the Weasel. You will learn about the dragon. White dialogue branches - optional, the "yellow" color indicates the phrase that will continue the plot.
dragonfighting
First, you need to find the Knight. Go further from the mushrooms and turn left. Follow the river, save at the altar. Go through the low fence on the right. Go around killing rouhans, shooting fireflies (yellow flying creatures), and carnivorous flowers. By the way, you can lure the rouhan to the flower, and he will eat it. Destroying the flower will not work: you can only make it hide for a while. Walk in a circle and find a passage on top of the hill in the center. In this clearing with a waterfall, you can find a piece of amber with a Guardian. Take this amber to the cauldron to view the memory. On the left is a chest with a lost Adrenaline Rush page. Such pages allow you to unlock new skills, but then they will still need to be purchased for resources. By the way, to return to the hut, you can interact with the cat, which many altars and bonfires have.
Return to the path and go further to the fork with the altar and the bridge leading to the east bank. But you don't need to go there. At some point, after unlocking a certain number of skills, you will unlock enchantments and be able to switch between them. Only one spell can be active at a time: read their descriptions in the "Skills" section and click the one that suits you the most.
Go to the other side of the bridge. On the right, there will be a wagon and a stone on which the beetle stands. Talk to the beetle. If you help the bug, then every time it will be counted as a good deed. If you deceive the beetle, then commit an evil deed. The situation is similar with ants, only in reverse: helping the ants and their queen, you commit evil deeds. I won't focus on them anymore. Opposite the beetle, there is a totem of Perun the Thunderer. Interact to increase "Light". You can also find large anthills. Destroy them with a special move on the F key to perform good deeds.
Continue towards the marker. Soon you will find hives on a tree. You can get honey by leaving a flower in a jar under the beehive. This is a good deed. If you shoot at the hive, perform an evil deed, but get honey without spending a red flower. Bushes with blueberries restore health. Grilled meat does the same. You can also heal by staying at the altar (half heart or heart if you have unlocked the Adrenaline Rush skill). The living bag that spawns next to the campfires stores all the resources that can't fit in your pockets. Thus, it makes sense to collect everything you see, even if the pockets are full.
Destroy the wall using the reflective focus (on the way to the Knight and the marker). Opposite this wall, on the other side, there is a clearing with fireflies and an ant queen. Above, I already wrote what she does. You can go back this way - this is a different route from the mushrooms to this place. On the right, there is a chest with a tooth. Anyway, let's get on with the main story. Move through the gorge destroying walls, collecting resources, and killing enemies. There is one chest with a tooth. Get to the Knight and listen to him.
Come back. Along the way, you will be taught a special technique. Load the arrow and press F to kill several Rukhs at once. Go back to the fork with the bridge. Be sure to save, and buy new skills if you have enough resources. Cross the bridge and enter the cave, where you will meet the first boss, Troublemaker.
How to defeat the Troublemaker
Collect the resources scattered around the location and move deeper into the cave to meet the Troublemaker. The best way to destroy this enemy is to watch where he appears from the ground, run up, hold RMB, and after the charge use a special move by pressing the F key. This way you will deal a lot of damage to the enemy. Repeat actions. Dodge Troubleshooter's attacks with jerks. Pay no attention to the warrior accompanying him. Then search the chest to get gunpowder and a tooth.
Talk to the Spy and go outside. Walk forward along the river. Kill the enemies, search the chest with the tooth. You can examine the snowy location on the left to collect additional resources. Get to the gnoll fortification, pull the bone and watch the video. You will learn about the broom. Set it to the Q key. It will attract enemies, and you can destroy them all. The broom is a finite resource, and whenever it is destroyed, you must craft it. Climb up the stairs and open the chest with two teeth.
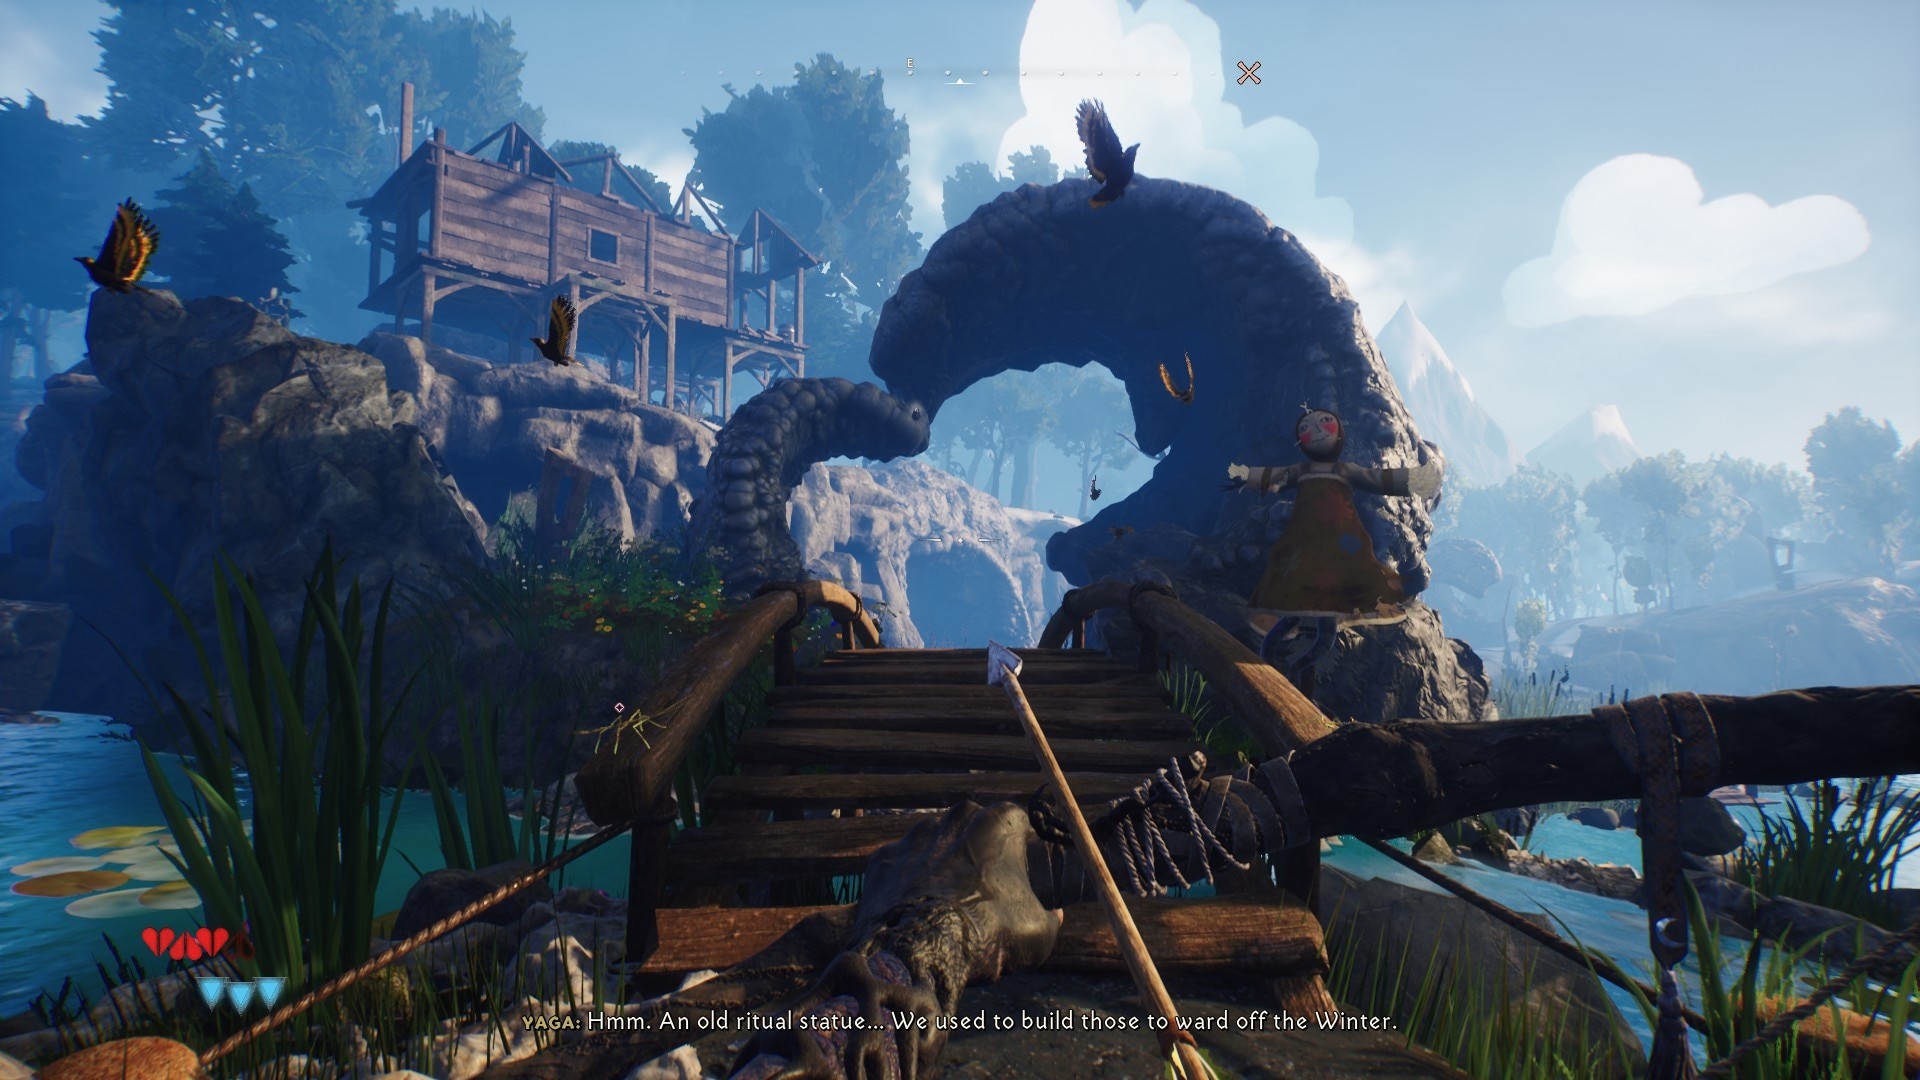
You can destroy the passage in the opposite part of the fort. Walk along the river, kill the mermen and find a beetle on the left. Help if you are moving along the path of light, or refuse to help (deceive). According to the story, you need to return to the fire where you fought the gnolls and cross the bridge. Save at the altar nearby and go through the clearing on the right. There will be many poisonous mushrooms and fireflies. In the middle of a swampy clearing, look for a stone arch. Under it there is a pedestal with a stone toad. Interact with her to get the Ruhan Toad. It can be placed on one of the seven stands in front of Baba's house.
The red roses you can see indicate a loot chest. Hide the weapon so the rose reveals the chest and press F to reveal it. By destroying roses, you will be doing a good deed. Keep walking towards the marker and you will find a windmill behind the clearing. Near the entrance sits a wounded gnoll. Chat with him, destroy the web on F and go inside. a withered head hangs inside the mill. It's kind of like a collectible. Each head contains some kind of note. Climb up the stairs to find a chest with two teeth.
Get to the marker, put the honey in the plate and hide behind the nearest rock. When a small mushroom appears, talk to him. He will direct Yaga to the cave. Move deep into the cave, and pick up sticky arrows. They slow down your enemies. Keep moving, kill the fireflies and go downstairs to find the imp.
How to beat Shorty
You can damage the Dragon in two ways. The first option is to shoot ordinary wooden or sticky arrows at Shorty himself. The second, most effective option is to collect honey scattered around the cave (it usually hangs on stone spikes, and stalactites) and fill the fountains in the center of the location with it. There are two orange fountains. When each one is full, a powerful projectile will fly at Shorty, and the resulting explosion will take serious damage to the enemy. After a while, these fountains become available again. After the victory, do not forget to collect all the honey! Fireflies will appear from time to time. If you give him food at the end of the fight, do a good deed.
Now we need to go back. Look for the exit behind the place where the boss was. On the way back, you can revisit the Troublemaker and defeat him. This time he will have a full health bar. After the victory, two more teeth will lie in the chest. Go to the bridge where the stone is. Hear the Voice. It is necessary to fish out a stone from the river. If you haven't found the fishing line yet, turn around and go forward to the marker, to the red rose. Hide the weapon and press F to dispel the haze near the chest. Inside it lies a golden line. Return to the bridge and stand on the pier to the left of it. Click LMB to cast the line. When the bite starts, click on the LMB again. You will catch two fish, but the stone will disappear. You can visit all the marinas you know and fish from them. return to Borok and Jackie, who will report that they have repaired the bridge. Bones from fish that will be in inventory, can be thrown into the basket next to the black cat near the hut. This is another way to fully restore Yagi's health.
persistent search
From now on, you can craft sticky arrows yourself. Cross the bridge and find traces of crumbs. Kill the gnolls. Climb up the hill on the left to remove the desiccated head with the note. Under this platform, there is also a chest with two teeth. Enter inside the house and inspect the doll. Combine different parts of the memory. There is nothing complicated here. Just match objects. You will see the spirit of Dragoy. Soon you will meet the Shadow of Dragoy.
Shadow Hunt
How to defeat Shadow Dragoy
At the beginning of the battle, the Shadow will move around the location with lightning speed. Shoot the bobs sitting on the trees to distract the shadow. While she is standing still, attack with a powerful shot or a special move. In the end, the shadow will unite with a huge tree. You need to run around the location and wait for the tree trunk to fall to the ground. The place where it will fall is shown in red. Ruhans will appear periodically, so be careful. There are four purple dots on the left and right of the trunk. Hit all of them. Once you do this, three dots will appear at the base of the tree. Shoot them at last, the lower part of the tree will be highlighted in purple. Defeat her and the battle will end. Watch the video after winning. Soon you will be in control of a goat. Just run through the location and jump over various objects. Many things you can ram with horns. At the very end, there will be a huge skeleton. Dodge when he tries to hit you with a weapon and hit that very weapon to deal damage.
Breathe out the past and breathe in the future
Go forward and interact with the faceless idol. Choose one of two options (on the path of Light or Darkness). Go past the red oak tree to the gorge and shoot the carry shot with a regular arrow. Now you can teleport to such idols. Get to the nearest cat and go up to the hut. Interact with the cauldron and the faceless idol on top.
History repeats itself
Follow the trail of crumbs and teleport down with the transport idol. Save at the nearest altar. Go down to the clearing below. Before you follow the marker, you can inspect the surrounding locations. On the right, there is a green glade with a chest, but you will have to kill small enemies hiding in the bushes. Continue on the marker and talk to Borko and Jackie to start a new quest.
Three small grains
Cross the bridge to the other side and move to the right, to the camp with a fire and a bag of the Guardian. On the stone in this camp is a note from the children. Read it. You need to examine the magic rings. On the way to these rings, there will be a large gnoll fortress. You can clear it and search it. Upstairs there is a building with a chair on which lies a spider in amber. Downstairs there are cages with fireflies and another hut. When you try to open the chest, gnolls will appear. Kill them and take the loot from the chest. Follow the marker to a clearing with three rings of flowers. Each ring has clay vases. Break them. In one of the rings will be the next note from the children. Go further from the rings, kill the gnolls (one of them will be with a shield), and search the chest under the statue to find the lost Poison Shroud page.
By the way, near the gnoll fortress, between the fortress and the magic rings, there is a wicker bridge. Climb down from the bridge and find a slope between the stones with a gnoll corpse and barrels. Jump below to find a chest with a lost Hunter's Potion Page.
Pass through a huge field of wheat, kill the fireflies and talk to the talking flower. Open the map. There are two large markers indicating red areas. Let's get down to what's below. Follow the indicated direction and go down to the swamps with fireflies. When you are in the right place, you will find another talking flower that is arguing with a baby mushroom that has settled inside the house. Destroy all purple weeds. Some of them will be behind the web, but all are in this clearing. When the flower destroys the house, you can pick up the first child.
From the previous marker, go straight up the map. Talk again to the flower that is arguing with the child. Break all the weeds and take the second mushroom. Go to Cherenok in the clearing. Talk to him. He asks to wake up all the plants. Just interact with everyone. You will also have to kill all the weeds. You will have to decide whether to keep the flower or pick it. In the first case, the Shank will die, but you will do a good deed. We'll have to go back to Borvi and Jackie. Choose any path and talk to them. You will receive the Lost Eye Page and the Wolf Skull.
History repeats itself
Follow the marker, climb the mountains and find the moving idol. Shoot him and approach the stone in front, which is blocking the path. Interact with him. He asks to climb the bridge. This is the same huge bridge stretching over the wheat field. You have probably already noticed it. Go to the very end of the bridge, to the other side, look up and see a moving idol. Shoot him to get on the bridge.
After the cutscene, you will have to cross the bridge. Move across the bridge. If a rock is blocking your path, turn around, step back and look at it again. The stone should move aside. At the very end, you need to shoot at the "sky", which actually represents the ground where you walked. There will be a moving idol. After teleportation, talk to the stone.
Follow the breadcrumbs for the spirit of Slavica. Get to the doll and watch the cut scene. Merge the objects again. All the same. Continue following the spirit of Slavica. Shoot the moving idols on different hills.
How to defeat the Shadow of Slavica
Slavica will move around the location as fast as Draga. Shoot down bobs and attack Slavica. Then the tree will come to life again. Shoot the purple spots on the falling huge branch. In addition, you need to avoid the poison wave, but even if it doesn't, just hold down "4" to apply the antidote potion. Kill the mermen, who are periodically summoned by the Shadow of Slavitsa. Look for purple eyes and keep shooting at them until the last huge spot appears right under the tree. Watch the cut scene.
Next, you will play as a raven. Move through the cave, climb up the airflow and move the round stone a little further. Push two gold coins into the chest to make it fall down. Go on. Soon you will unlock the double jump. Then you can fly at all. In principle, there is nothing complicated in this episode.
The burden of guilt
Again move to the faceless idol. Go to the yellow idol and interact with it. He will teleport you to his twin idol. Go to the nearest cat and return to the hut. Watch the video.
Chaos Root
The main character wakes up in some kind of dungeon, without a bow. Go forward until you find Baba. We have to solve a few of her mysteries:
- Not much thicker than water, but binding like iron - Blood.
- White as chalk, but not so fragile... Keeps legends stronger than death - Bone.
- Sometimes stone, sometimes heavy. Sometimes sheds blood, but still trembles - Heart.







Comments
Post a Comment