
Resident Evil 4 Remake is the game that many have been waiting for. The reimagining will be equally interesting for both fans and newcomers due to extended cutscenes and new plot twists. If you want to complete the game 100%, you will have to spend a solid 15-20 hours. To make this process easier, we have prepared a step-by-step walkthrough showing all the treasures and collectibles.
What you need to know before starting
Resident Evil 4 Remake consists of 16 chapters. As such, there is no open world in the game, but there are 3 large regions: Village (chapters 1-6), Castle (chapters 7-12), and Island (chapters 13-16). Within a few chapters, you can explore the territory relatively freely, but if you go through the story and discover the next area, you will not be able to return. This is important to remember if you missed something from the treasure or did not follow the instructions of the merchant.
Create several saves, preferably before leaving the location, so that you can then load the game and complete the remaining tasks. After the story, there is no chapter selection and free movement, but you can start a New Game+. In this mode, only treasures will be rolled back - to reach them, you need to collect everything at once in one playthrough. The game also takes into account the overall progress, so the rollback of the plot to the previous save will not interfere with the long-awaited platinum.
There are 19 merchant quests in the remake, which are small side quests. All of them are simply scattered in the open world in the form of blue notes. 100% completion on easy or medium difficulty takes about 12-20 hours (depending on the speed of exploration and success in battles) if this is your first attempt. However, New Game+ with upgraded equipment will take approximately 3-4 hours depending on the difficulty chosen.
For platinum, you will need to collect 16 castellans (small figurines), 104 treasures, complete 19 merchant tasks, unlock all 29 weapons, find or buy 7 weapon parts, and 5 crafting recipes.
If you die, all found items are rolled back to the checkpoint, except for the castellan, the progress of which is saved in any case.
Chapter 1: Village. How to find a police officer
Watch the introductory video, after which you will begin to control Leon and get acquainted with the game world. Your task is to find the missing policeman who went to relieve himself. Follow forward until you reach a large house. Come inside.
You will enter a long corridor. To the right is an open door, inside there will be a strange wooden cross, after examining which you will receive a document. Move along the corridor to the end and watch the cut scene.
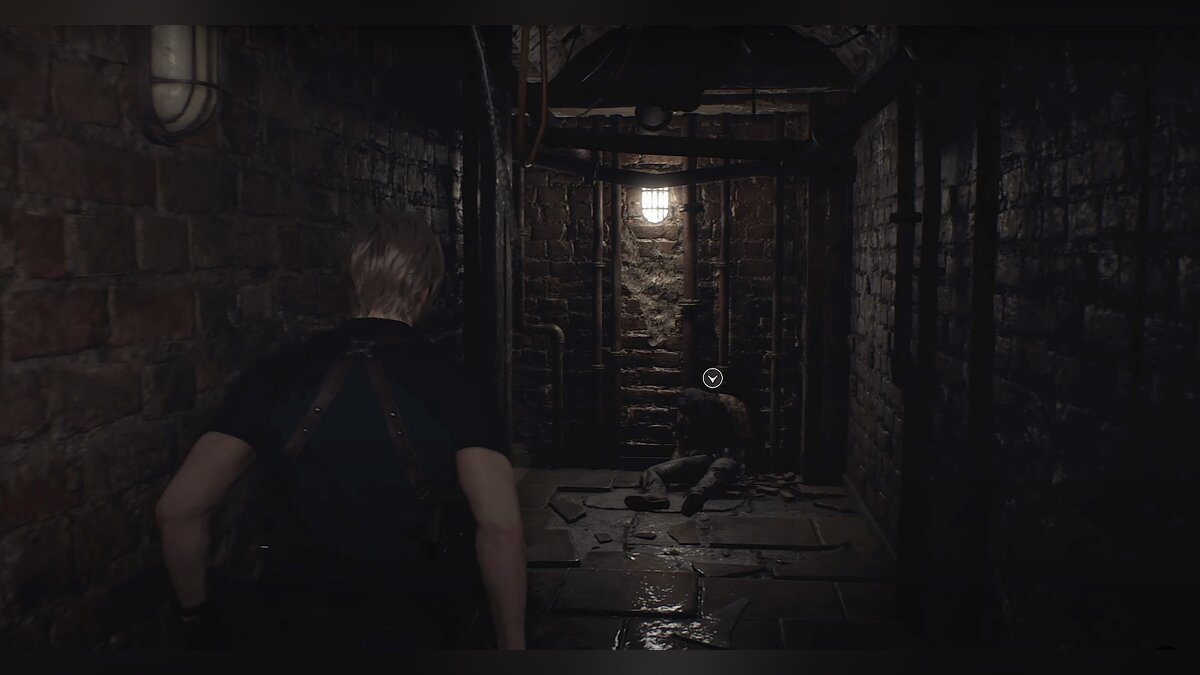
After that, take the hunting lodge key that is on the ground next to you. Return to the corridor and open the door on the right. Go down the stairs and follow to the end of the basement to watch another cutscene. You found a policeman.
Chapter 1: Village. How to escape the hunting lodge
After the scene, return to the basement exit. One enemy will attack you. When you find yourself in the corridor again, you will see that the door ahead has opened. Enemies will come out of it but will go to the side. Go to the unlocked room, examine the locker (green grass), and go up the stairs. Watch the cut scene.
Chapter 1: Village. How to get to the settlement
Once outside, follow forward. You will see your first destructible barrel - marked with yellow paint. It can be broken with a knife or a kick. Enter the hut to find a typewriter. They are used for manual saving.
Keep following the path and you will encounter your first enemies. The peasants are armed with knives, axes, and pitchforks, but they often attack with bare hands.

The tactics of the battle depend on the number of opponents. If there are few enemies, shoot in the head. The Infected will not die but will be stunned. Get close to him and kick him. If there are many evil peasants, there will be no time to heal them. Shoot to the head if possible, but don't stop even after being stunned. Weapon attacks can be blocked with a knife. At the right moment, a button will light up in the lower right corner.
Strive to ensure that the enemies are in a row. After stunning the first one, kick him. So you will not only knock several to the ground at once but also create a barrier for the rest. This respite will help keep the distance.

Moving forward, inspect all the huts. Supplies are there. As a result, you will reach a large gate, behind which the village begins. Open the doors and go to the big stone on the left. From here you can use binoculars and watch the terrible ritual burning, during which the second policeman dies. In this area, the first large-scale battle awaits you.
Chapter 1: Village. How to run away from the enemy with a chainsaw

You are not able to fight with all the villagers at once, so we use the effect of surprise. From the stone, immediately go left behind the houses. There are several enemies ahead of you. Try to stealthily kill as many as you can before being spotted.
As soon as the crowd reacts to Leon's presence, the peasants will start chasing him. Run around the arena and shoot back. After a couple of minutes, an enemy with a chainsaw will appear. It will be extremely difficult to kill him at this stage, but possible. If possible, pick up an emerald.
Your task is simply to survive. After five minutes of such catch-up, the bell will ring, and all the villagers will go to church. Now you can inspect the houses and collect resources.
Chapter 1: Village. How to get the W-870 shotgun
Looking around the buildings on the left side of the fire, find where the stairs lead to the second floor. Climbing up, you will see a shotgun on the wall - you can pick it up.
There is also a window, jumping over which you will get to the roof. Walk to the right to pick up the first treasure - Velvety Gem.
Head towards the gate from which the enemy with the chainsaw came out - the left side of the arena. Examine the last building in front of the gate. There is a ruby in the chest.
Chapter 1: Village. How to get to the windmill, find the treasure, and the task of the trader for the medallions
Go through the gate to get to the mill. There is a typewriter in the building to the right of the entrance. There will be a few common enemies here. After dealing with them, go along the main road and see a blue note on the right wall of the arch - this is a merchant's contract for blue medallions. In total, you need to destroy 5 pieces. The hint will be the limited area. All 5 medallions are somewhere nearby and will be marked on the map - do not be lazy to check it (especially after buying a treasure map).
Examine the left side of the zone (to the left of the road). You will definitely notice a small windmill. An iron cage is attached to the blades - shoot it to pick up a pearl necklace. An important clarification - shoot so that the necklace does not fall into the manure under the mill, otherwise, it will get dirty and will cost less.
Chapter 1: Village. How to get through the mill

Return to the archway where you took the blue note with the task. The path is blocked by bars. Go right. There will be a mine on the wall. Crouch down and carefully neutralize it.
Climb to the second floor and you will see the mechanism where the detail is missing. Go left and follow the balcony to the end. Through the window on the right, you can get into a closed building. And on the left, find a red chest and pick up the treasure "Decanter". Jump over the window and go down to the first floor. Immediately engage in combat with several enemies. On the first floor, there is a gear that needs to be put into the mechanism. There is also a table with a drawer. Ruby inside. Take it, return to the windmill, and press the lever. The grate will rise.
Chapter 1: Village. How to get to the settlement by the lake and find the first castellan

Pass through the bridge. The path is blocked, but there is a path to the left and right. On the left will be boxes with supplies. On the right is a cart that can be moved. Move forward defeating enemies. When you go through the tunnel, you will find yourself in a relatively spacious location with several enemies and traps. Beware of peasants with dynamite - it is better to kill them first. If you shoot at dynamite, it will explode immediately in your hands.
Deal with the enemies around the roofless house, then go around it and climb inside through the window. Go right into the second room and look at the rafters to find the first castellan. In each chapter, they need to be destroyed, and you can determine the location by the characteristic sounds - ticking and clanging.

Move towards the house where your target is, and beware of new enemies along the way. Break the lock to get inside and go through the building. Neutralize the stretch in the corridor.
Move the closet to go into the next room and kill the enemy trying to break the hatch in the floor. Watch the cutscene, the chapter is over.
Chapter 2: Village. How to return equipment and find a merchant
After the cut scene, you will find yourself in a new location and without equipment. You have only one way forward. Take the kitchen knife from the corpse - it will come in handy. Climb the stairs and open the grate, there are enemies ahead, but they are not waiting for you. Time to learn local stealth. After defeating the peasant, Leon will notice his belongings in another room.
The next enemy knows about you. Learn to parry and kill him. On the left are two closed ovens. In one of them, pick up the sapphire treasure.
Move on, kill the enemy, and turn the valve. The door to the equipment room will open, but temporarily. Run back quickly to get inside.
Go to the next room and meet the merchant. Immediately take the blue note with the contract to kill three rats in the factory area. To find rodents, go back - they run along the corridors.
If you have enough currency from completed requests, be sure to buy a biome treasure map from the merchant. So you will immediately see all the available supplies and treasures. This will greatly facilitate the passage if you want to find and collect everything.
Please note that some treasures can be combined. All gems that you find are inserted into jewelry. This increases the final cost.
Chapter 2: Village. How to find the bird seal and open the gate

After talking with the merchants, pay attention to the door on the left. There is a castle in the form of a seal with a bird. The part will have to be found. Go ahead and destroy the enemy. There will be a wooden fence and stairs ahead, climb up and find yourself in a spacious area called the Valley. There are a lot of opponents here who attack in small groups immediately after the destruction of the previous one.
You need to keep to the right side and move towards the house ahead. The door will be locked, so go around it to the right and jump over the window. There will also be enemies inside. Here you can also find a small key. This is a consumable that is spent whenever Leon opens normal locked boxes.
Climb the stairs to the roof, there on the pedestal is the seal you need. Do not rush to leave the zone. There is a chest with a ruby. After receiving it, return to the merchant.

You can visit the room where the equipment lay to open the chest with the key and get an elegant mask.
Place the seal in the castle. Here you will find a small puzzle, as the bird needs to be mirrored. If done correctly, the gate will open.
Chapter 2: Village. How to kill an enemy with a chainsaw
In the next area, there are three enemies that must be dealt with in any suitable way. There is also a chest with a sapphire.
Continue up the stairs to the next area, hugging the left wall to enter a small hut. Directly to the right in the corner, you can find the castellan.

Outside the hut, look at the tree and you will see another metal cage. Shoot it down to get a sapphire.
Finally, on the left, you can see another metal cage above the well. As with the windmill in Chapter 1, you don't want to mess up the contents. Shoot the wooden board holding the well's lid, then once it falls you can shoot the metal cage, allowing you to get a pearl necklace.

A mini-boss with a chainsaw will go down the stairs ahead, the battle will immediately begin.

There are several traps in this zone that you can lure the enemy into. On the stairs in front of the stretch. Leon will pass under it without any problems if he sits down, but the peasant will take damage. To win, shoot to the head, block direct attacks with a knife, and kick in time.
Chapter 2: Village. How to get a key with a symbol

In the next zone, there is a large house and a few standard enemies are waiting. You need to go through the gate marked with a symbol, but it is closed. Go around the side of the house and you will see an open door.
Immediately go to the toilet on the left - there is an enemy. Before you enter the main room, you can open the drawer on the right to get a ruby. Then enter the room, to the left of the main doors, and pick up a small key.


All there on the ground floor closet with a combination lock. Three images must be selected. The hint is on the second floor. Combination: "Harvest - Pig - Child". You will receive an orb.
Climb up and insert the find into the slot on the door. Align the bubbles so that they fold into the pattern in the background.
Once in the room, examine the table and take the key with the symbol . Watch the cutscene that ends the chapter.
Comments
Post a Comment