Walkthrough Horizon Forbidden West: Burning Shores - how to start the add-on, find the codes for the doors and defeat Horus
The Burning Shores story expansion for Horizon Forbidden West takes Aloy to a new realm where she will face unique vehicles, new characters, and challenges. In this guide, we will describe a detailed walkthrough of the DLC, as well as help you solve some puzzles and find codes for locked doors.
How to start the passage of Burning Shores
You can start the Burning Shores expansion after the Singularity main story mission. Sylens will contact Aloy and issue the first task.
To the burning shores How to turn off the security drone
We leave for Tilda's mansion (there is a fire near the desired point) and go to the balcony of the first floor. We speak with Sylens, and he talks about one of the zeniths named Walter Londra, who needs to be found and neutralized.
After the dialogue, Aloy flies to a new location. Shells from a high tower knock down the girl and she goes down. Here she is met by Seika. We ask her about the tower after the battle with a couple of robots. Nearby you can find a new resource - "Luchezar", it is needed to improve items and trade.
We go to the Seiki camp on a boat called the Yalik. After not the warmest reception, the girls go to Admiral Gerrit, the leader of the camp. At the end of the conversation, you can walk around the settlement and take an additional task, and to continue the main quest, you need to cross the bridge.
We set off along the path toward the tower. Along the way, we will encounter Spearhorns and flying Horseflies. You can destroy the robot before it hatches from the egg if you don't get too close. Even in the clearing in front of the tower, there will be "Zhelezhob", he produces "Gleb".
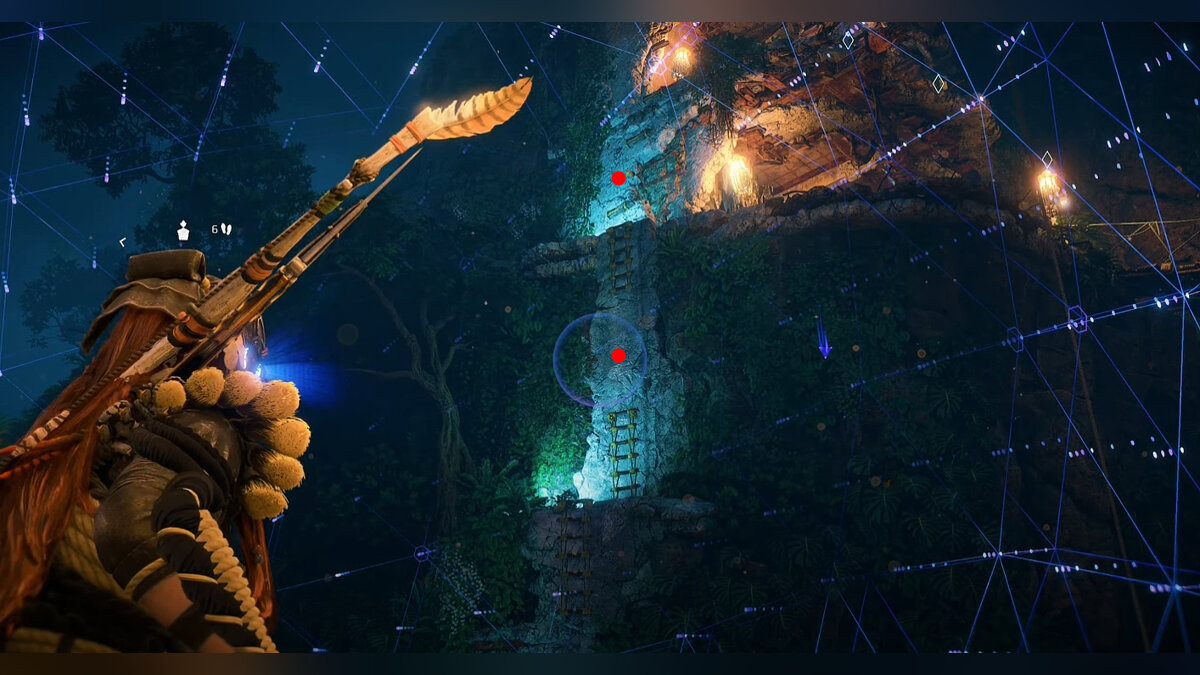
Climb up the wall to the tower. Use the hook to destroy the ceiling. Climb up and use the hook again to open the hole. We plan on the shield wing and find a fire.
On the outside of the building, we rise to the floor above. To deactivate the weapon, we go along the blue wire and turn off the control node.
We scan the security drone and go around it from behind. We break the wall and go upstairs. We shoot work in the back. We move to the right and shoot at the core again, while Seika distracts him. Gather supplies and talk to the girl to complete the quest.
Heaven and earth. How to get a code for a locked door
We talk with Seika in the settlement and fly to the Rise of the Stars. We land on a perch and inspect the excavation area. I'm going up the path. We find the ballista and place the hooks between the stairs, go upstairs.
We get to the elevator mechanism. Seika will raise the ballista, and we will shoot at the plane on the other side to make a hook. We cross the bridge to the other side and climb to the passage.
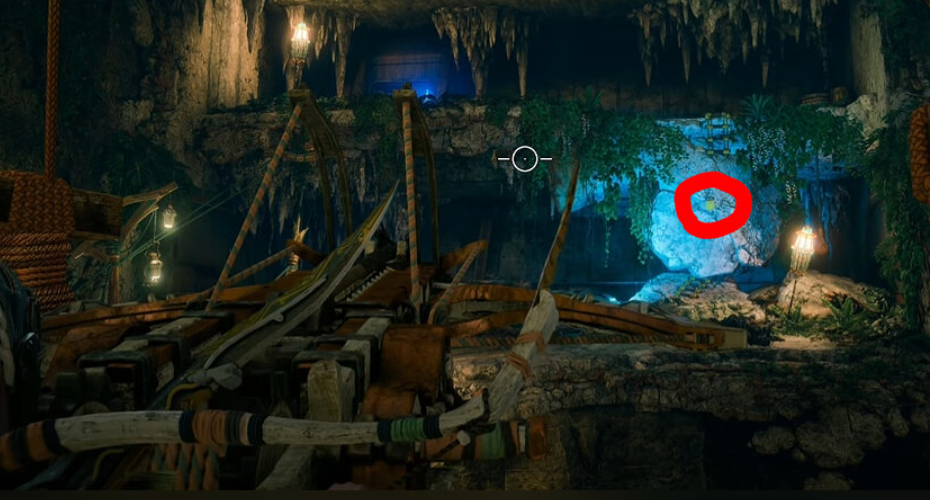
Break open the door and examine the cave. You can explore the room on the left, and then go through the story through the right door. We go down into the elevator shaft. We examine the prototype of the rocket engine in the large hall.
We open the next door and find the destroyed bridge. Seika uses the Quen ballista to make a hook. On the right, we jump over to the other side. Let's deal with the Zuboskaly. It is worth noting that the robots can push Aloy into the lava.
Climb up the new holds and go to the ballista. We make hooks for Seiki on the opposite side on the left. At this point, robots will appear that can be shot from the ballista.
Now we make hooks on the right side. We catch up with Seika. We break the door and go through several corridors. We rise above and find a hall with a round table - there was a camp here.
We break another door and get into the control room. There is also a door on the second floor, but first, you need to find the code from it. We activate the console and listen to the recording. On the second console, you can see data for several years.
Using the visor, you can switch years and scan asteroids. The first audio recording refers to the year 2050. From the flight number we get the number "3". The second entry refers to the year 2054, and from the text we get the number "2". Third entry: is the year 2061, number "8" from the description. Fourth entry: the year 2056, number "5" from the description.
- The door code is "3285".
We examine Londra's dwelling: a statuette in the corner and a holographic projector. You can get out of the room by going a little back. The previously closed door will now be open.
We deal with flying machines and examine the part of the transmitter under the column in the center. Talk to Seika to complete the quest.
Stars in their eyes. How to get to the Ascension Hall
We find Seika in the settlement and use the boat to go to another island. We light a fire and climb the hill. To the right of the inscription "Hollywood," there will be a cave protected by a barrier.
We scan the device and learn about power generators. We go back a little, deal with the robots and turn off the generators. To do this, we intercept control in the nodes.
We go down into the cave, where we find the Quen guards. We follow through the opened door and go to Ascension Hall. We listen to the hologram of Londra and go inside.
We look around in the hall and talk to Brenik. We go down and talk to those characters who came out of the door we need. In a conversation with Othos, you will have to choose the right line for him to help. Choose: "They were devoted to him. "
We return to Brenik and say the phrase that we learned. We activate the elevator, we approach the starship, and scan its elements. Now we talk with Seika.
Zeta will appear with minions - we deal with them. We go into the flashing red room and turn off the lock, there are three of them in total. The doors open one by one.
We follow the sign and get into the arena with Zeta. We use shelters to protect ourselves from machine guns. We knock down armor from him and also use poison or electricity to deal more damage. When he scatters grenades around him, we retreat.
We speak with Seika and study the Zenith weapons. Aloy can now use Ghost's fist with homing projectiles. We get out to the surface from the cave to complete the task.
For his amusement. How to fly the Waterfly
Seika is waiting on the beach on the right side of the map, you can fly or swim to it. To tame the Waterwing, you first have to talk to Beta. We go to the indicated area to find the details of the downed robots.
We find the floating wreckage of a ship with a chest. We dive under the water and look for the downed "Waterbirds". Hostile robots can be ignored, use smoke bombs, or hide in seaweed. Also at the bottom, you will find a ballista, from which you can shoot at the Snapteeth.
We speak with Beta and go to the workbench in the settlement to make a blocker. Seika is located at the bottom of the map - follow there. We select "Waterwing" and stealth approach him. We use thickets to hide.
It is worth mastering the control of a new machine - it can dive underwater to avoid shelling. An oxygen bar appears underwater, so you won't be able to stay there indefinitely.
Fly towards the park over the water, avoiding the islands and not close to the shore. Respond to Seiki's screams and quickly dive underwater.
After the cutscene, you will be thrown ashore. We go towards the fake volcano, along the way we deal with opponents. We move to the right to find the entrance. Use the beam on the wall to climb up and inspect the first building. There will be more fanatics inside.
We move on and inspect other rooms. The main goal is a building with a dome, in front of which there will be an arena with Ghosts.
We go to the next building and find the door. Inside, a cutscene will start showing Fedder and Seiki's sister. We deal with the guards and take the key from Fedder.
We go into the arsenal and open the door with the key. We examine the note on the couch (you need to come up) and the storage module. Seika will open the door.
We climb into the ventilation shaft, inspect the console and pull the lever in the next room. We go into the third room, from it into the hole on the left. We examine all the rooms and find the "Fire Glow", and blow it up. When we find a dilapidated wall, we break it through a broken window on the other side.
Now we can take the power cell to the console. We pull the lever and inspect the device in the center with Seika. After using the console, Nova will appear and tell you about Walter's plan.
Nova will open the door on the second floor. We leave to the central square and go to the volcano. Watch the cutscene with Londra.
The "High Torturer" appears, he is vulnerable to poison and fire. We dodge blows and keep at an average distance. You can use the new cannon obtained in the previous quest. After the battle, Seika will take the survivors to the camp.
Final act. How to defeat Horus
We go to the top of the map and wait for Seika by the fire. Aloy will notice Gor's cooling system. We go down the hill and deal with the cars.
We go along the cable and stumble upon Gor's assault drill. We use the ruins and thickets to pass unnoticed further. We also avoid the blue light of the drill. At the end, we blow up the "Fire Glitter".
We run through the corridor and get into a location with robots and a drill at the same time. It's easier to go through them on stealth. We approach the right robot, which stands motionless, and climb onto the second floor of the ruins. We quickly jump to the rise to the top.
In the next area, we run along the cliff and climb up. Here you need to bring the robot to the "Fire Glitter" with stones and blow it up with a well-aimed shot. We quickly run on. Infected machines will have to be killed.
We scan the cooling system and put forward the heat sink so that Seika shoots at it. With the second, we do the opposite. Horus will come to life and go to the bay.
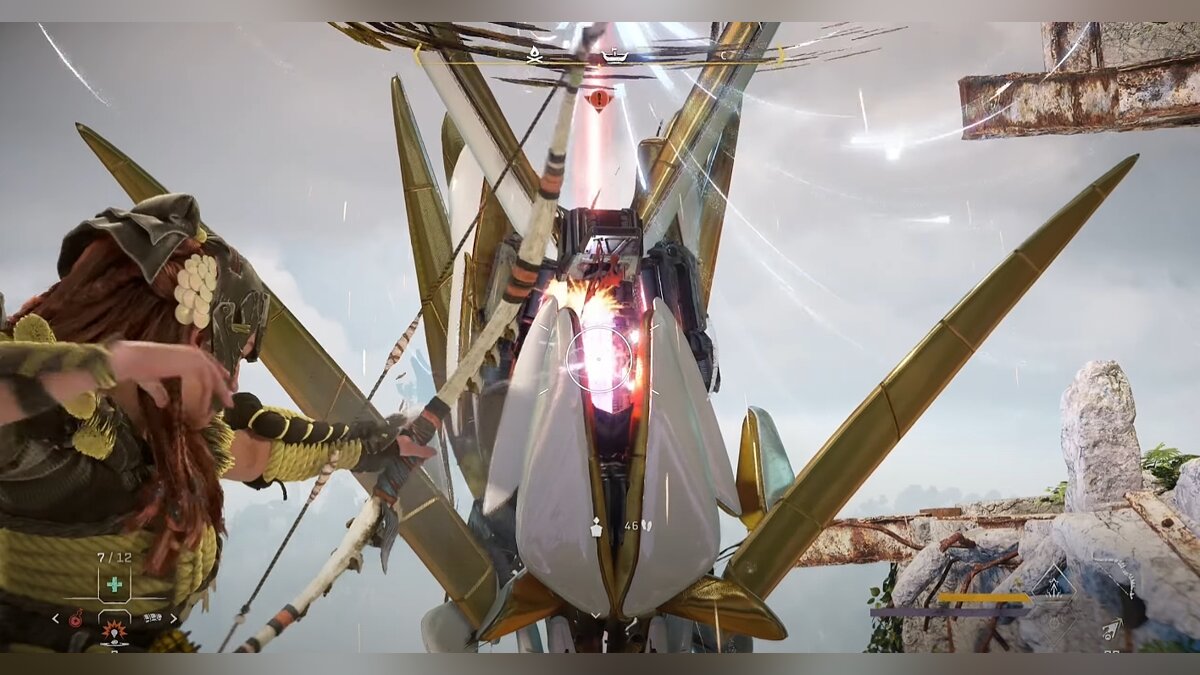
We run to Gor and shoot at the heat sinks that glow red. The robot will spin in place, so we also move around it. Be sure to dodge when he scatters fire bombs.
After the destruction of the heat sink, we run back as far as possible. Other robots appear - deal with them. The second heat sink is covered with a casing. We use one of the rocks to jump onto the paw from it. We rise above and hit the heat sink with a spear. We jump between parts of the paw when there is no fire or electricity.
Now we shoot at the heat sink from the ground. Horus will move closer to the water, we run after him. We dodge his attacks and attack the heat sinks on our hands. When the robot hides its head and starts shooting from a machine gun, we move so as not to get hit.
Then Horus will start attacking with tentacle strikes - we do not stand still. In total there will be 4 heat sinks on the paws, after which the last one will remain on the chest.
We dive under the water and swim after Gor. We climb into the luminous hatch. We swim through the tunnel and jump up on the mechanisms. We pass another tunnel, dodging the waves of electricity.
Here is Londra. We shoot at six luminous blocks on the wires. We destroy two distributors that appeared on the right and left. We finish six more nodes in the center when the shield does not cover them. We shoot at electric bombs flying at Aloy, after which we finish off the car.
Seika will pull Aloy out and the girls will go ashore. We speak with Sylens and the villagers. Additionally, you can talk to Kina. After we meet with Seika at the place of the first meeting.
Epilogue
Talk to Sylens at the base. He will tell you about the data received from Londra.


Comments
Post a Comment