Complete with our guide The Closed Door, one of the main missions of The Legend of Zelda: Tears of the Kingdom. Beat the Shrines on the first floating island to open a special door.
The Locked Door, one of the main quests in The Legend of Zelda: Tears of the Kingdom, will be activated by progressing through Finding Zelda, which serves as the game's prologue.
Uqo'u Sanctuary
Your initial objective is to reach the Sanctuary west of the Temple of Time gate. You must specifically reach this point:
Once you reach the Uqo'u Sanctuary, enter and you will get the Ultrahand, which allows you to pick up objects from a distance, or attach them to others. We'll get into that later. Use your new power to grab the plank in front of you and create a bridge to cross the void. In the second part, you must join the two plates, to create a somewhat longer bridge and be able to advance.
As soon as you cross, in the corner ahead, you will see a chest on top of a platform. You can take the long plank you just created to place it so that it makes a slope, go up, and collect Amber from the chest. Then, continue along the only possible path.
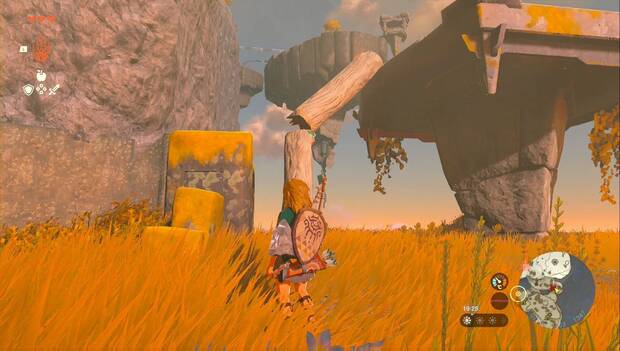
A little further on you must attach the hook to the wooden board (remember that you can rotate the objects before and after attaching them) to then hang the plank from the rail and be able to use it to reach the other side.
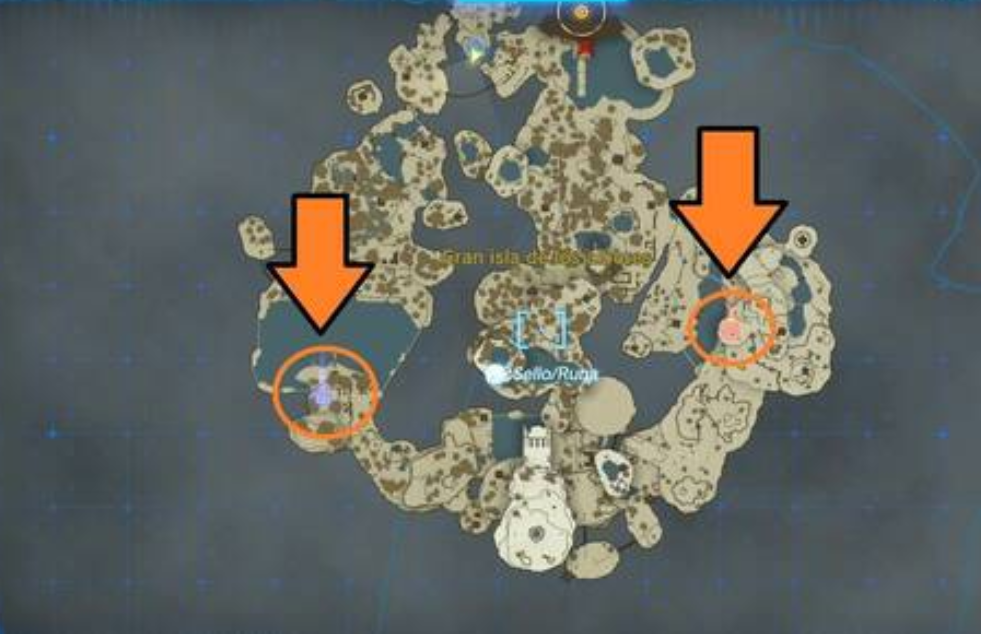
Activate the pedestal on the other side to complete the Shrine. You will get a Luminous Orb and your ally will tell you that you must complete two more Shrines and that you can mark them with the spyglass. You must mark those that are in these two points:
Since you can get there in several ways, that is your choice. Create bridges, look for easier routes... the game is quite generous in that sense and we will only give you general guidelines.
Inisa Sanctuary
Start by going to the one to the southwest. To get to it, you must create a raft with logs and sails, which you will see on the lake before reaching it.
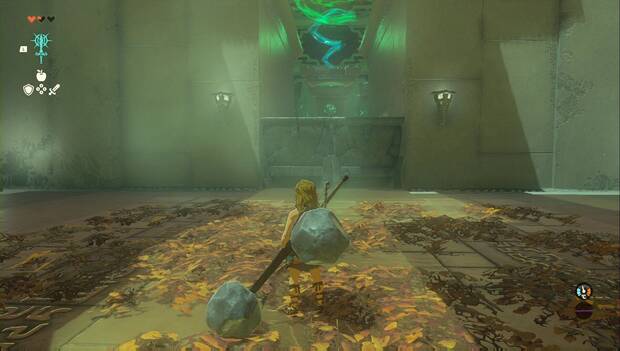
When you go up, you will be able to reach the Inisa Sanctuary. Upon entering you will receive the Combination power. Go forward and grab the Rusty Greatsword, which you must combine with one of the rocks ahead.
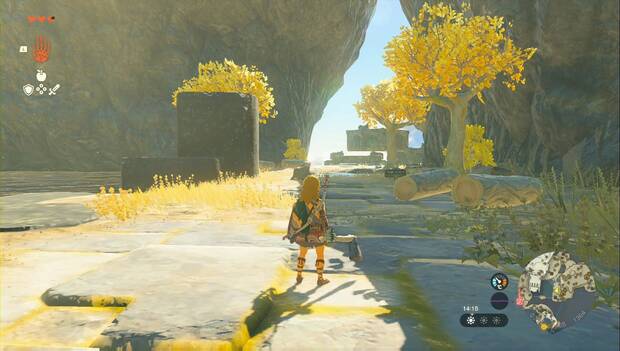
With this, you will make a mace with which you can break the wall to advance. Right after, between the columns in front of you, before going up the stairs, you can break one to make a chest fall. Contains x5 wooden arrows. If you turn to the right, where there are some trees with fruits and look up, you will see a wooden platform with a chest.
You must take out the bow and combine arrows with a Fire Fruit (you collect it from the trees, aim the arrow, press up on the directional pad, and select the Fire Fruit) you will create a fire arrow with which to break the board (just burn the ivies) and make the chest fall, which contains a Small Key. With it you can open the door at the top of the stairs.
When you go up you will see a Golem that uses a greatsword with a stone, like the one you created. Dodge and eliminate the bug. You have to use the greatsword or stick with a rock to break the wall in front of you. There's a stick on a nearby platform if you need it.
Climb the steps and voila, Inisa Sanctuary completed.
Gutanabaq Sanctuary
When you leave, a Helper Golem will give you a Battery. For now, it's not worth anything, but hey, now you have it. The Golem will tell you to go through a cave that is located to the southeast.
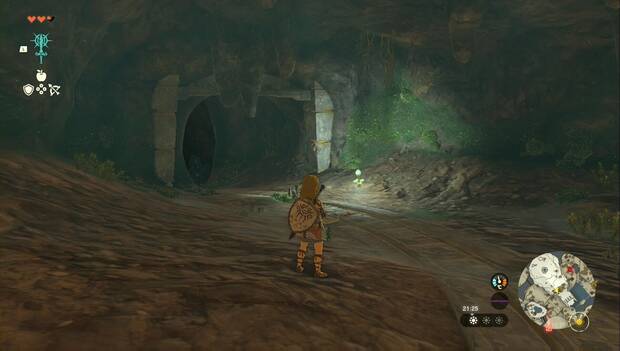
Inside the cave, you will see a frog hanging from the ceiling. It's a Ghost, kill it to get a Ghost Emblem. We will talk about them later. Notice that you can knock down one of the walls, you have sticks and stones nearby to make a hammer.
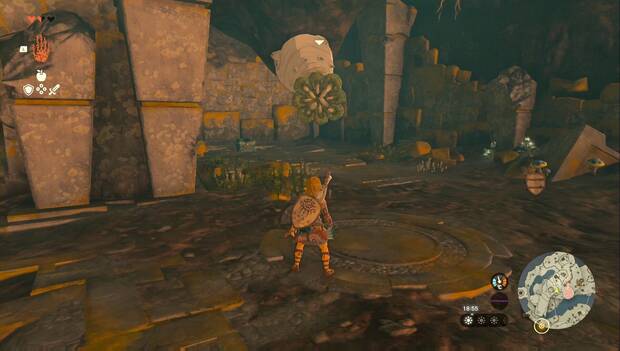
Behind there are mineral ores, which you can also break with the hammer to collect items. Continue to the end of the cave to find a chest containing an Archaic Toga. You will no longer go half-naked and the Hyrule Civil Guard will not arrest you for public scandal, at least. When you leave the cave, you will see the Helper Golems that the battery guy mentioned to you. He talks to them to learn more about the Zonnan Gadgets.
For now, go south, where you will see some platforms.
These platforms raise or lower when weight is attached to them, for example, logs. If you make it to the other side, you can defeat a golem. Then, using logs, create a column to reach the chest with Amber.
Go back the way you came, climbing the roots of the tree attached to the wall to reach the floating platforms. Now we are going to cross the river to the east. To do this, take one of the fans and place it on a log (make sure the fan is facing outwards). The log will become a boat with which to cross. You have to hit the fan to activate it. Put the log in the water, get on it, and shoot an arrow at the fan, it will start and you can collect the arrow.
From there, go up to the northeast. You will find a mine that you must cross. If you already have Luminous Seeds, you can equip them from the item menu and throw them to create areas of light with which to traverse the dungeon. You can also combine them with arrows to shoot them at greater distances.
If you use the stones to create hammers, you can mine zonnanium . At the end of the mine, you will see a Refining Golem. Talk to him and you can exchange your zonnanium for battery upgrades or collect spheres that allow you to recharge it instantly. We recommend the extensions. Now, to get out, put a cart and a fan on the tracks (you can take one of the capsules next to the rails). Activate it to travel the rails and reach Rauru. Next to it is a gadget generator, where you can put objects to get capsules with random gadgets.
Now go to the northeast, where you will see a cave through which you can continue towards the Sanctuary.
In this cave there are fiery berries, they are important, you must cook them with mushrooms to make food that will allow you not to die of cold. When you go up you will see a like like, a worm coming out of the wall. You must approach it, wait for the red bulb to come out of its mouth, shoot an arrow, and then hit it until it falls. Open the chest he will leave and continue going up. Be careful because there is another one upstairs.
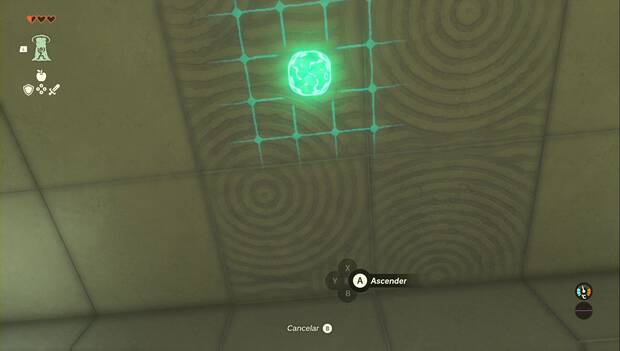
From here, leave the cave and climb the roots (be careful in the cold) to the Gutanabaq Sanctuary. They will give you the power of Infiltration. Move forward and get under the platform at the bottom and you will see that you can aim at the ceiling and go through it with your new power.
Once at the top, simply use the power-up to keep going up (there is a chest at the top of the left column, the lowest one). When you reach the top, eliminate the enemy and cut the ropes of the bridge, to use the Infiltration under it and go up. The rest of the way to the end of the Sanctuary is simply to infiltrate under the moving platform and, from it, to the plate above you.
When you go out, if you have problems with the cold, you have a kitchen nearby, in the ruins of the building next door. Simply shoot a fire arrow under the bowl and then cook the fire berries with mushrooms, eat the result and that's it.
Now you must go north-northwest, climbing the ledge next to you using the trunk of a tree. In the cave, you will find the Archaic Lined Boots. From there you will reach an area with some rails and bird-shaped artifacts. Place one on the edge of the rails and jump on it to glide directly to the Temple of Time and finally open the door.
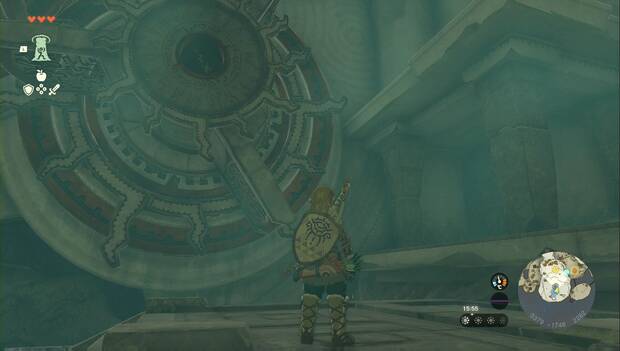
Continue and interact with the object that you will see in front of you to activate a sequence after which you will get the Backslide power. Using your new power, step onto one of the wheels in front of you, activate the power, and turning it in reverse will allow you to move forward.
Do the same with the next windmill and pray in the effigy of the Goddess, then open the back door... or not. Rauru will activate the teleport function to any Shrine and will tell you that you have one Shrine left to complete on the island.
Nasio'aia Shrine
You were able to fast travel to the Chamber of Awakening, at the southern end. Once there, you must use the Infiltration under the platform near the wheel to go up, and from there the Backtrack on the two wheels to continue.
The path takes you to the Nasio'aia Shrine. When you enter, wait for rafts to fall, get on one when it passes nearby, and use Backtrack to cross to the other side. Do the same to go up the waterfall. Once at the top, you have some gears and a chest on the left, use Backspace to go up and open it. To open the door at the end, you must twist a handle until both overlap, so that they rotate at the same time in the same direction, one over the other.
This way you can reach the end and pick up another Orb. Go to the Uqo'u Shrine, next to the Temple of Time, and get a life upgrade on the statue of the Goddess. Now you can open the door behind the statue. Go to the end of the broken bridge and use Infiltration to go up, repeating the next section. Interact with the object at the end of the platform to finally complete this section.









Comments
Post a Comment